
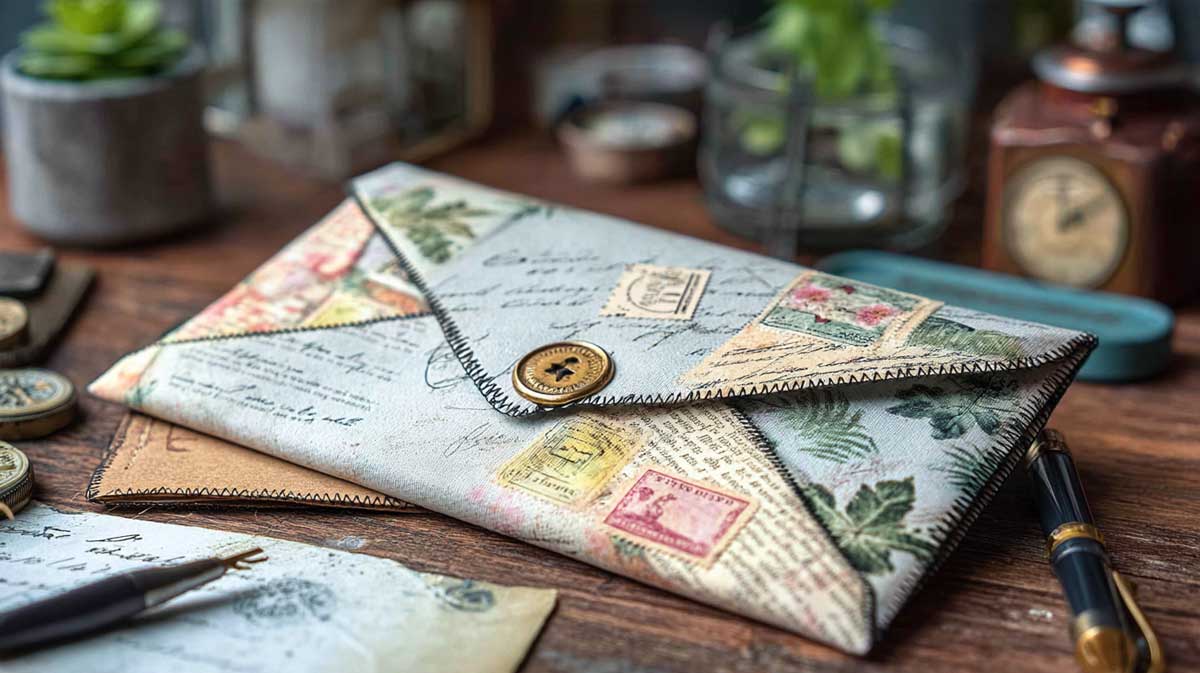
Learn step-by-step how to transform junk mail envelopes into a beautiful junk mail envelope journal!
If you have a collection of envelopes sitting in your desk drawer, don’t throw them away! Ordinary junk mail envelopes can be turned into a fun and creative junk mail envelope journal with just a few basic craft supplies.
Making a junk journal from envelopes is an easy way to reuse something that would otherwise end up in the recycling bin. The envelopes already have a useful pocket, making them perfect for storing tags, journaling cards, photographs, notes, ephemera and other small treasures.
In this tutorial, learn how to make a junk mail envelope journal using ordinary envelopes and a few simple embellishments. It’s an inexpensive junk journal project that’s also a great way to experiment with different layouts, pockets and interactive elements.
How to Make a Junk Mail Envelope Journal
Follow along as “Treasure Books” shows you how to recycle junk mail envelopes and turn them into junk journals with a tag, elastic closure and button on the outside, and stitched junk journal pages on the inside.
What Is a Junk Mail Envelope Journal?
A junk mail envelope journal is a handmade journal created using envelopes that would otherwise be discarded. You can use envelopes from bills, letters, advertising mail and other everyday correspondence.
The great thing about using envelopes to make a junk journal is that they already have built-in pockets. Rather than having to construct every pocket yourself, you can simply decorate the envelopes and join them together to create the pages of your journal.
You can make a very simple envelope journal with just a few envelopes, or create a more elaborate junk journal by combining envelopes of different sizes with papers, tags, cards, pockets and other pieces of ephemera.
Why Make a Junk Journal From Envelopes?
There are several reasons why envelopes work so well for junk journaling.
- They’re inexpensive
If you regularly receive junk mail, you may already have plenty of envelopes available. - hey’re great for upcycling
Reusing old envelopes gives something that might otherwise be discarded a new purpose. - They have built-in pockets
The inside of an envelope provides instant storage for journaling cards, tags and other ephemera. - They’re easy to work with
You don’t need advanced bookbinding skills to make a simple envelope journal. - They’re perfect for beginners
An envelope journal is a good project if you’re new to junk journaling and want to learn how to create interactive pages.
Supplies You’ll Need
You don’t need a large collection of craft supplies to make a junk mail envelope journal.
Here’s what you’ll need:
- Used or unused envelopes
- Decorative scrapbook paper or printable junk journal paper
- Glue or double-sided tape
- Scissors
- Paper trimmer or craft knife
- Ruler
- Pencil
- Decorative papers and ephemera
- Tags and journaling cards
- Ribbon, lace or fabric scraps
- Stickers or other embellishments
You can use whatever you already have in your craft supplies. One of the best things about junk journaling is that the finished journal doesn’t need to be perfect.
Choosing Your Envelopes
Collect several envelopes in different sizes and shapes if possible. Don’t worry if they aren’t identical. In fact, using different-sized envelopes can make your journal more interesting.
Before you begin, check each envelope for personal information. Remove or cover names, addresses, barcodes and other identifying information before using them in your journal.
You can also use new plain envelopes if you don’t have suitable junk mail envelopes.
Step 1: Prepare the Envelopes
Start by deciding how many envelopes you want to use.
For a small junk mail envelope journal, four to six envelopes can be enough to create a simple little book. You can always add more pages if you want a larger journal.
Open the envelopes carefully and remove any unwanted flaps or sections.
If the envelopes have windows, you can either leave them in place and incorporate them into your design or cover them with decorative paper.
Don’t worry about removing every piece of printed text. Some of the original markings can actually add to the character of an upcycled junk journal.
Step 2: Cover the Envelopes
Choose decorative paper to cover the outside of your envelopes.
You could use scrapbook paper, old book pages, vintage papers, music paper or **printable junk journal papers**.
Measure each envelope and cut your decorative paper slightly smaller than the envelope. This creates a small border around the edge and makes the finished page look neat.
Glue the paper onto the envelopes and smooth it carefully to remove any wrinkles or air bubbles.
You don’t necessarily have to cover every part of every envelope. Leaving some of the original envelope visible can add an interesting layered effect.
Step 3: Create the Journal Pages
There are several ways to arrange your envelopes.
One simple method is to place the envelopes one behind another and attach them along one edge.
Another option is to alternate the direction of the envelopes so that the pockets open from different sides.
This creates a more interactive journal because the reader has to discover the different pockets and openings as they work through the pages.
You can also add pieces of decorative paper between the envelopes to create additional writing space.
Tip: Think About Your Pockets
Before permanently attaching the envelopes, experiment with the arrangement. Think about where you want the openings and pockets to be.
You might have:
- A large pocket for photographs
- Smaller pockets for tags
- Side-loading pockets for journaling cards
- A hidden pocket behind a decorative page
- A tuck spot for small pieces of ephemera
Planning the pockets first will make it much easier to create a journal that is fun to use.
Step 4: Join the Envelopes Together
Once you’re happy with the arrangement, it’s time to turn the individual envelopes into a journal.
For a simple version, you can attach the envelopes together using strong double-sided tape or glue.
Another option is to punch holes along one edge and connect the envelopes with ribbon, twine or bookbinding thread.
If you’re using envelopes of different sizes, don’t worry about making everything line up perfectly. The uneven edges can become part of the character of your junk journal.
Step 5: Add Journaling Cards and Tags
Now comes one of the most enjoyable parts — filling all those pockets!
Create or collect a selection of:
- Journaling cards
- Tags
- Tickets
- Postcards
- Vintage photographs
- Labels
- Mini envelopes
- Note cards
- Small pieces of ephemera
You can decorate the pieces with stamps, ink, scraps of paper, lace, ribbon and other embellishments.
Remember that the pieces need to fit inside the pockets, so test each one before adding too much decoration.
Step 6: Decorate Your Junk Mail Envelope Journal
Now you can start adding the decorative details.
Try layering different elements rather than simply gluing one large piece of paper onto each page.
For example, you could create a small collage using:
background paper → vintage image → label → ticket → small embellishment
Layering creates depth and gives the pages that wonderfully collected look that makes junk journals so appealing.
You can also add:
- Fabric scraps
- Lace
- Buttons
- Thread
- Stamps
- Faux postage
- Paper flowers
- Washi tape
- Small envelopes
- Die cuts
- Vintage images
Try to leave some areas relatively simple so that the pages don’t become too crowded.
Make the Most of the Envelope Pockets
The built-in pockets are one of the best features of an envelope junk journal, so make them part of the design.
Instead of simply filling every pocket with a tag, think about creating little surprises.
For example, you could place a small journaling card inside a pocket, with a second smaller tag tucked behind it.
You could also create a hidden message, mini collage or photograph that isn’t immediately visible.
These interactive elements make the journal much more interesting to explore.
Add a Cover
You can finish your junk mail envelope journal with a simple cover.
One option is to use a piece of sturdy cardstock cut slightly larger than the envelopes.
Alternatively, you could create a soft fabric cover using fabric, felt or an old piece of clothing.
Decorate the front cover with a title, vintage image, label or layered collage.
You could even give your journal a theme such as:
- Vintage postal
- Victorian correspondence
- Forgotten letters
- Antique shop
- Botanical collection
- Travel journal
- Family memories
- Secret correspondence
Choosing a theme can help you decide which papers and embellishments to use throughout the journal.
Ideas for Using a Junk Mail Envelope Journal
Your finished envelope journal doesn’t have to be used solely for writing.
It can become a place to store photographs, memories, recipes, inspirational quotes, pressed flowers, collected ephemera or creative ideas.
You could also make an envelope journal as a handmade gift.
Because the pockets provide plenty of storage space, an envelope journal can be particularly useful as a **mini junk journal** when you want to create something relatively small and quick.
Tips for Making an Envelope Journal
Here are a few things that can make the process easier.
- Don’t make the pages too bulky
Remember that your journal will need to close when you’re finished. - Test your pockets
Make sure tags and cards can be removed easily. - Use lightweight embellishments
Large or heavy embellishments can make the journal difficult to close. - Mix textures
Combining paper, fabric, lace and thread creates visual interest. - Don’t aim for perfection
A little unevenness is part of the charm of an upcycled junk journal. - Use what you have
Junk journaling is a great opportunity to use scraps and leftover craft supplies.
Turn Your Envelope Journal Into a Larger Junk Journal
Once you’ve made one envelope journal, you can start experimenting with other envelope structures.
Try combining envelopes with folded pages, pockets, tuck spots and interactive elements to create a larger junk journal.
You can also use junk journal templates when you want to create more complex pages without having to work out all the measurements yourself.
Templates are particularly useful for projects such as folios, envelopes, pockets and other interactive junk journal elements.
Final Thoughts
Making a junk mail envelope journal is a simple and inexpensive junk journal project that turns something ordinary into something creative and useful.
The envelopes provide ready-made pockets, while decorative papers, ephemera and embellishments allow you to completely transform them into a unique handmade journal.
And because there are so many different ways to arrange and decorate the envelopes, you can make every envelope journal completely different.
So the next time you have a pile of envelopes destined for the recycling bin, save a few and turn them into your next junk journal project!
Want more junk journal ideas?
Explore my collection of printable junk journal templates, papers, ephemera and creative projects for more ways to create beautiful handmade journals.