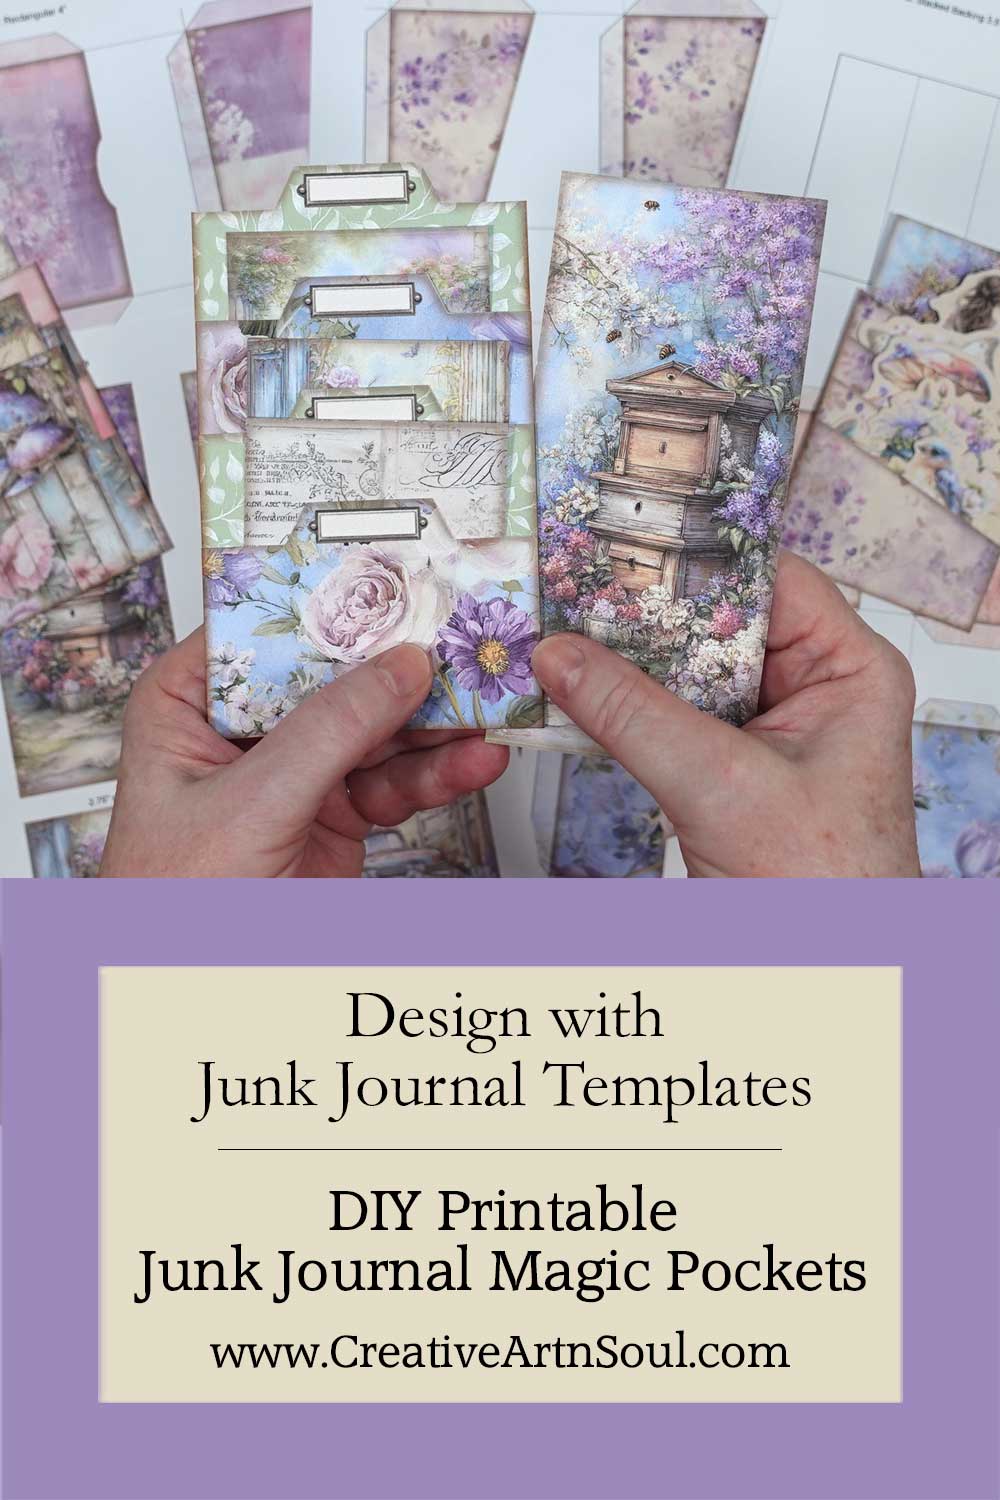

Make your own magic printable junk journal pockets using an easy-to-use template set.
Magic pockets are a layered stack of pockets that give the illusion of several pockets. But once assembled, they can be used as individual shallow pockets or one deep pocket.
The template set includes 3 styles of pockets in widths 3″, 3.5″ and 4″, in png, pdf and canva formats. It comes in two styles; one with a border for a vintage style finish, and one with lined edges for a clean edge finish.
Included also is a set of journal cards in a variety of widths and heights that can be used with the pockets as well as a set of backings for each style of pocket so you can layer them accurately.
How to make the Magic Junk Journal Pockets
Supplies
- Magic Junk Journal Pocket Templates
- Printer
- Cardstock 110lb
- Bone Folder
- Gluesticks
- Double sided tape 1/2″, Double sided tape 1/4″, Double sided tape 1/8″
- Cutting Mat
- Rotary Cutter
- Ruler
- Distress Ink
- Ink pad applicator
What are junk journal templates?
Junk journal templates are printable designs that provide the shape, layout or structure for creating handmade journal pages, elements and embellishments. They take the guesswork out of measuring, cutting and assembling, allowing you to concentrate on choosing your digital papers, decorating your pages and adding your own creative touches.
A template can be used to create a simple junk journal pages, pockets, tags, envelopes or a more elaborate interactive folio. Some templates are designed for specific projects, while others can be adapted to suit different junk journal themes and styles.
The best part is that you can use the same basic design with a variety of printable papers and embellishments to create something unique and different every time.
About the Templates for the Junk Journal Pockets
These junk journal pocket templates come in three different formats.
- The pdf format is easy to print and can be used with your own printed papers or scrapbook papers.
- The png format can be used in a photo editing program such as photoshop or photoshop elements which gives you more creative options for designing using digital papers.
- The canva frame templates can be used in canva.
The junk journal pockets can be used individually, or layered and assembled into magic pockets to use with both tall and short journal cards or other types of paper ephemera.
The template pages are designed to print on us letter size paper, however you can also use A4 size paper.
How to Design using the pdf Format Template Files
The pdf templates are easy to use with your own printable papers or scrapbook papers.
Open the pdf template file and select the page that you want to print.
In the print dialog box make sure the page scaling option is set to none so that the template prints at the correct size. The wording for this may be different depending on the software that you use.
Insert a sheet of printed paper or scrapbook paper into your printer and then print the template page.
How to Design using the png Format Files in Photoshop
To get started designing using the png format files, open one of the png templates in your photo editing program.
I’m using photoshop elements however you could also use photoshop, or photopea which is a free photoshop alternative, or any other similar type of program.
Then add a digital paper and move it to a layer underneath the template layer. You can use one digital paper to create your design or you can use multiple papers and align them within the individual elements on the template.
If one of the papers overlaps another, use a layer mask to hide the overlap.
The card templates include a variety of cards in different heights and widths that can be used with the magic junk journal pockets.
Once you’ve finished designing you can save the files in jpg format for printing at a later time.
How to Design using the Canva Frame Templates
As well as designing in programs like photoshop, you can also design in canva using the canva frame templates.
To get started, log into your canva account. Then click the link to the canva template that’s included with your download.
The canva frame templates include individual frames for each of the pieces, as well as the overlay templates which have fold and cutting line guides.
After you upload your digital papers you can use the junk journal templates in several different ways.
You can add one or two papers to cover the whole of the background area. Once this is done, move the template overlays to the top layer. To do this, click on the background paper then click the “position” button on the top menu. Select the “layers” tab and then you can drag the layers into the correct order.
The junk journal template overlays are located underneath the frame layer. Simply move one of them to the layer above the digital paper layer.
You can also insert the background papers into each individual frame. To adjust and resize the paper, double click on it and move it around using the handles. When you’re done, click on the background to exit.
When finished designing, move the overlay template to the top layer.
Once the design is completed you can save it for printing. It’s best to select file type pdf print for best printing.
How to Assemble the Magic Junk Journal Pockets
Once all the templates are designed, print the pages onto cardstock.
The cards include 4 different widths and 7 different heights so you can use them with the junk journal pockets. The pockets include 3 different styles and 3 different widths.
To cut the pockets, first cut away the outside edges of the cardstock then make creases along each of the guidelines. Doing it like this is a quick way to create accurate tab folds.
You can use the pockets in several different ways. The pockets are designed with fold under tabs, however you can use them with the tabs or without.
To use the junk journal pockets as individual pockets with tabs, add some double sided tape to the tabs and press onto the page of your junk journal.
To use the junk journal pockets as magic pockets, the backings will make it easy to accurately layer the pockets one on top of the other.
The backings include a set for the angled pockets and another set for the tabbed and rectangular pockets. Each set has 3 different widths and a variety of different heights.
To use the backing, print the template onto a sheet of cardstock and cut it out.
You can use the pockets with or without the fold under tabs. Using the pockets with the tabs creates more space inside the pocket, and gives you the option to insert several pieces of ephemera.
To use the pockets with the fold under tabs, cut off the bottom tab on each of the pockets except the bottom pocket. Then apply double sided tape to each of the tabs.
Starting with the top pocket, fold the side tabs under and carefully align the bottom edge of the pocket along the marked line. Then press in place.
Then do the same for each of the pockets below ending with the bottom pocket which should have two side tabs and a bottom tab
To finish, apply some distress ink around the edges.
Without the bottom tabs on the pockets you can now insert cards and ephemera that are taller than what you would be able to use if the pockets had tabs on the bottom. This makes the magic and makes the stack of pockets much more versatile.
You can also use the pockets without any fold under tabs at all. Using the pockets without the tabs makes them less bulky and creates less space inside the pocket, so you would only be able to insert one or maybe two pieces of ephemera into each of the pockets.
Apply some narrow double sided tape down each of the side edges of the pockets, and also along the bottom edge of the bottom pocket, then assemble on the backing starting with the top pocket.
This narrow double sided tape is 1/8″ wide and is ideal for this purpose.
Save this pin to your favorite Pinterest board!