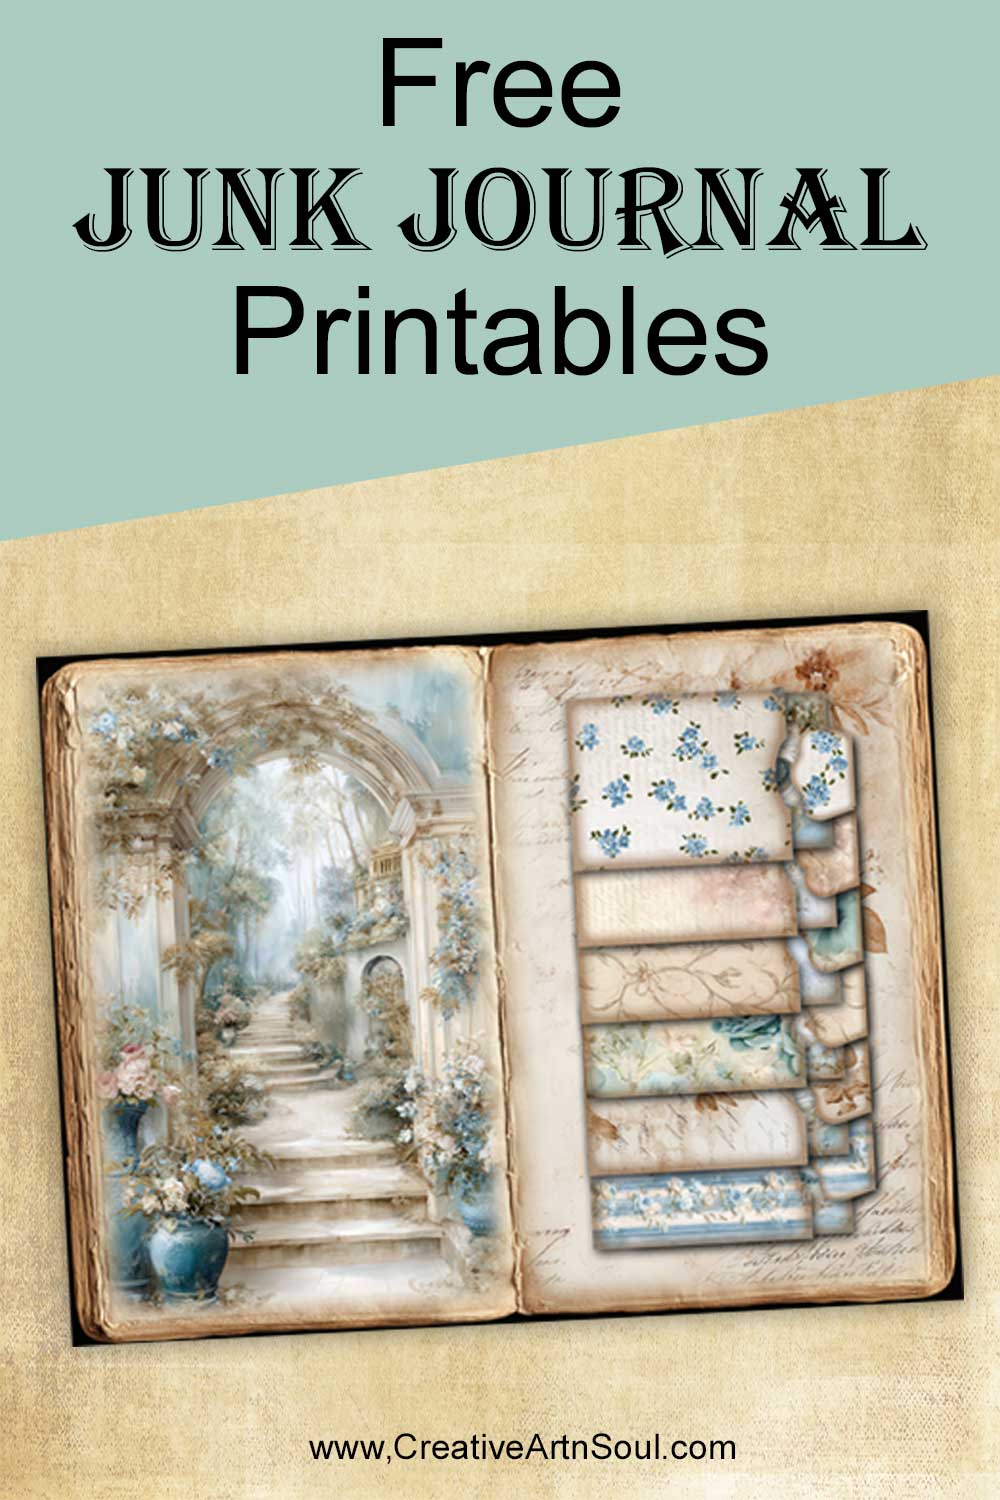
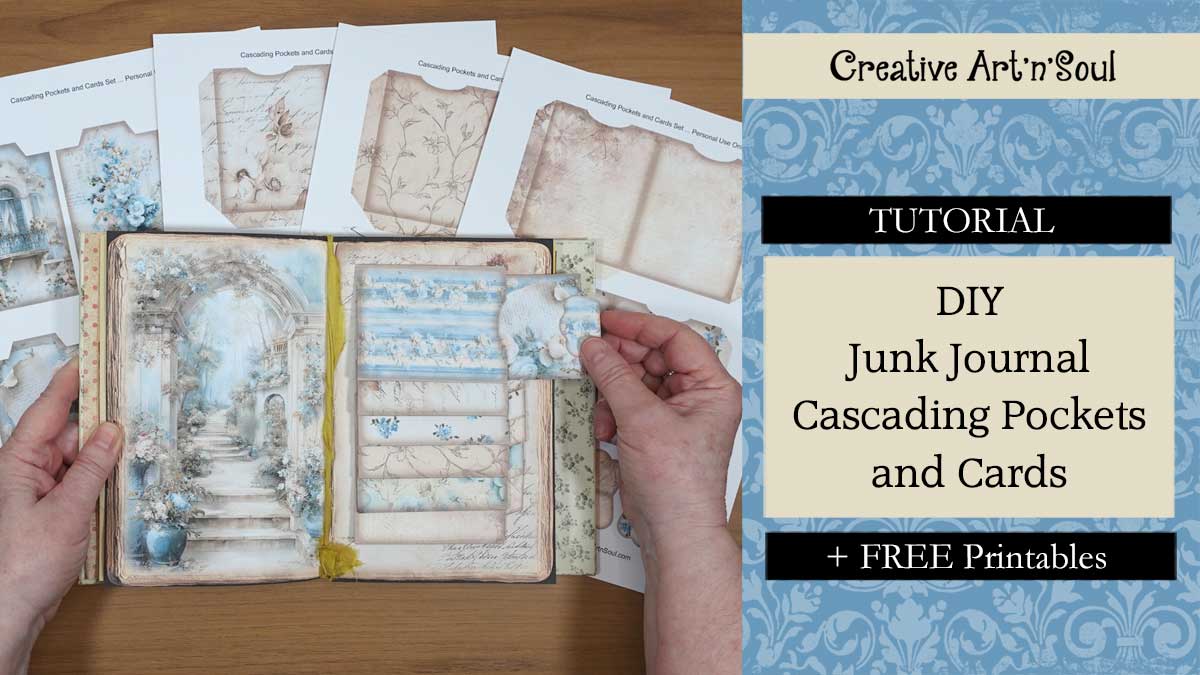
Make a junk journal cascading pockets set using this set of free printables.
This junk journal cascading pockets set is easy to assemble and is perfect to use as an embellishment in your junk journals.
The papers used to make this folder set coordinate with the French Country Romance printable paper pack.
How to Make the Junk Journal Cascading Pockets Set
Supplies
- Free Printable Junk Journal Cascading Pockets Set
- French Country Romance Coordinating Printable Papers
- Make Your Own Junk Journal Cascading Pockets Set
- Printer
- Cardstock 110lb
- ScoreBoard
- Bone Folder
- Gluesticks
- Double sided tape 1/2″, Double sided tape 1/4″, Double sided tape 1/8″
- Cutting Mat
- Rotary Cutter
- Ruler
- Sharp Scissors
Download the Free Junk Journal Cascading Cards Set
Ready to start creating?
Download the free junk journal cascading cards set from the Junk Journal Printables Library and start creating.
Whether you’re creating a vintage junk journal, scrapbook, or another paper crafting project, these free printables are an easy way to add an interactive elements to your pages.
Download the free set today and start creating your own junk journal mini folder with embellishments!
Step-by-Step Instructions for making the Junk Journal Cascading Cards Set
To get started, print the free printable pages onto sheets of cardstock. Make sure to print the backing page on the underside.
The pages include a set of 6 pockets and 6 cards and tags, as well as a coordinating junk journal page.
Also included is a set of guides that can be used for accurately aligning the pockets on the journal page.
Use the printed guidelines to make creases on the pockets then cut out all the pieces and fold over all the tabs and press with a bone folder to make sharp creases.
There are two options for assembling the tabs on the cards. You can leave them as is or you can attach the decorative tabs.
To attach the decorative tabs, fold them in half, apply glue to the inside and then fold them over the top tab on the card and press in place.
The pockets have two options for assembly. You can use them with the opening facing the right side or the left side.
To make pockets with the opening on the right side, apply glue or double sided tape to the bottom tab and the tab on the left.
To make pockets with the opening on the left side, apply glue or double sided tape to the bottom tab and the tab on the right side.
To assemble the pockets, remove the tape and fold the tabs inside. Then fold the pocket over and align the edges below the extension tab, then press in place.
Position the pocket right side up with the opening facing the right side, or the left side if you’re making a set with a left side opening. Then apply double sided tape to the top of the extension tab.
You can use a ruler or use the printable guides to help accurately align the pockets on your journal page.
There are three rulers to space the pockets 1/2″, 3/4″ or 1″ apart so you can use the best one depending on the height of your journal page and the number of pockets that you use.
To use the guide, position it along the edge of the page and starting at the bottom, align the bottom of the pocket with the bottom guideline and then align the next pocket with the next guideline up. Continue until all the pockets are aligned.
Do a test first before attaching them to make sure the pockets are accurately positioned.
Then once you’re happy with the placement, you can remove the backing tape, fold the tab under, and press them in place on your journal page.
Save this pin to your favorite Pinterest board!