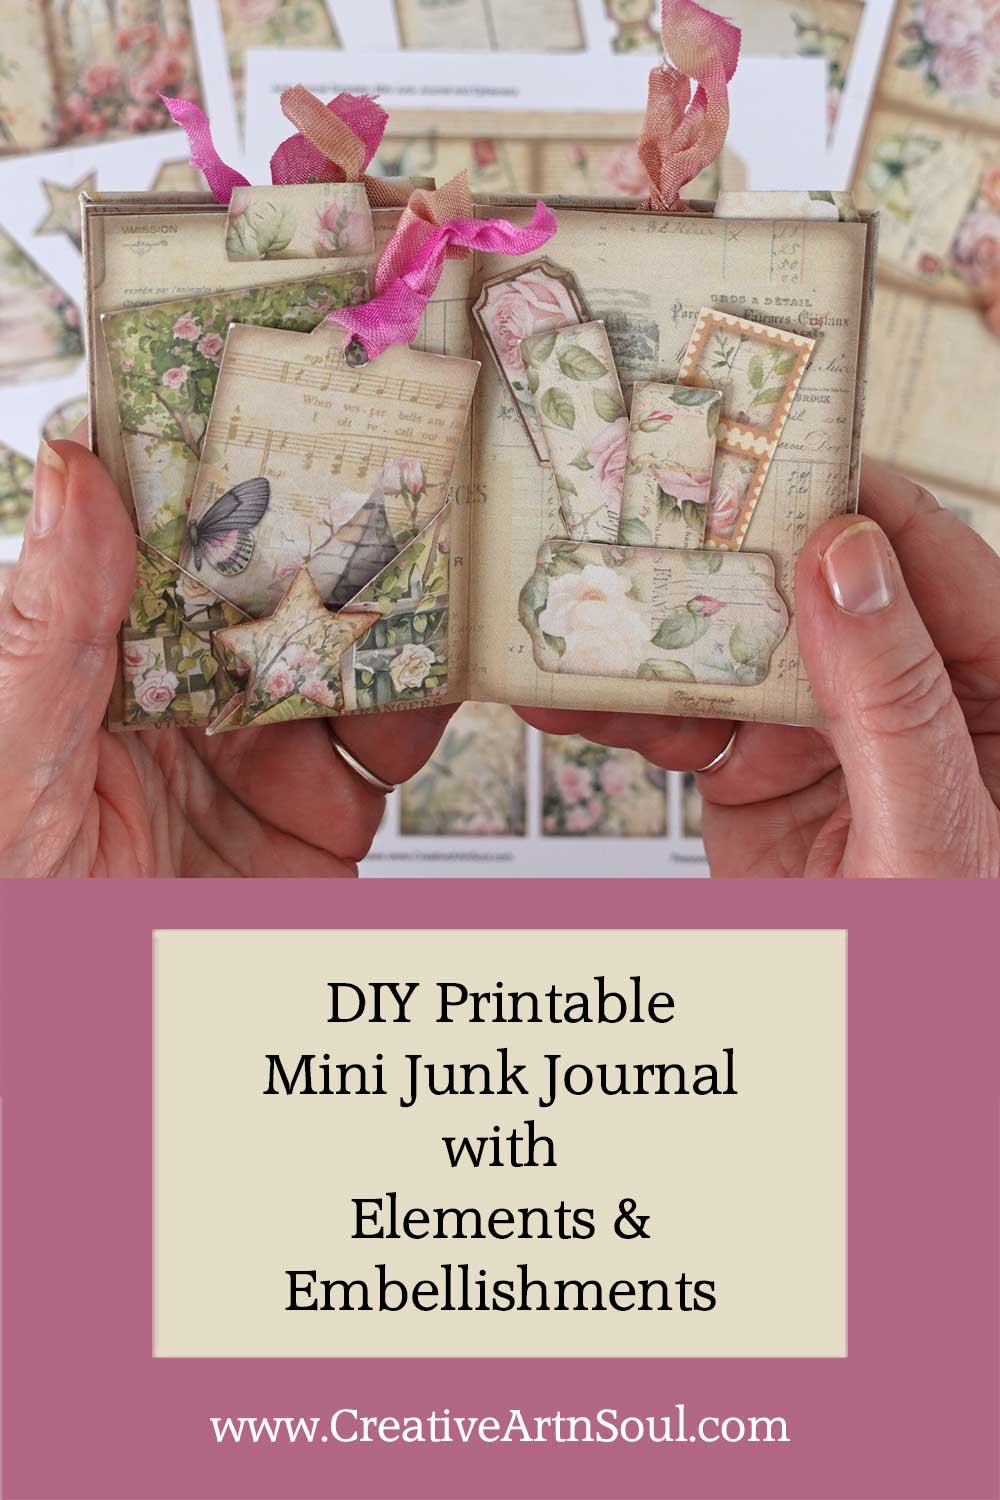
Design, print and assemble your own printable mini junk journal with elements and embellishments using these easy-to-use templates.
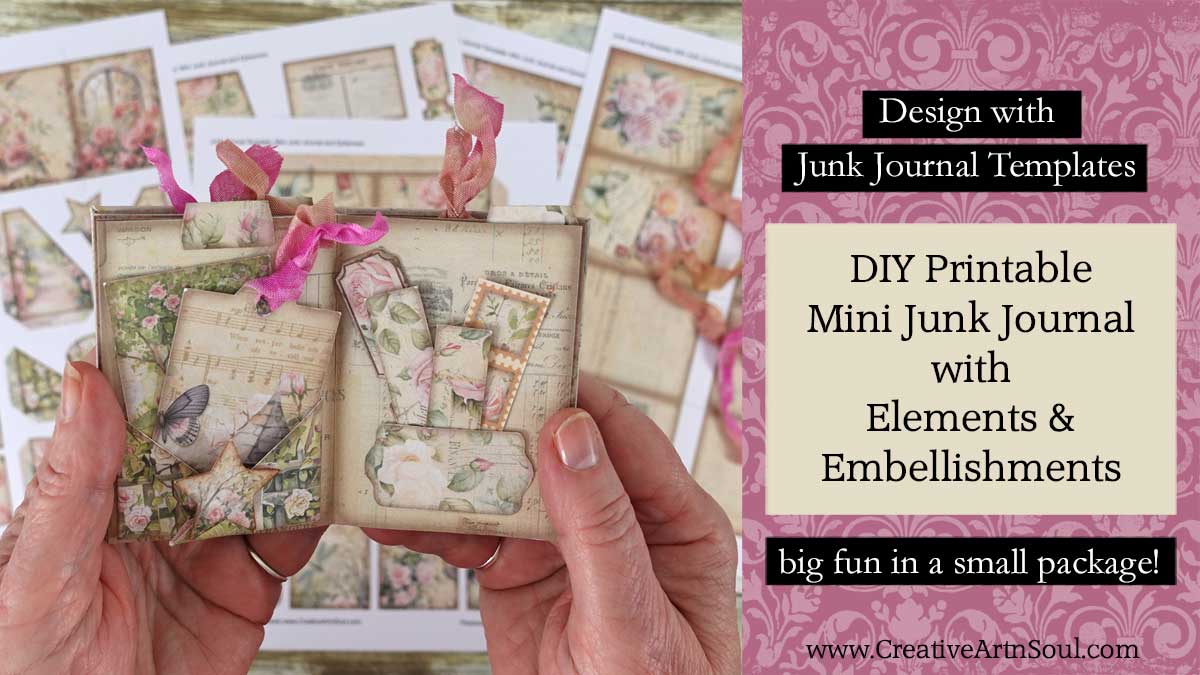
Make a cute printable mini junk journal using this printable mini junk journal template set. The template set includes 4 templates to make printable mini junk journal pages, elements and embellishments – more than enough pieces to make a mini junk journal approximately 2-1/2″ wide by 3-1/2″ high.
DIY Printable Mini Junk Journal
Supplies
- Mini Junk Journal Templates
- The Scent of Summer Roses Printable Junk Journal Kit
- Cardstock
- Score Board
- Bone Folder
- Double Sided Tape
- Bookbinding Awl
- Cutting Mat
- Rotary Cutter
- Ruler
- Gluesticks
- Photoshop Elements
- PhotoPea
About the Templates
You can use this template set over and over again using different papers to create your own unique mini junk journals.
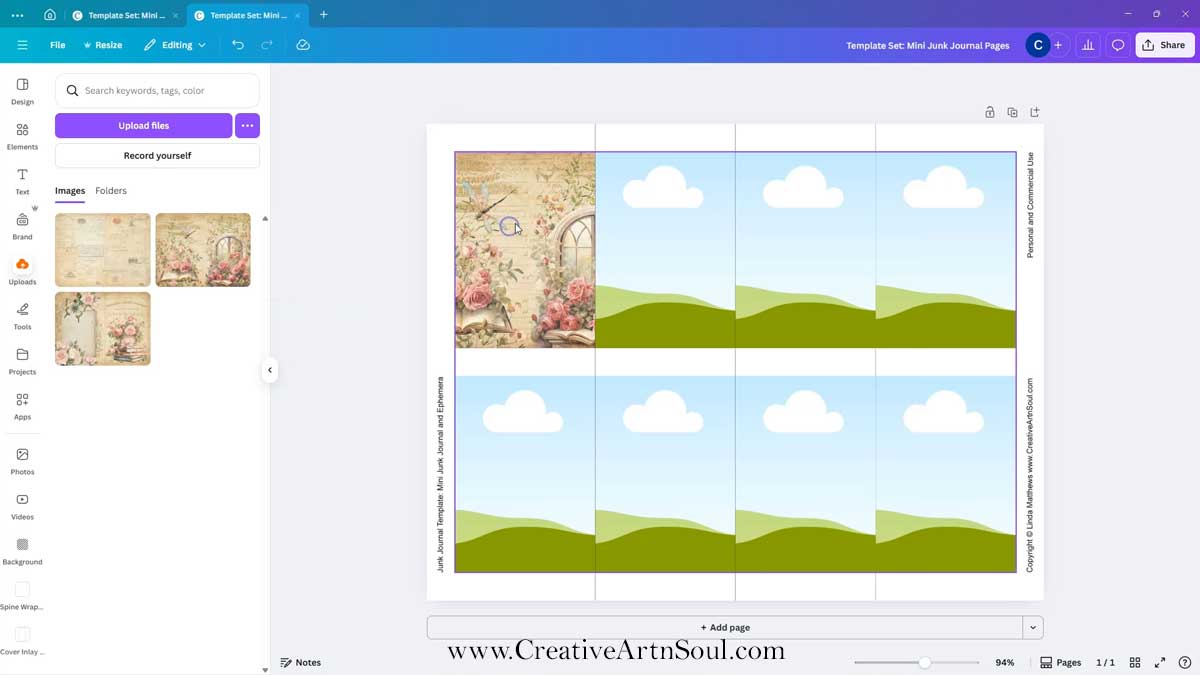
The templates come in three formats. The pdf format is easy to print and can be used with your own printable papers or scrapbook papers. You can use the png format in a photo editing program which gives you more creative options for designing using digital papers. Or you can use the canva frames in canva.
Included are two styles; one with a border for a vintage style finish, and one with no border for a clean edge finish.
Using the PDF Templates
To print using your own paper, open the pdf template file. Make sure the page scaling option is set to none so that the template prints at the correct size.
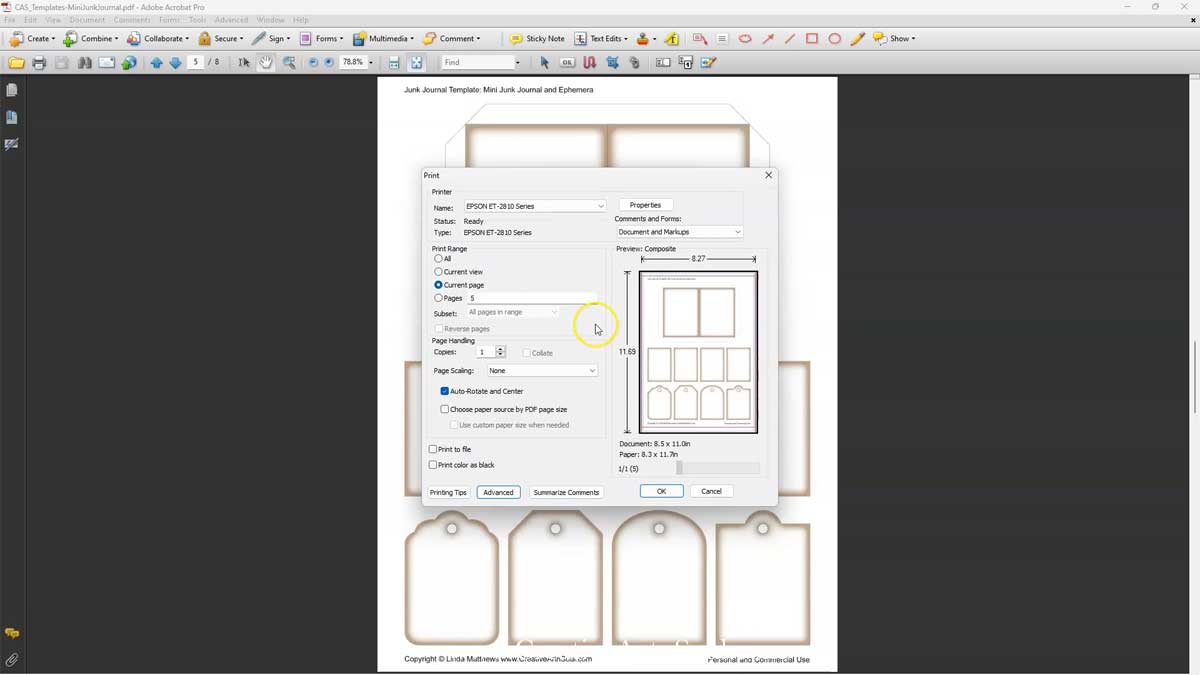
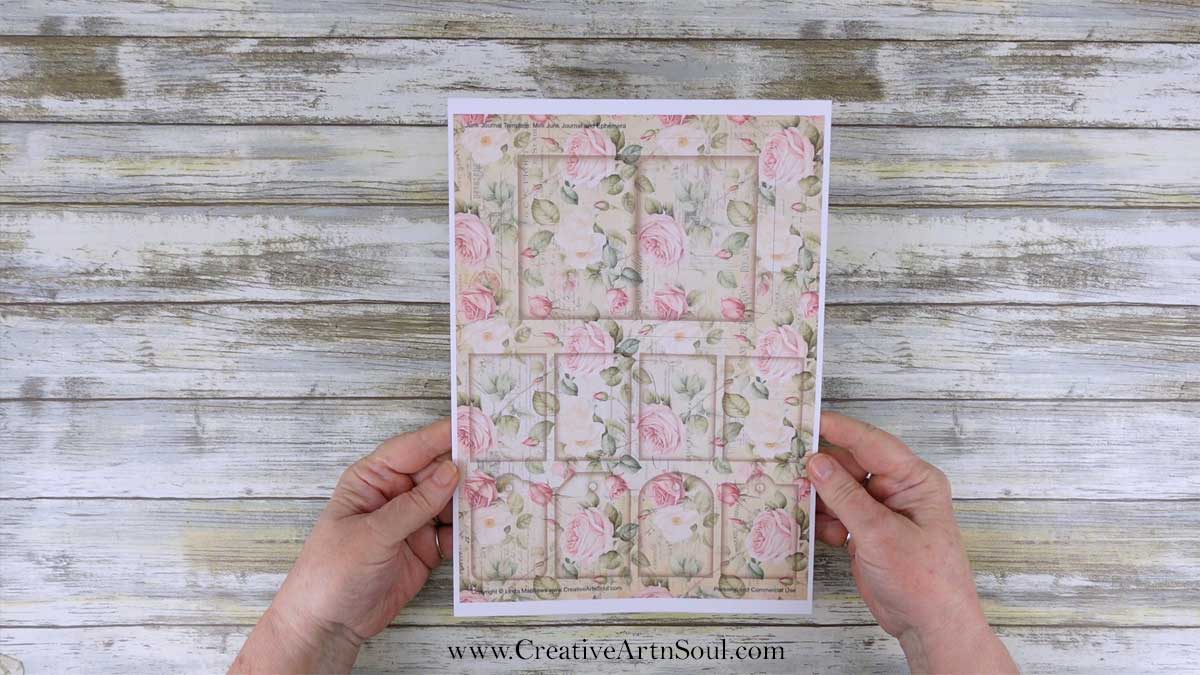
Insert a sheet of printable paper or scrapbook paper into your printer and then print the template page.
Design using the PNG Templates
The pdf templates are quick and easy to use. However you have more options for creating unique designs when using the png format files.
To get started designing using the png format, open one of the templates in your photo editing program. Then add a digital paper and move it to a layer underneath the template layer.
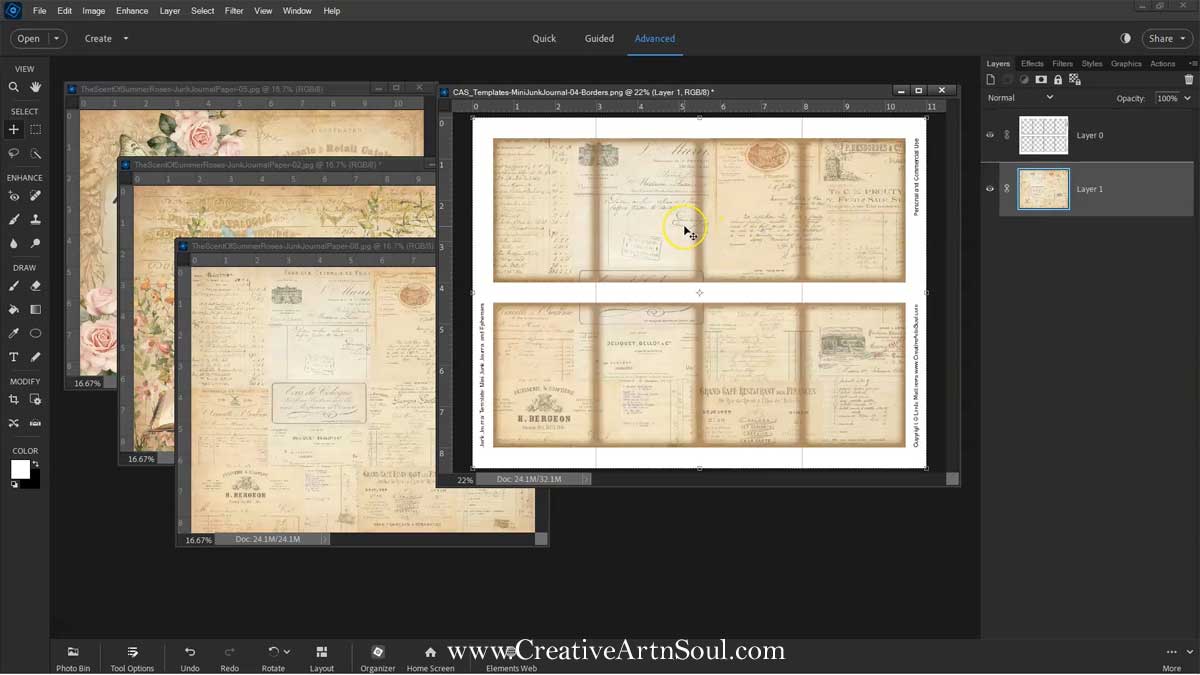
You can resize and move the paper around and even use multiple papers to align the pattern within the individual elements.
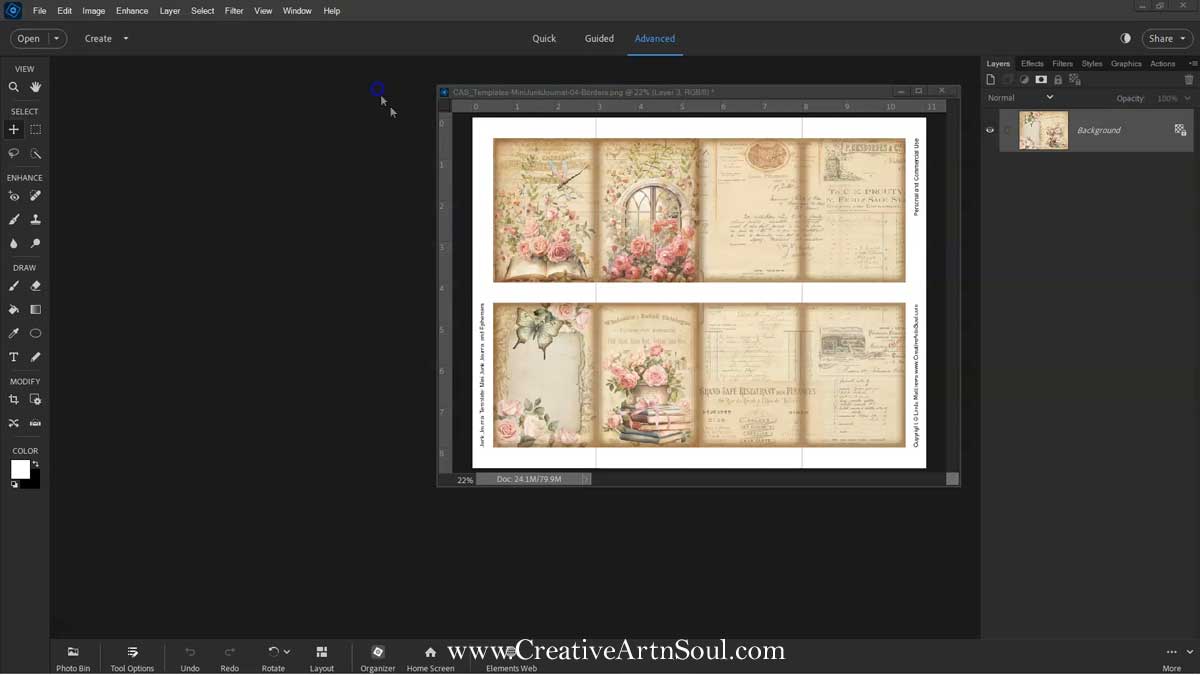
To make the pages, simply resize the full size digital paper so that it fits within the page template.
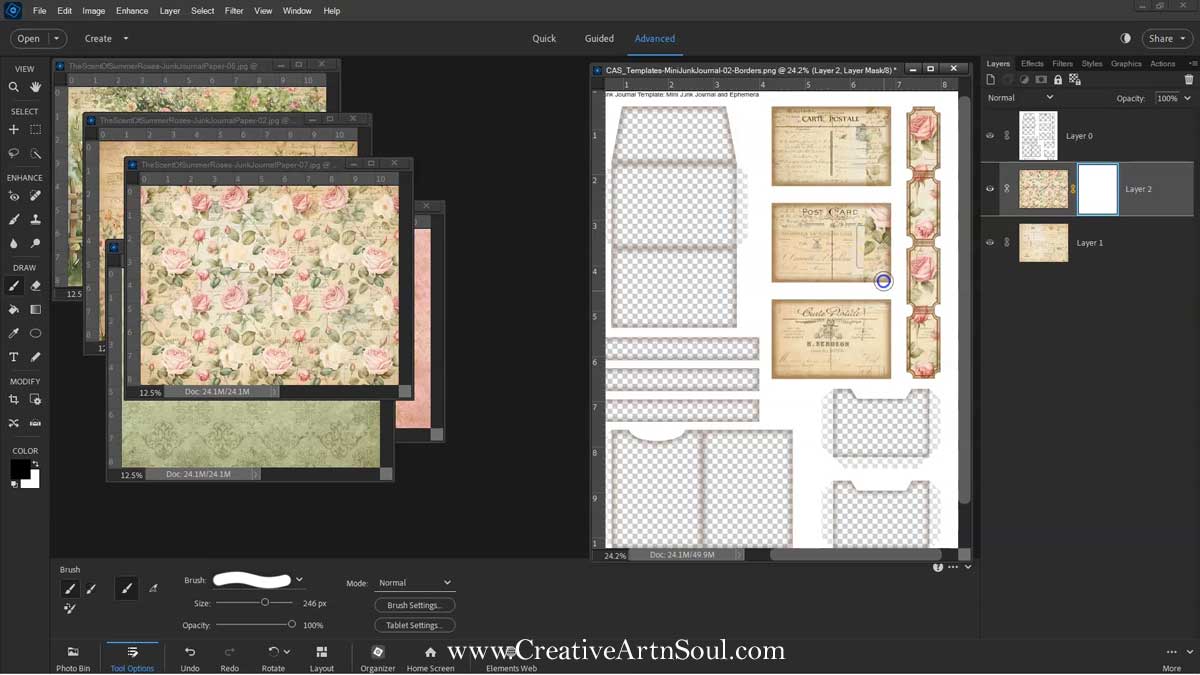
If there is any unwanted overlap of the papers onto sections of the template, simply add a layer mask and brush away the excess. Using a layer mask you can hide any unwanted areas on your design.
To add a layer mask, select the layer then click the “layer mask” icon. Select the brush tool and the color black and then brush over the overlapping area that you want to hide.
Once you’ve completed your designs be sure to save the files in jpg format for easy printing.
Print the cover, elements and ephemera onto cardstock and print two sets of page templates onto good quality copy paper.

Design using the Canva Frames
As well as designing in programs like photoshop, you can also use the templates in canva. Log into canva and click the canva links that are included with your download. When the browser page opens, click the “view template” button.
The canva frame templates include frames for the pages and frames for each of the elements and ephemera. As well as the overlay templates which have fold line and cutting line guides and the vintage style border.
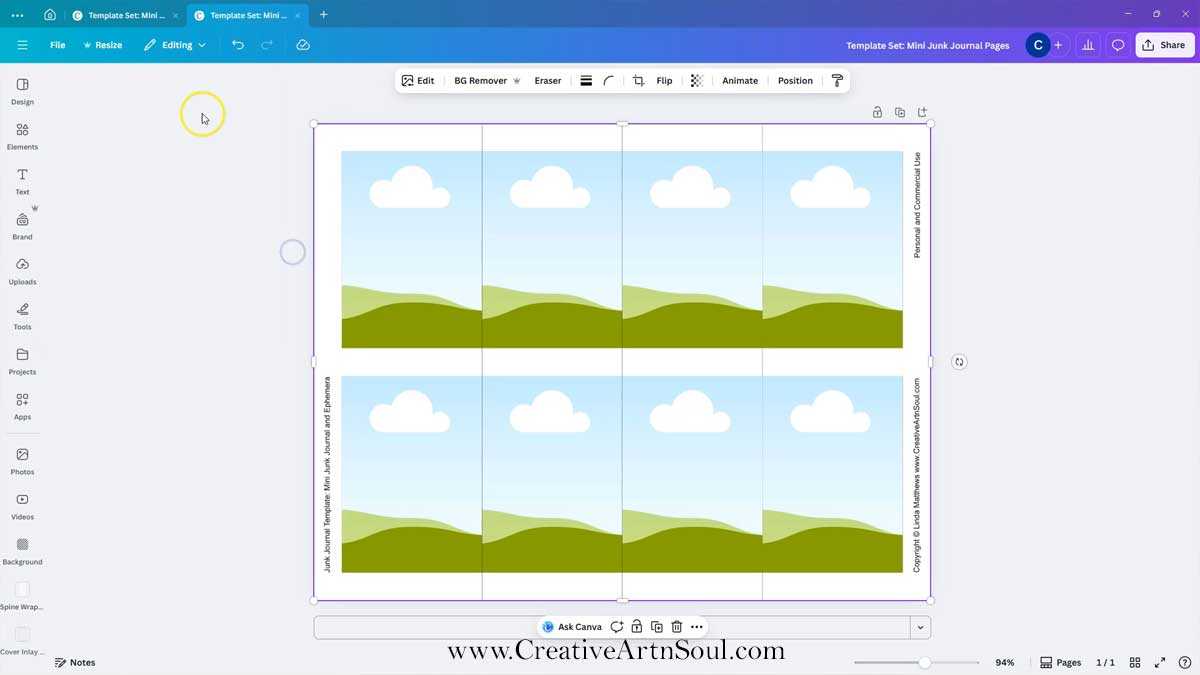
To make the pages, you can insert the background papers into each individual page frame. To do this, drag the paper over the frame until it clicks into place.
Assemble the Mini Junk Journal
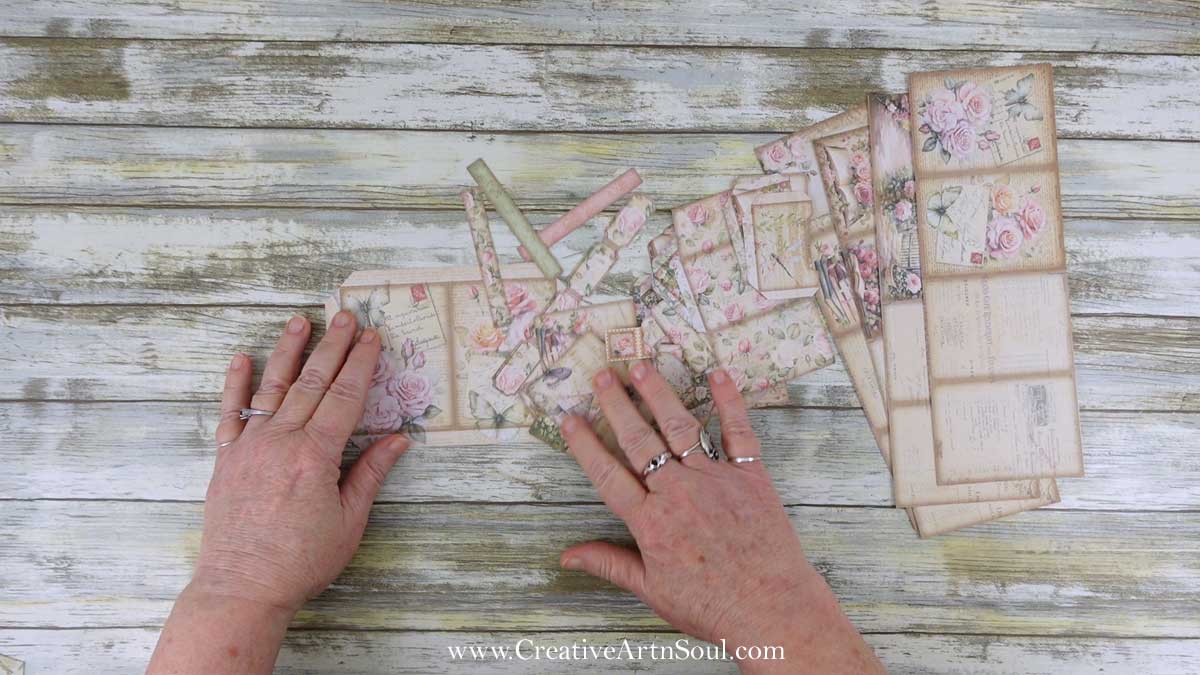
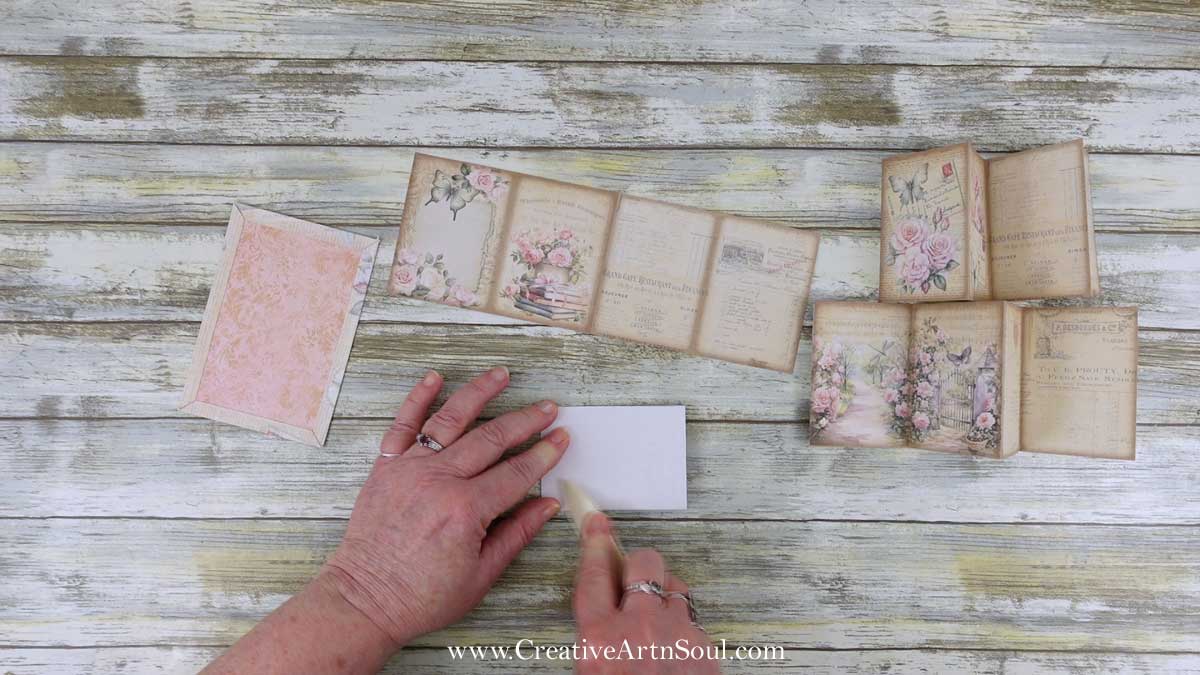
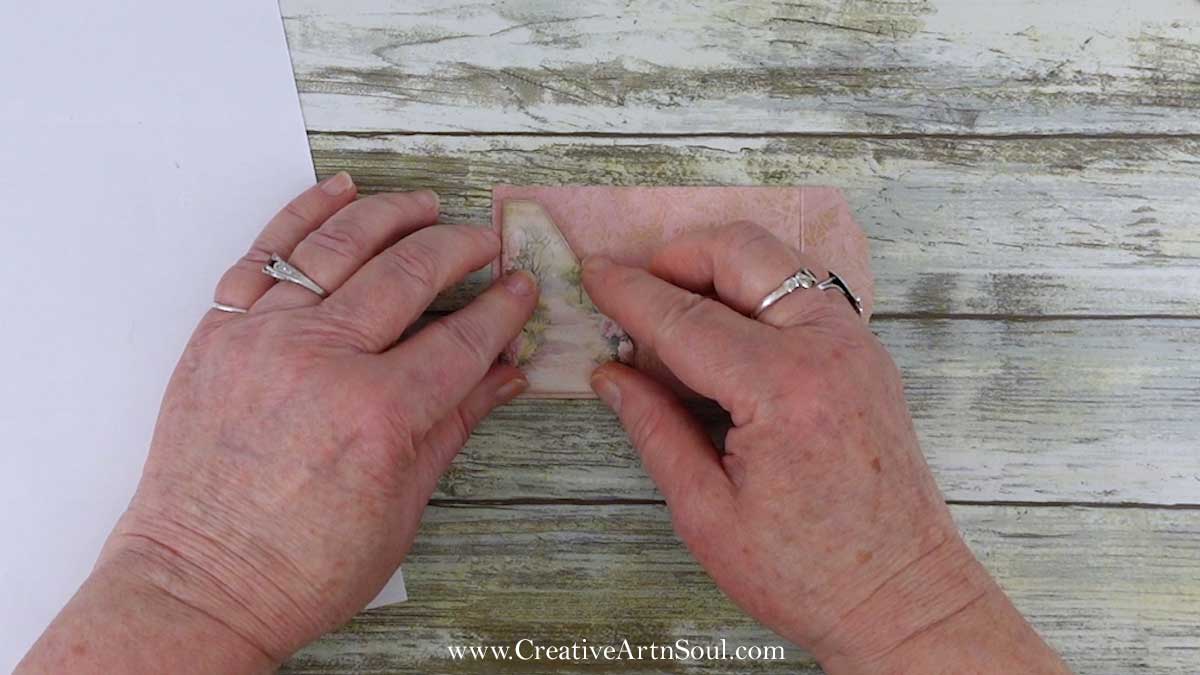
Once the pages are printed, cut out all the pieces.
To make the junk journal cover, fold and crease the tabs, then glue them to the inside using double sided tape, a tape runner, or strong craft glue.
To make the pages, fold each strip of pages in half with the right sides facing up, and make a sharp crease using a bone folder. Then fold the end pages over. Be as accurate as you can in aligning the edges so the journal goes together easily.
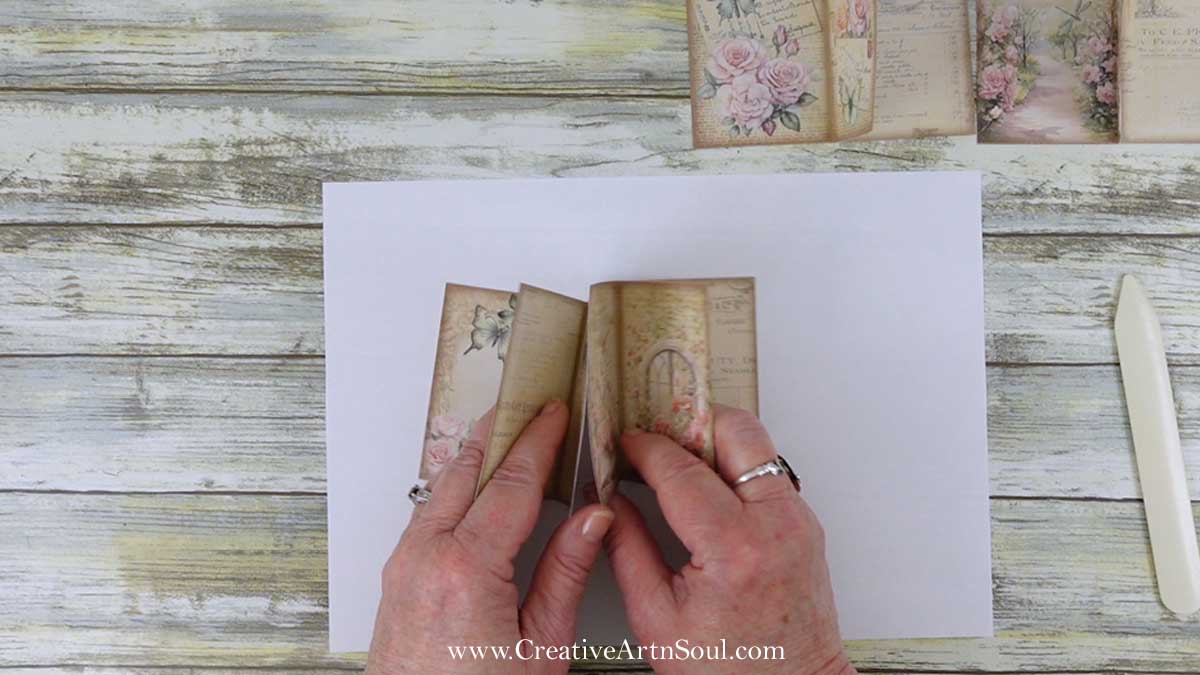
Apply glue to the center pages, fold them over and carefully press them together so that the edges align.
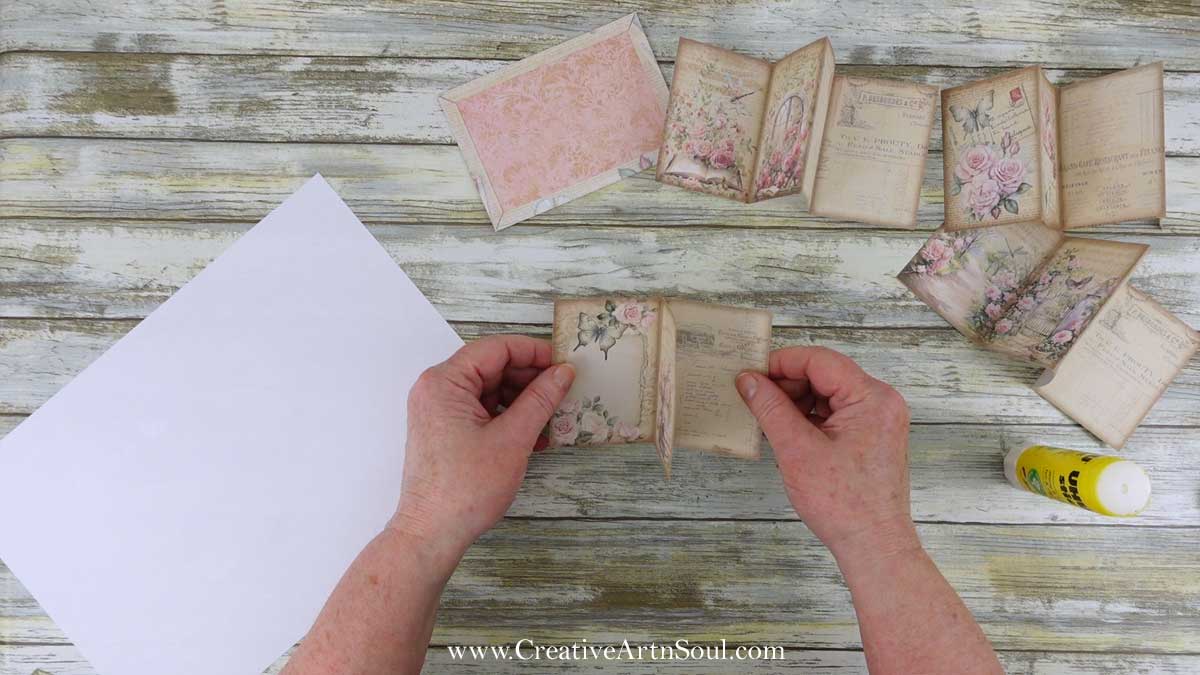
Line the page sections up in the order that you want to assemble them.

Apply glue to the end pages of each set and press them together so the page edges align.
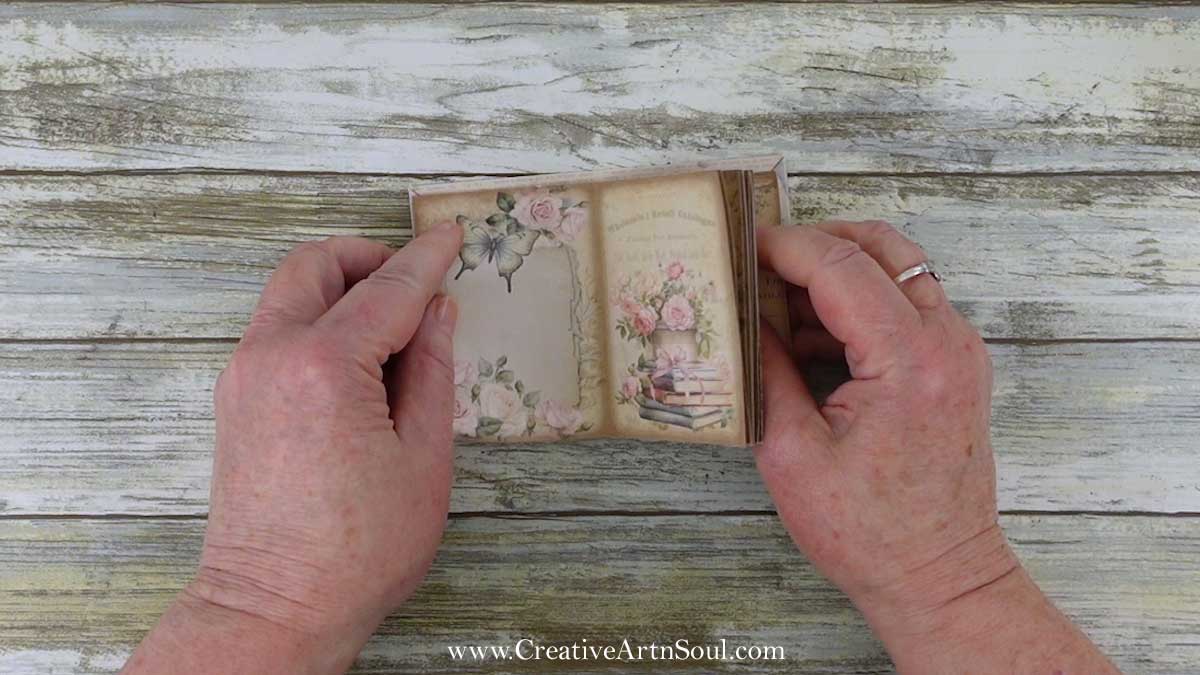
Once the pages are assembled, apply glue to the end pages, carefully position the pages on the inside of the cover and press them in place. Then allow the glue to dry.
Once the glue is dry, fold the book in half and press with a bone folder to make a crease down the center.
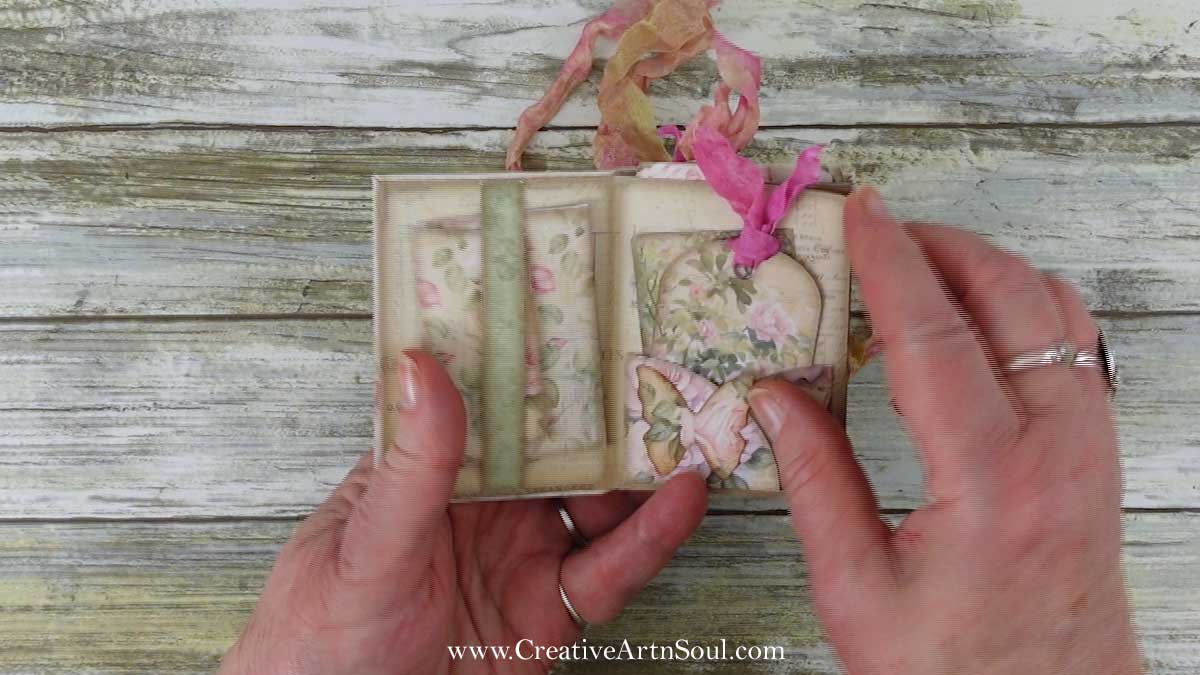
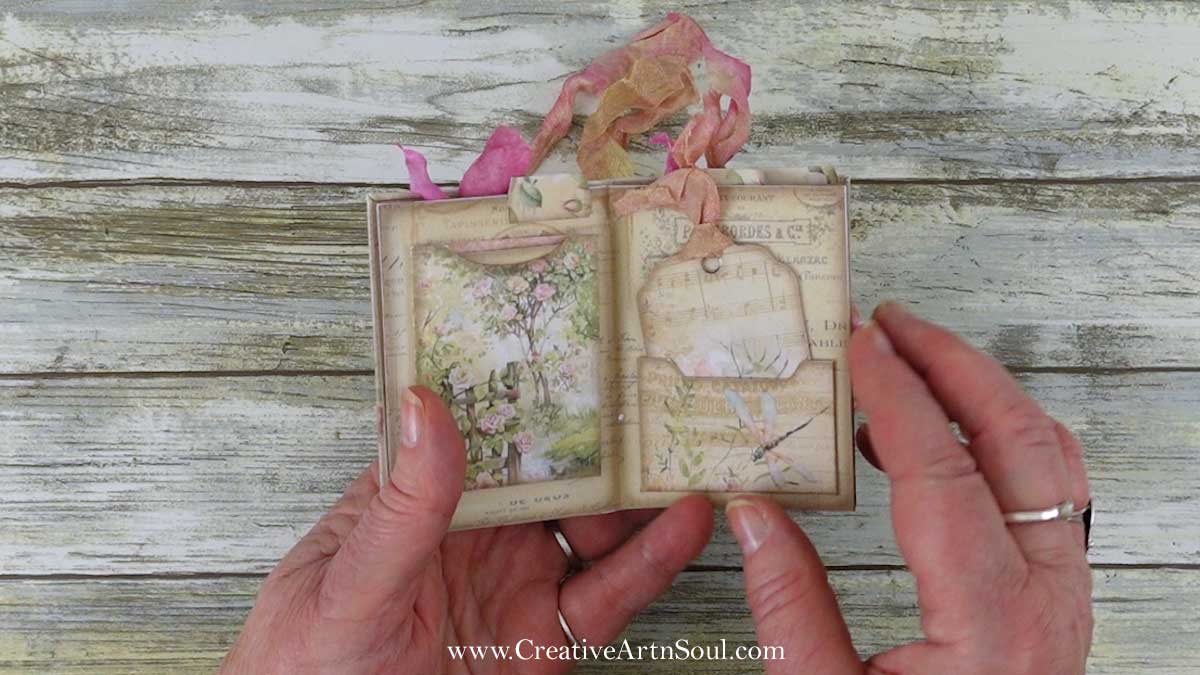
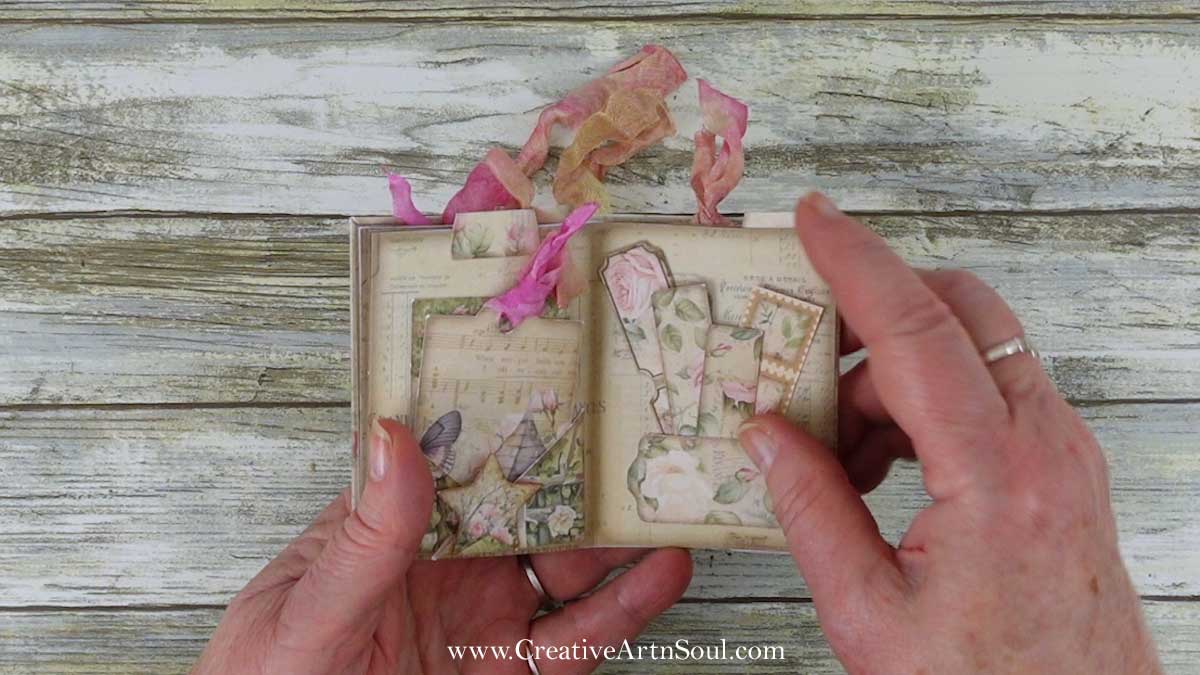
The cover size is designed to be used with four sets of printable pages and when assembled, will give you a mini journal with 7 double pages, together with front and back end papers on the cover.
Assemble the Elements and Ephemera
To make the elements and ephemera, first fold and crease along the foldlines and tabs on each piece.
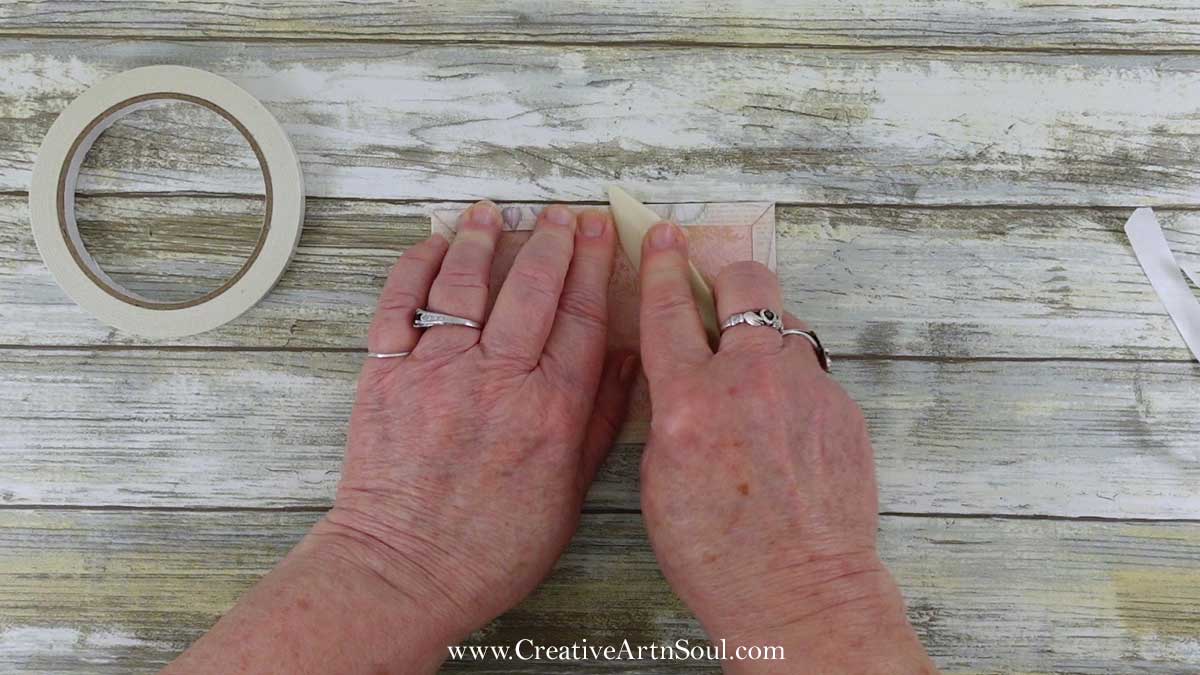
To assemble the folio, pocket and envelope, apply double sided tape or a tape runner to the tabs and press in place.
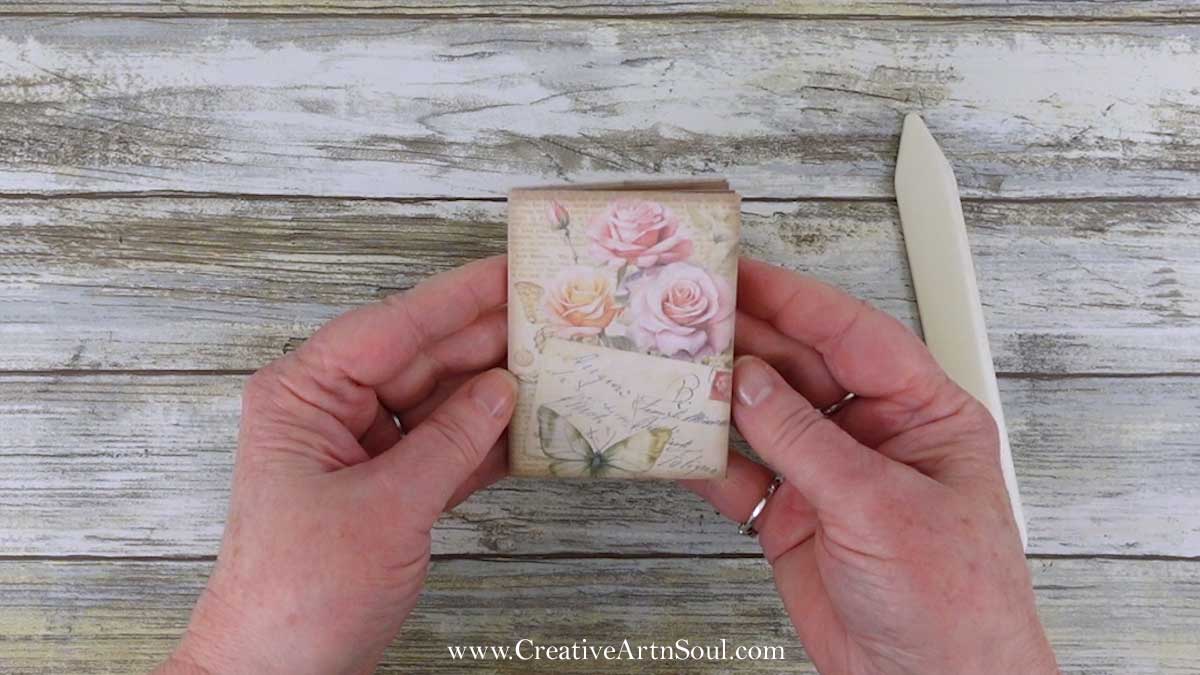
Embellish the Mini Junk Journal
Once all the pieces are prepared, use double sided tape or a tape runner to attach the pockets and embellish your mini junk journal pages.
Save this pin to your favorite Pinterest board!