
Learn how to make layered junk journal tags that are perfect to use as embellishments in your junk journals.
Layered junk journal tags are fun and creative to make using printables. They are also a fantastic way to repurpose other scraps of paper and ephemera that you may have in your paper stash.
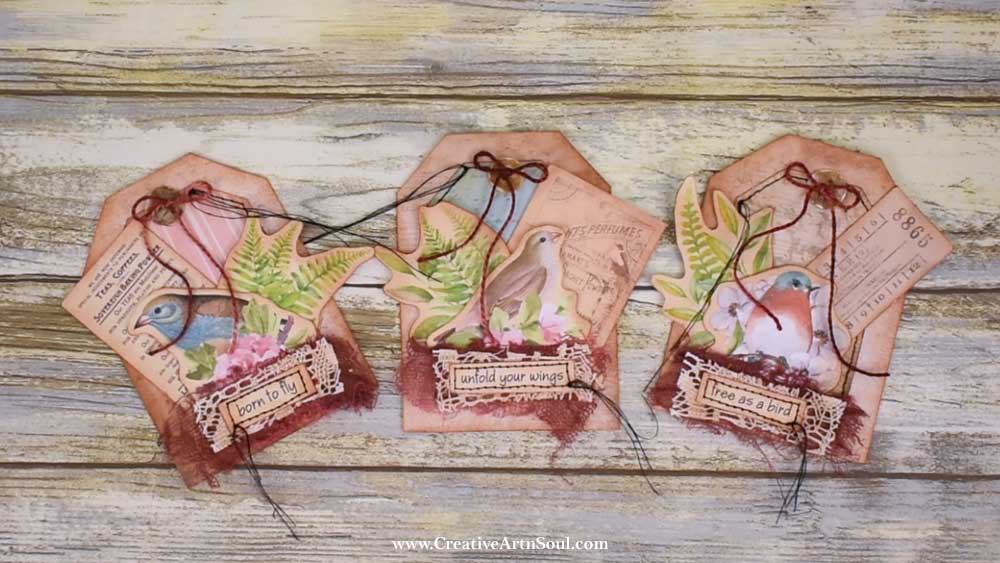
Layered junk journal tags not only add interesting elements to your junk journals, they also provide a nostalgic, shabby-chic vibe that is sure to enhance your journal pages. Don’t be afraid to mix and match different textures, colors, and sizes for a dynamic look.
Supplies
DIY Layered Junk Journal Tags
In this tutorial learn how to make layered junk journal tags that are perfect to use as embellishments in your junk journals.
To make these layered junk journal tags I’m using a printable clipart page that’s included in the Birdsong Junk Journal Kit, but you could use any other type of printable tags, clipart or ephemera that you have in your stash.

To get started, gather together some tags and a collection of printable clipart and ephemera.

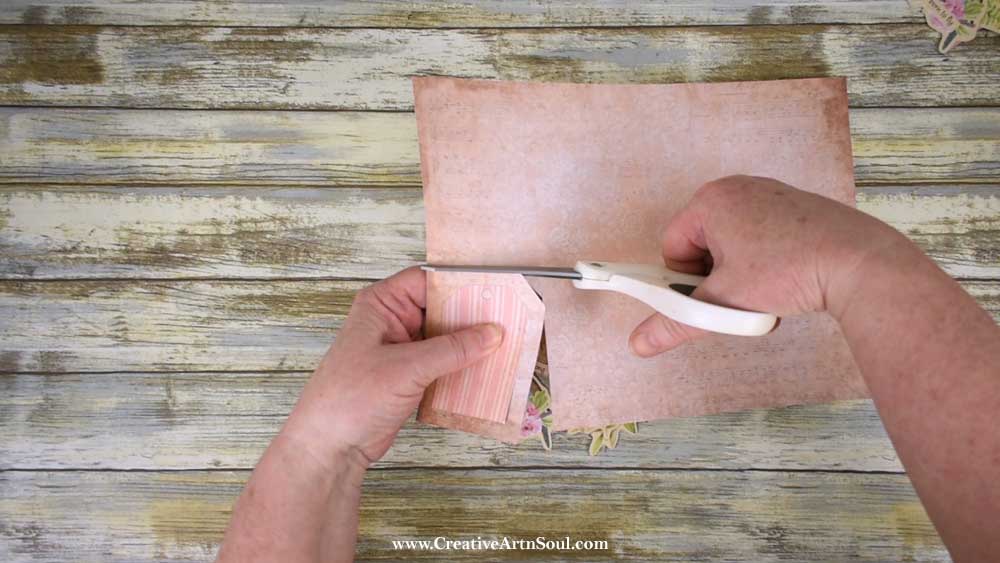
If you don’t have any tags on hand, you can easily make them by cutting them out of a piece of cardstock.
I’m going to cut some larger tags from a piece of printed cardstock to use as a backing for these smaller tags. And then I’m going to layer and sew the two tags together to make one large tag.
To create a contrast between the layered pieces, you can highlight the edges with an ink pad and applicator.
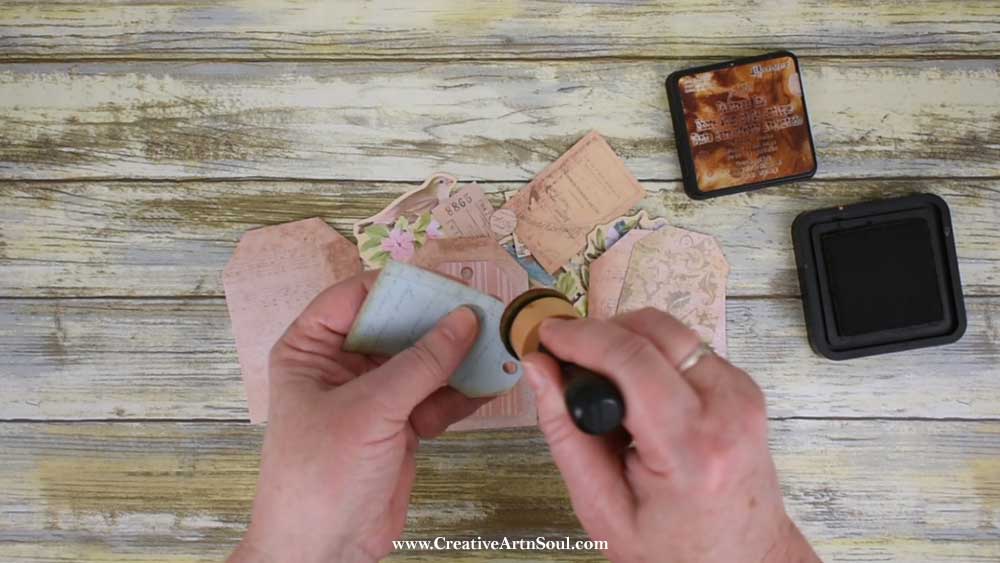
By sewing the two tags together I’ve made a large tag that has more room to layer other pieces of clipart and ephemera on it.

To make the layered tags, just play around layering different pieces of clipart and ephemera on top of the tag, until you’re happy with the way the layout looks. You can layer as much or as little as you prefer.
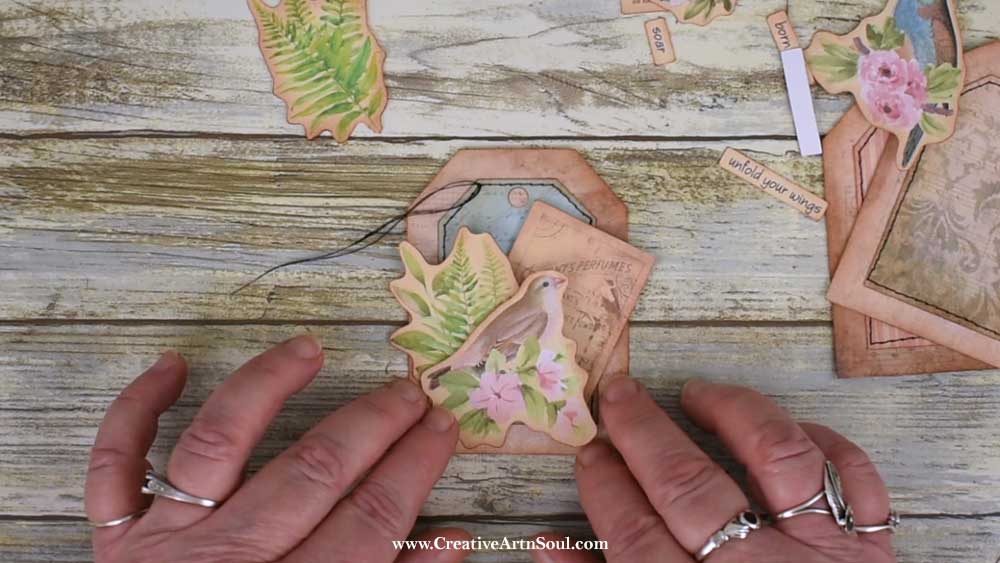
In the end I decided to add a few scraps of fabric and lace underneath the word snippet which I’m going to attach by sewing them on my sewing machine.

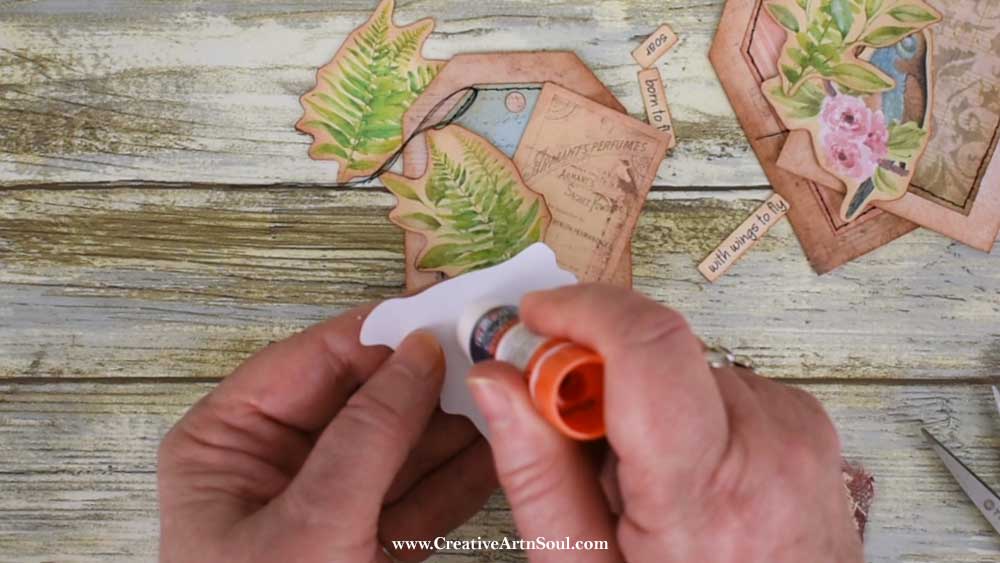
To hold all the pieces in place use a gluestick or some craft glue.
I want my pieces to have a kind of three dimensional look about them so I’m not going to add glue over the entire underside; I’m only going to add a dab of glue, just enough so they don’t fall off.
I was originally going to thread some ribbon through the hole at the top, but in the end I decided to glue on a small button with some embroidery thread tied in a bow.


Save this pin to your favorite Pinterest board!
