
Make an easy printable mini junk journal using a creative mini junk journal template.
Mini junk journals are fun and creative to make. They go together much quicker than larger junk journals, and they are perfect to use as embellishments in your larger junk journals by tucking them into a pocket.
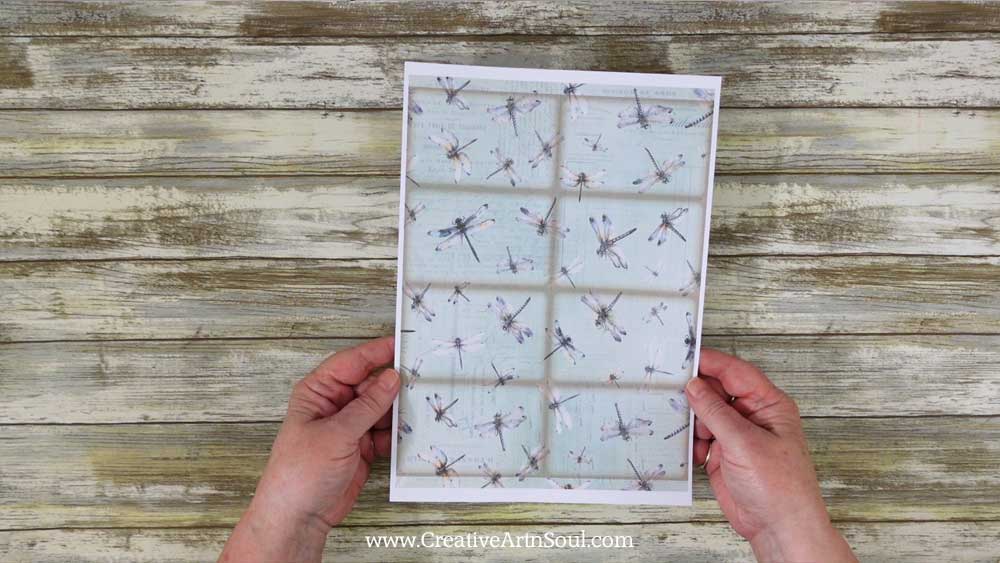
You can purchase printable mini journals that are ready to print, cut and assemble. However in this tutorial, I’ll be showing you how to make a printable mini junk journal using a template. This mini junk journal is made using one sheet of paper and folded in a creative way to make a mini journal with a front and back cover and six inner pages.
DIY Printable Mini Junk Journal from One Sheet of Paper
Supplies
- One page mini junk journal template
- Printable Papers
- Copy paper 24lb
- Cardstock 65lb
- Bone folder
- Stamp pad
- Stamp pad applicator
- Gluestick
About the Mini Junk Journal Templates
The printable mini junk journal template includes two files; one for the front and back cover and the inside pages, and one for the junk journal elements.

It comes in two styles, one with a vintage style border and one without which gives you a clean finish once cut.

Using the PDF Templates
To print using your own paper, open the pdf template file. Make sure the page scaling option is set to “fit to printable area” so that the template prints within the margins of the paper.

Insert a sheet of printable paper or scrapbook paper into your printer and then print the template page.
Design using the PNG Templates
To use the template, open the file in a photo editing or graphic design program. I’m using photoshop elements. This is the template for the cover and the inside pages.

Then open a digital paper.

To use the template, move the background paper onto a layer below the template. You can do this using commands from the main menu, Select > All. Edit > Copy. Then click on the template document and select Edit > Paste. Or simply drag the file onto the template using your mouse.
Then drag the paper layer underneath the template layer.

I’m also going to add a different paper to use for the front and back covers. Place this paper on a layer underneath the template but above the pages layer.
Then resize it using the resizing handles so that it fits inside the two bottom right sections which is the front and back cover.
Once the cover and pages are designed, you can print directly from the software program, or save the file in jpg format so that you can print it out at a later time.

The template for the elements and ephemera for the printable mini junk journal includes pockets, cards, tags and other small elements that you can use in your mini journal.

To make the junk journal elements you can use one background paper or several background papers to segment each of the different elements.
To use multiple papers, just be sure to position them underneath the template layer. Then you can rotate and resize them to fit the element. To resize, use the resizing handles then position beneath the element.

If a paper overlaps onto another section, add a layer mask by clicking the layer mask icon, then brush over the unwanted area. Using a layer mask and brushing using the color black will conceal the overlap.

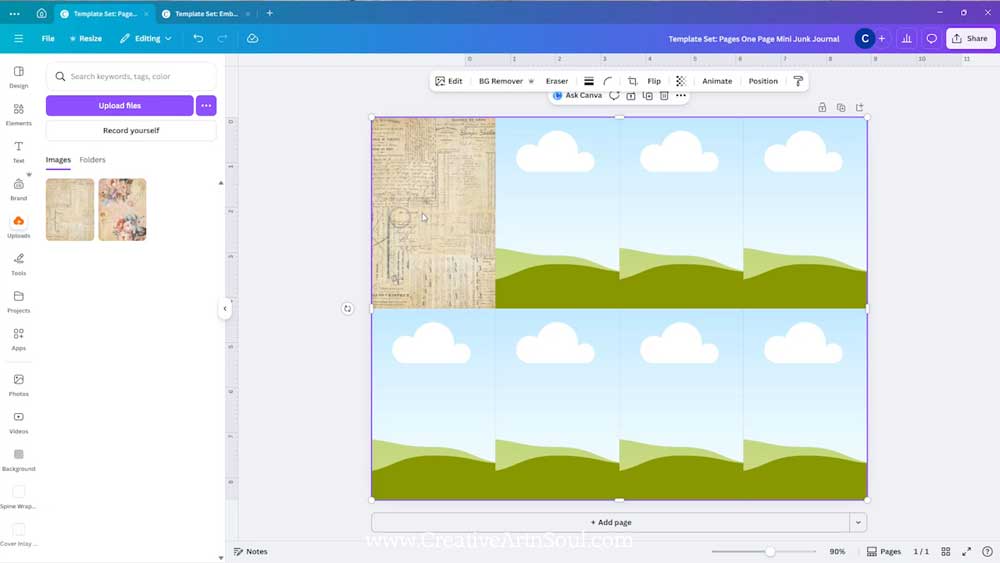
Design using the Canva Frames
As well as designing in programs like photoshop, you can also use the templates in canva. Log into canva and click the canva links that are included with your download. When the browser page opens, click the “view template” button.
The canva frame templates include frames for the pages and frames for each of the elements and ephemera. As well as the overlay templates which have fold line and cutting line guides and the vintage style border.
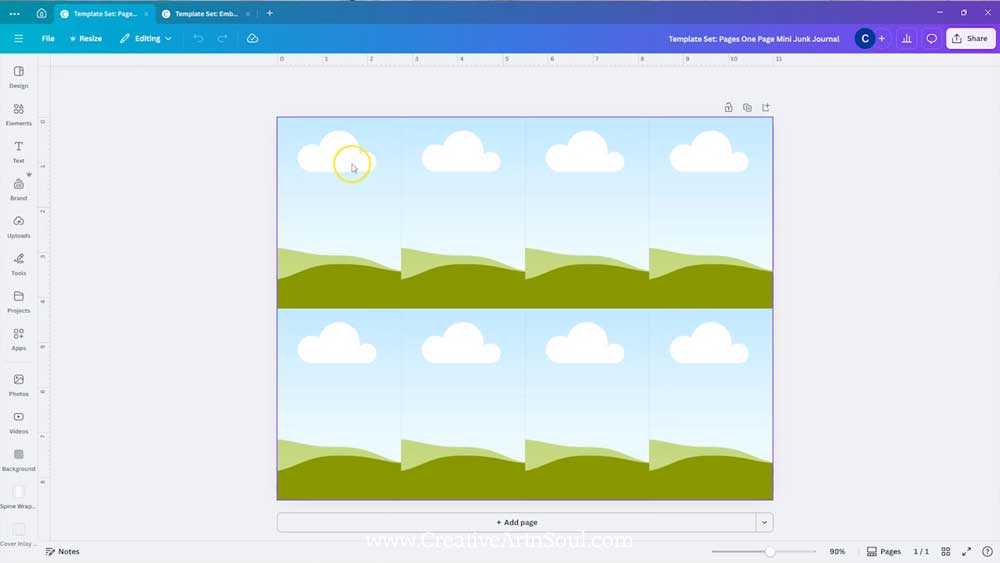
To make the pages, you can insert the background papers into each individual page frame. To do this, drag the paper over the frame until it clicks into place.
Print the Pages
After you’ve finished designing, print the pages out.
The cover and pages should be printed on good quality copy paper about 24 lb in weight which is slightly thicker than standard copy paper.
The elements and ephemera should be printed on a lightweight cardstock around 65lb weight. Using a lightweight cardstock will prevent the pieces from tearing.

Then cut the pieces out.

Assemble the Mini Junk Journal
To assemble the printable mini junk journal, fold the page into eight sections. I like to use a bone folder because it makes very sharp creases.
Fold the paper lengthways and press a fold down the middle. Then fold the paper widthways, press a fold down the middle and then fold the ends over towards the center fold.

Once the paper is creased, fold it in half widthways and cut along the center fold to the next fold.

Fold the paper lengthways and holding the edges, push the paper so the center section pops open.

Then fold the outer sections over to form a booklet.

To finish, I like to glue my pages together so that they don’t flop open and it looks more like a mini journal or notebook.
If there are any white bits showing around the edges, trim them away with a pair of scissors or apply some ink using a stamp pad and applicator.

Attach the Elements to the Junk Journal Pages
To finish off the printable mini junk journal, attach and insert the elements onto the pages.
To assemble the pockets, fold in the tabs and apply some double sided tape or a tape runner, and glue in place on the pages.
You can attach ribbons through the holes in the tags and add other embellishments such as hand stitching.


Save this pin to your favorite Pinterest board!
