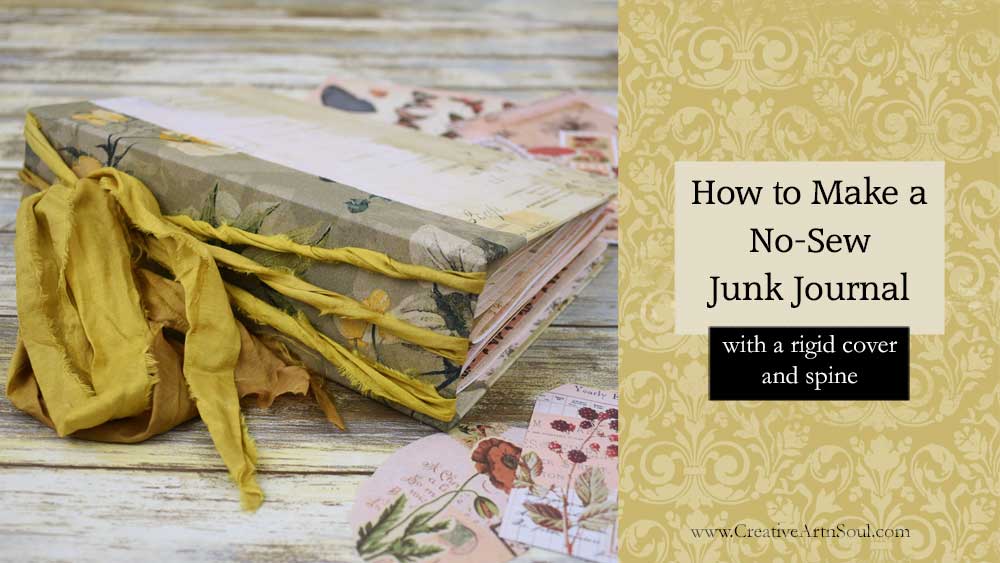
Learn how to make a quick and easy no sew junk journal with a rigid cover and spine.
This no sew junk journal is an ideal beginner journal project, and is the perfect project for using up all those leftover papers you have in your paper stash.
Using this simple no sew journal assembly, you can make your junk journals in any size at all, and in no time at all.
How to Make a No Sew Junk Journal with a Rigid Cover and Spine
The cover of this no sew junk journal is made using chipboard or thick cardboard. The cover sections are covered with decorative paper and the spine section is covered with fabric.
You can use any type of pages in your no sew junk journal. Plain pages are quick and easy to insert and then you can take your time filling in the pages with layered collages and junk journal elements. Or you could use printable junk journal pages.
Supplies
- chipboard or diy thick cardboard
- decorative paper for the cover
- fabric strip for the spine
- ribbon or decorative fibers to attach the pages
- paper for the pages such as scrapbook paper or printable paper
- ruler
- utility knife or rotary cutter
- creasing tool and bone folder
- craft strength gluestick: either Craftbond or UHU (strong & fast)
Make the Cover
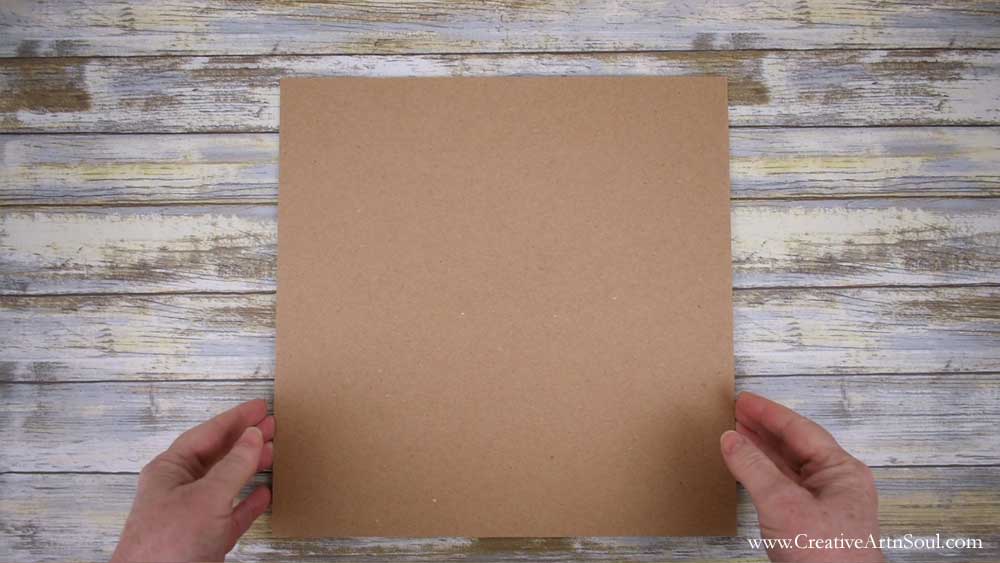
To make the cover for your no sew junk journal, you’ll need some thick cardboard or chipboard.
If you don’t have any of this thick type of cardboard on hand, you can easily make your own diy thick cardboard by gluing layers of thin cardboard such as cardboard from cereal boxes, together with layers of felt.

You can make your journal cover in any size. I’m making this one 8″ high by 5″ wide with a 2″ spine.
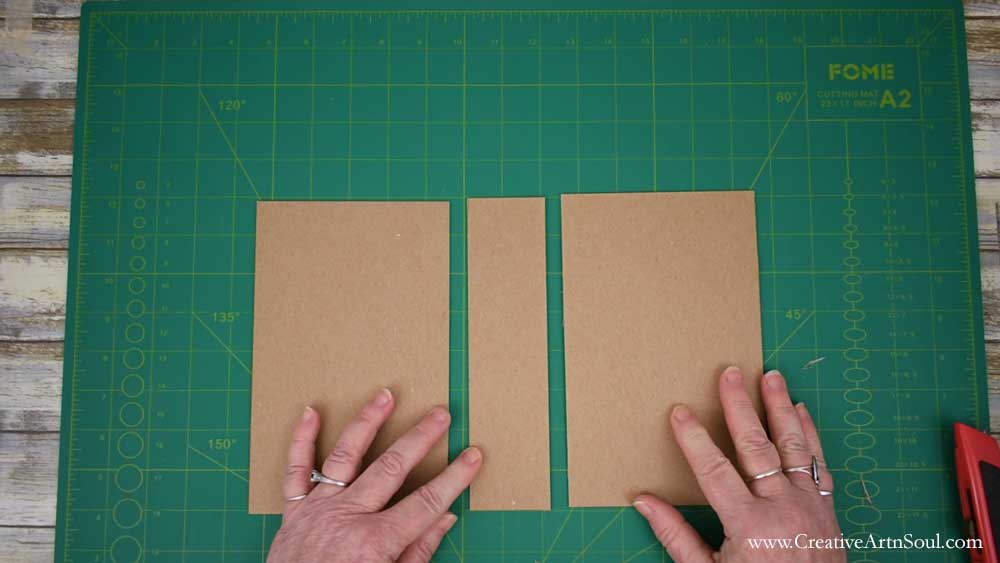
To get started, cut two pieces of chipboard for the front and back cover and one piece for the spine.
To make it easy to cut this type of cardboard, use a utility knife, or a rotary cutter, and a ruler. I like using a quilting ruler because you can see through it to make sure that your cuts are very accurate.

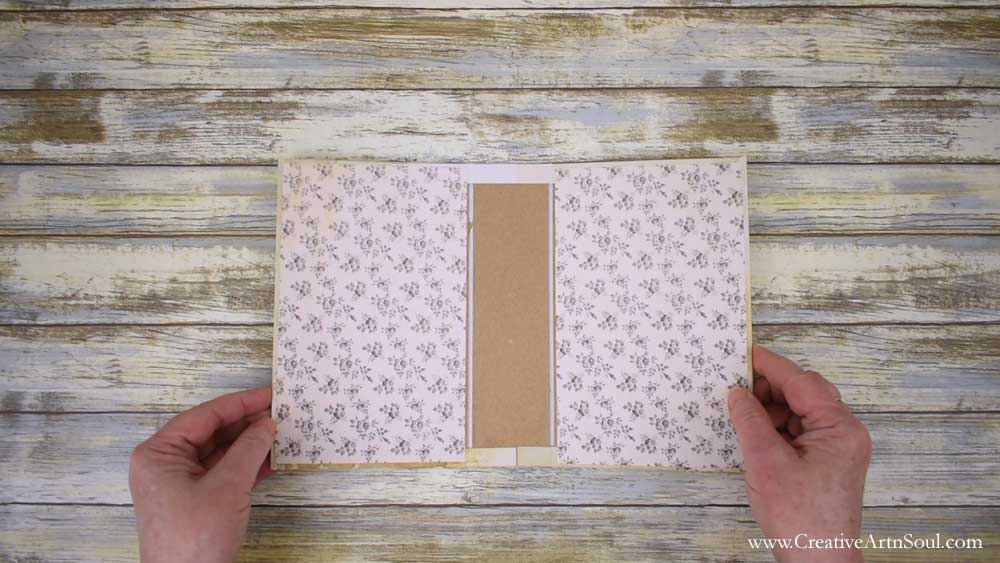
Cover the front and back cover sections with decorative paper. You could use scrapbook paper, gift wrapping paper, or even printable paper.
Cover the spine with a strip of fabric. Fabric is better for the spine area because it’s more flexible than paper and won’t wear or tear along the folded edges when you open and close the cover.
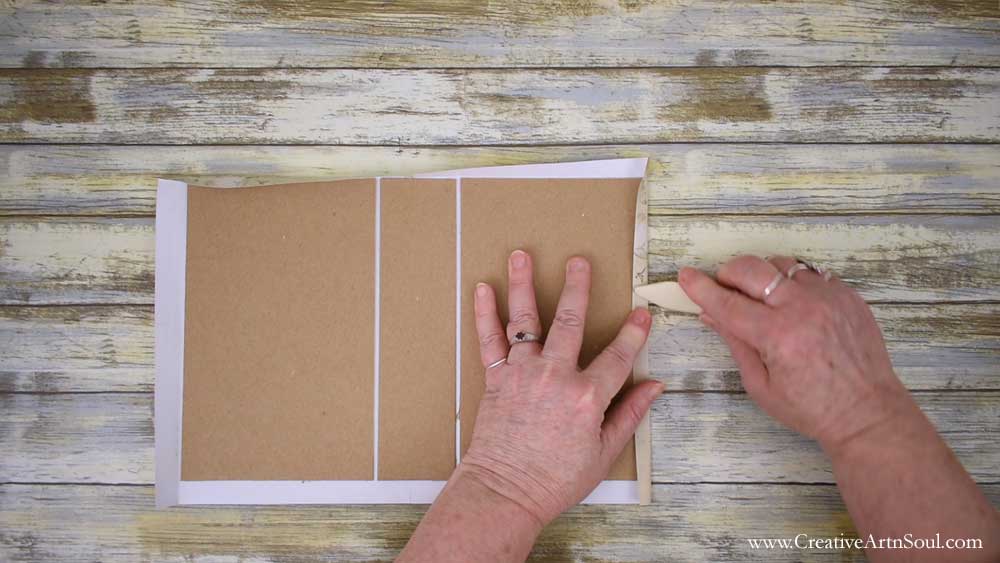
For the outside cover, cut a piece of paper with an additional 1/2″ extra along the top bottom and sides so you can fold it over to the inside. You can cut this piece of paper in one piece or two pieces that join in the middle.
For the inside cover, cut two pieces about 1/8″ smaller than the cover all the way around.

Apply glue to the outside of one cover section and press it onto the paper. Use liquid craft glue or a craft strength gluestick which is what I prefer because it’s less messy. Make sure to apply a good coating of glue.
After the paper is in place, run a bone folder over the surface of the paper to make sure it adheres evenly.
Apply glue to the spine section and position alongside the cover section leaving about 1/8″ space between the two pieces. This space will allow you to easily open the cover.
To make sure the pieces are aligned evenly, you can place a ruler along the bottom edge to use as a guide.

Finally apply glue to the outside of the other cover section and press it onto the paper leaving about 1/8″ space between the pieces.

Once the cover pieces are glued on, fold the edges of the paper over to the inside to make a crease along the edges.
Cut away the corner sections on an angle about 1/8″ away from the edge. This will help to make sure that the corners aren’t too bulky when you fold them over.

Glue along the top and bottom sections first, then fold the paper over and press with a bone folder to make sure it’s adhered properly.

To create a sharp corner point, press a bone folder along the corner edge of the chipboard to press the paper in, then carefully fold it over.


Once the corners are pressed, apply glue down the sides, fold the edges over and press with a bone folder. Push the paper into the spaces along the spine so make sure the covers open and close easily.

Once the outside is done, apply glue to the inside cover sections and press on the inside cover papers.
To cover the spine section it’s best to use fabric or even a piece of lace. Opening and closing the cover repeatedly, over time can cause paper to wear away at the edges of the fold, so fabric is more durable for this application.
Cut a strip of fabric wide enough to overlap onto the front and back cover sections and long enough to wrap around the outside and the inside.
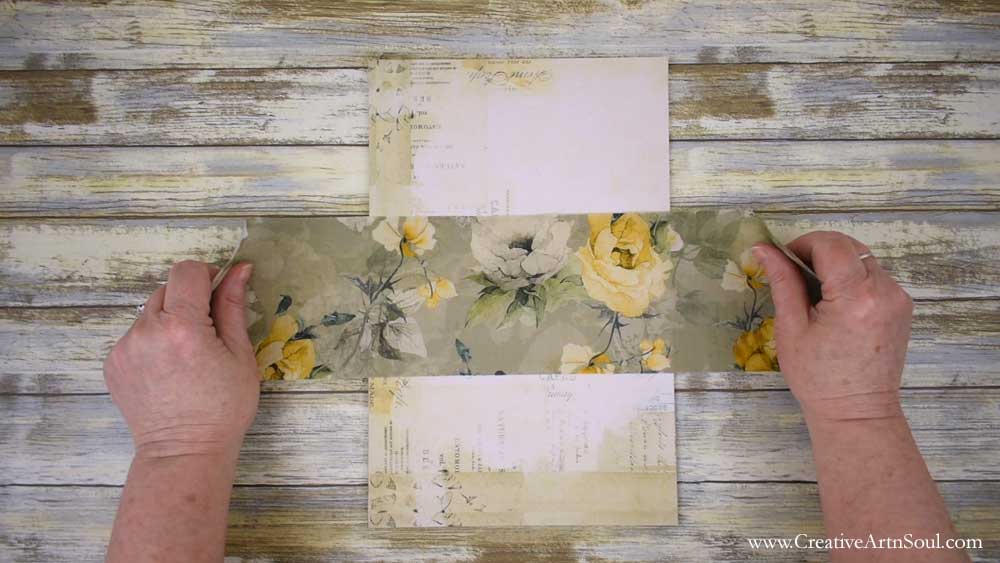
Apply fabric glue or strong craft glue to the spine section and the edges of the cover sections and glue the fabric in place.
It’s easier to apply the glue to the cover and then press the cover onto the fabric strip. Doing it this way you can center and position things easier.


To attach the signatures, you’ll need a length of string or ribbon or even some narrow lace.
Cut it long enough to wrap around the spine a number of times and tie off on the outside. The number of times you wrap it around depends on the number of signatures you’re going to include in your journal.
I’m using a length of sari silk ribbon and I’ve cut it long enough to wrap around three times so I can insert three signatures.
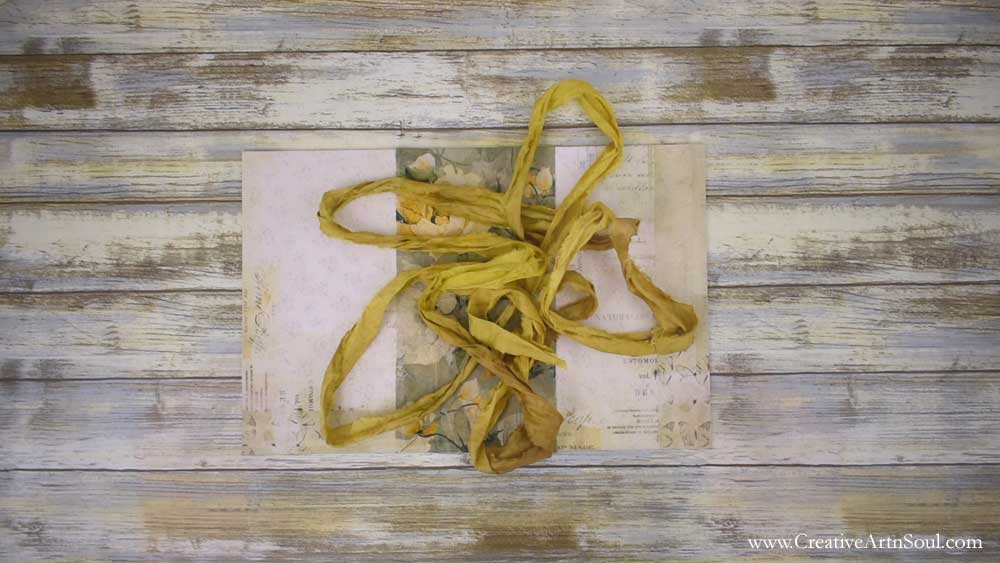
To finish, tie off the ribbon on the outside using a knot or a bow.

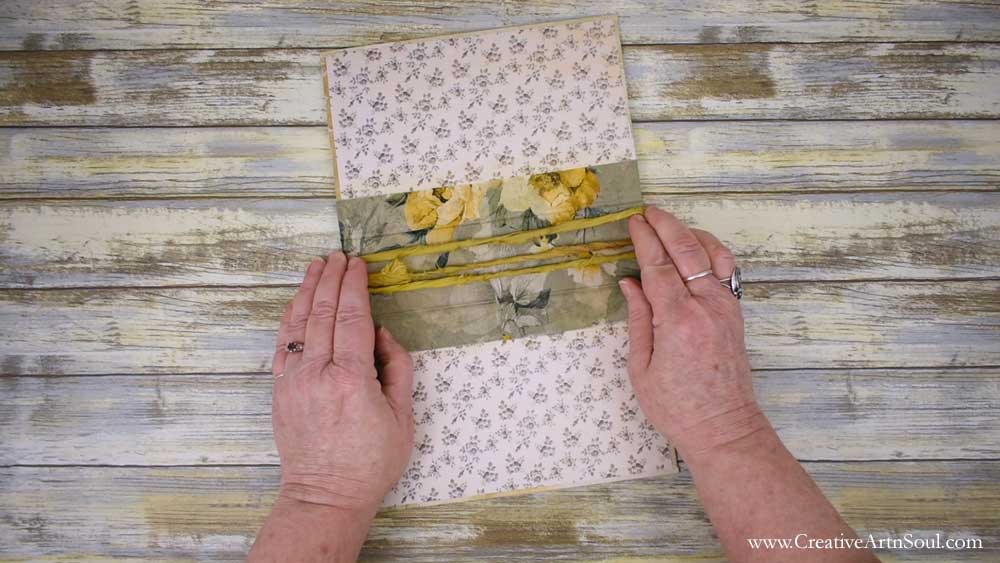
On the inside space the ribbon evenly along the width.
Make the Signatures
To make the signatures gather a selection of papers. You can use any type of papers such as printable papers, pages from magazines, or even hand painted papers.
The pages don’t have to be the same size so this is the perfect type of journal to use up your leftover papers.

Gather the papers together, fold them in half and press a crease down the middle. I’ve used about 7-8 papers per signature.
To attach the signatures, simply slip the papers underneath the ribbon. Using this method you can easily move the papers around or take them out to write or work on them and then slip them back inside the journal.


Save this pin to your favorite Pinterest board!
