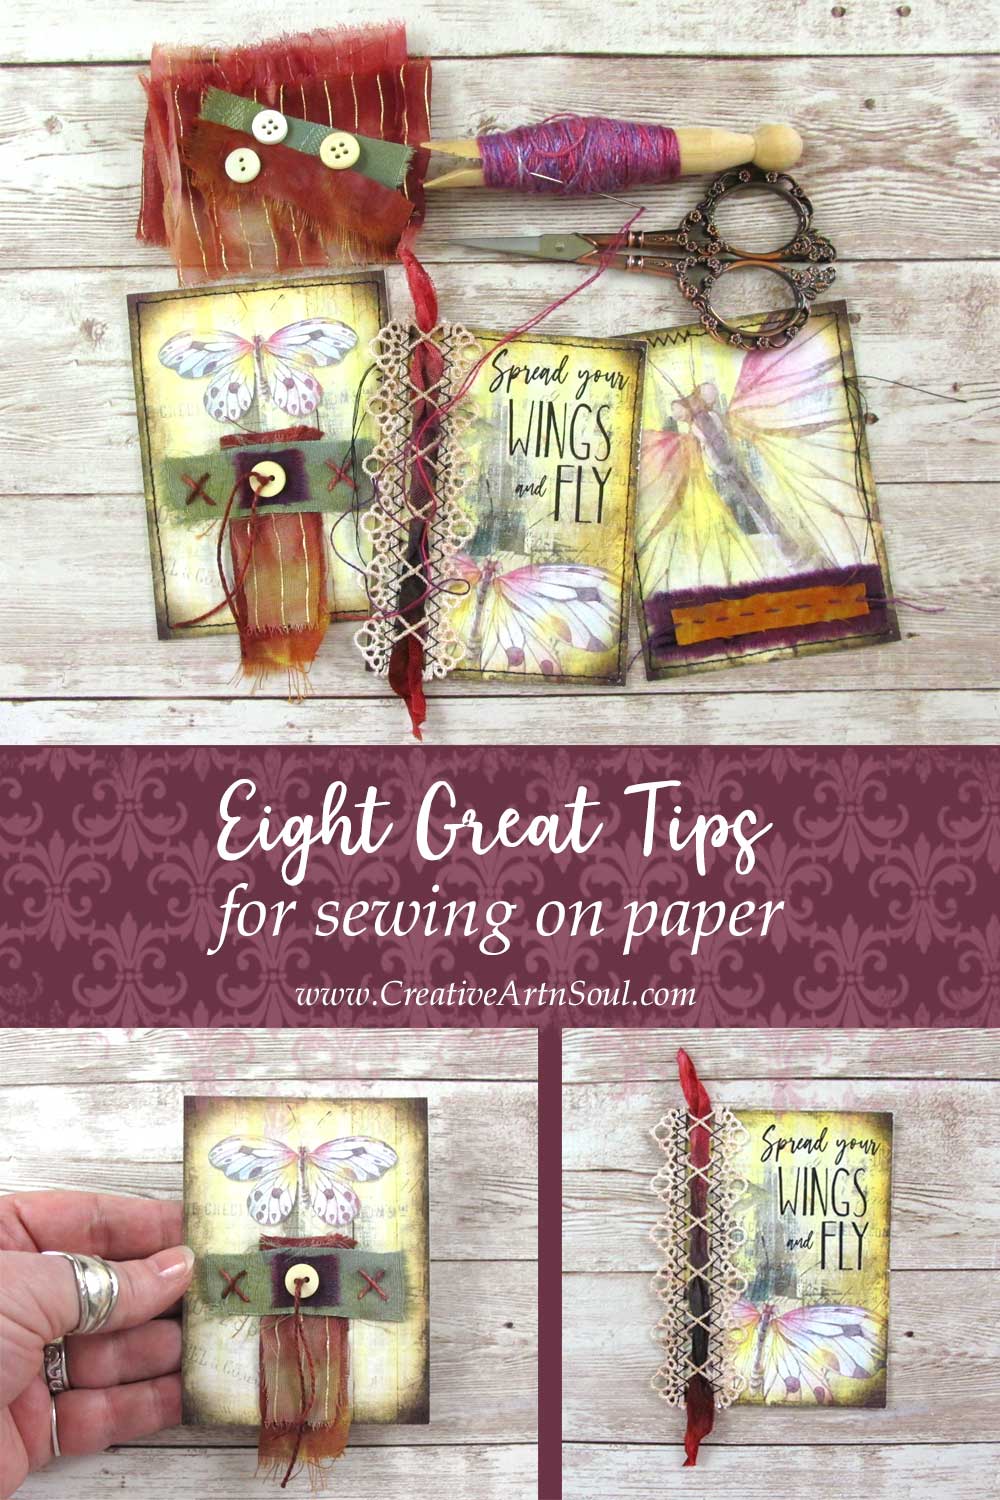
These eight great tips for sewing on paper are guaranteed to help you sew on paper without tearing it.
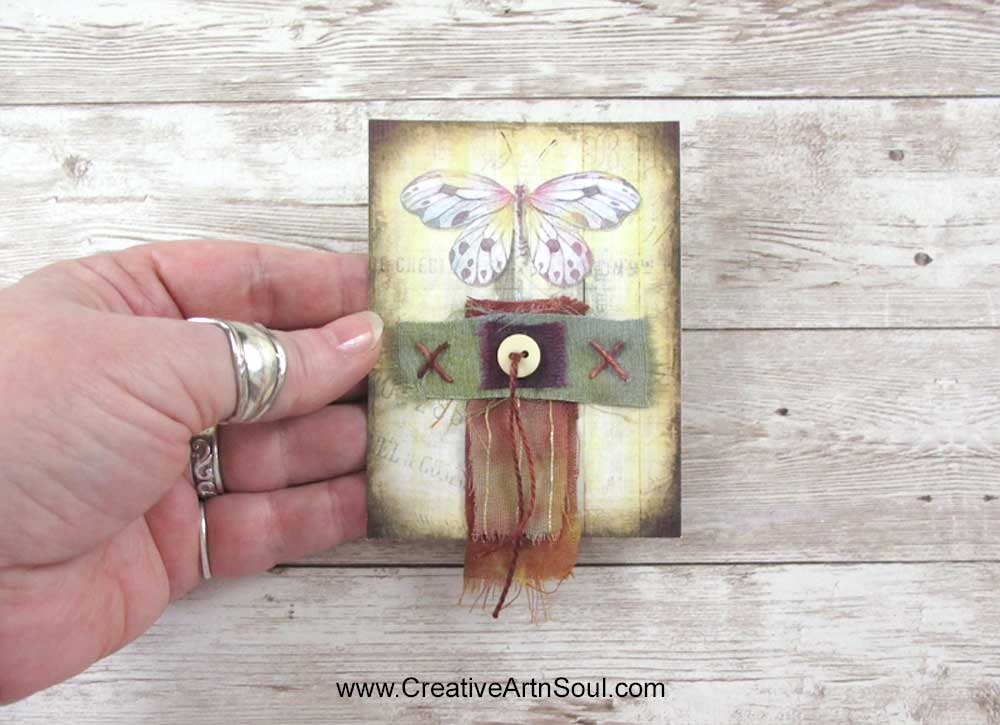
After designing these printable journaling cards, I decided to dress up one of the card sets with some fabric scraps and stitching so I could give them as a gift to a friend.
Adding a few fabric scraps and stitches to printable cards and even printable journal pages, is quick and easy. Stitched cards particularly, are ideal to give as a handmade gift. The cards can then be tucked into a journal as a remembrance, or even used as bookmarks.
In the years since I began creating digital designs in Photoshop, I’ve always embraced the idea of incorporating my designs and photoart images into my textile art in various different ways.
Whether printing images onto fabric or paper, when combined with other mixed media elements the results are always unique and interesting, particularly when working with stitched mixed media journals.
However sewing on paper requires a different strategy than when sewing on fabric because paper is less forgiving than fabric particularly when it comes to needle holes. Fabric is soft and easy to sew, and needle holes are rarely visible. But when you punch a hole into paper, it’s there for good and you can’t remove it, so planning ahead is necessary before you begin to sew.
Over the years I’ve developed my own personal favorite techniques for working with fabric and paper, and these are some of my favorite tips for sewing on paper and printables.
Eight Great Tips for Sewing on Paper
Tip #1
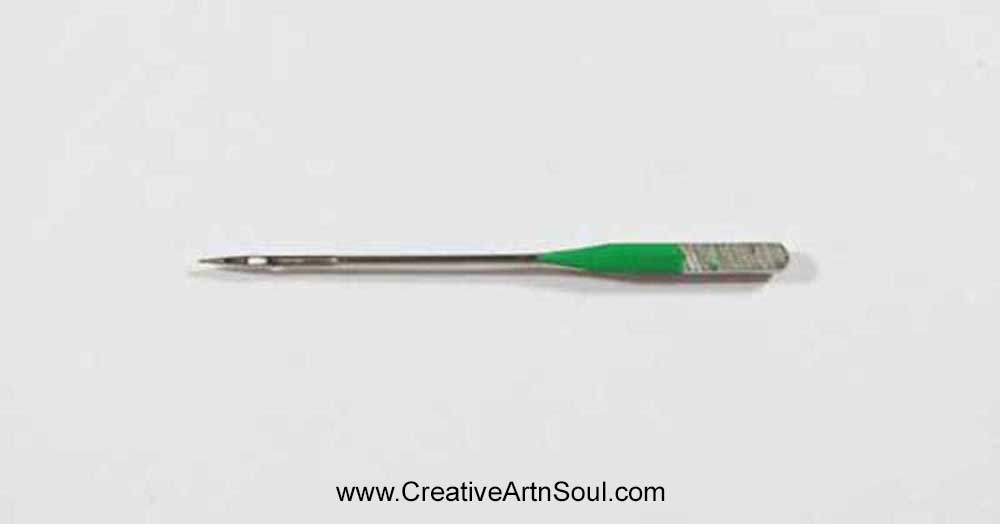
Machine sewing on paper will dull the needle so always keep a dedicated needle for paper sewing. If you’re anything like me, I’m always forgetting which needle is which, so dab a dot of colored nail varnish or acrylic paint on the shank so you can easily identify it.
Tip #2
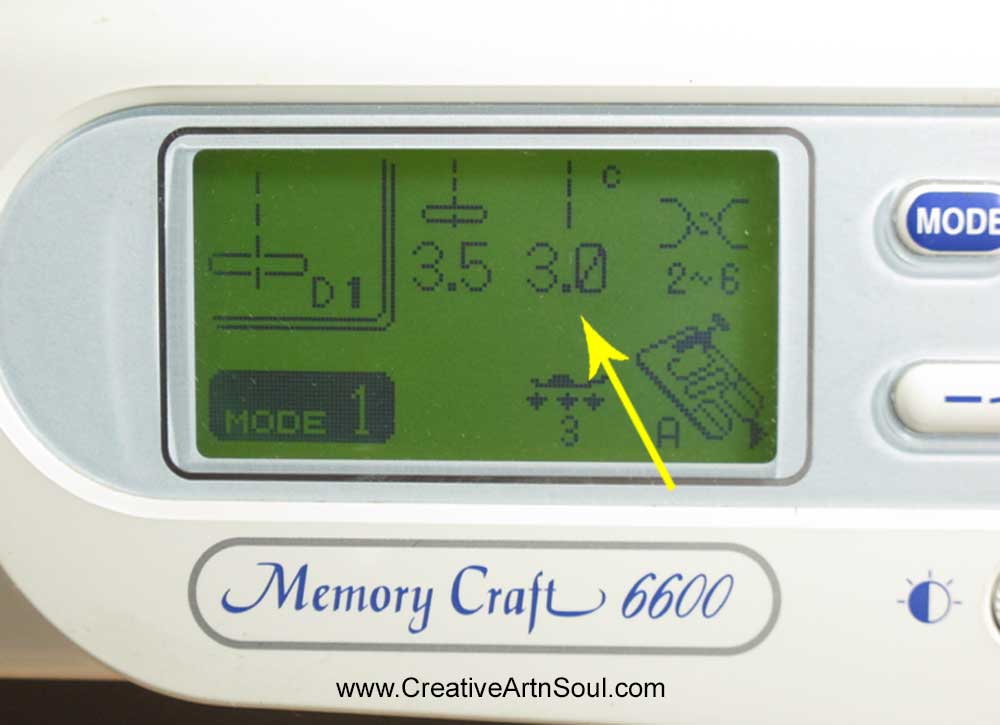
Adjust the stitch length to about 3mm-4mm (3-4 on your sewing machine) to avoid the possibility of the paper tearing. Rows of short stitches can easily turn into perforation lines which will weaken the paper and make it more prone to tearing and ripping.
Tip #3
Sewing straight lines on paper can sometimes be a challenge because paper is less forgiving than fabric. I personally don’t worry about trying to sew straight lines because I like the organic nature of lines that are a bit wobbly.
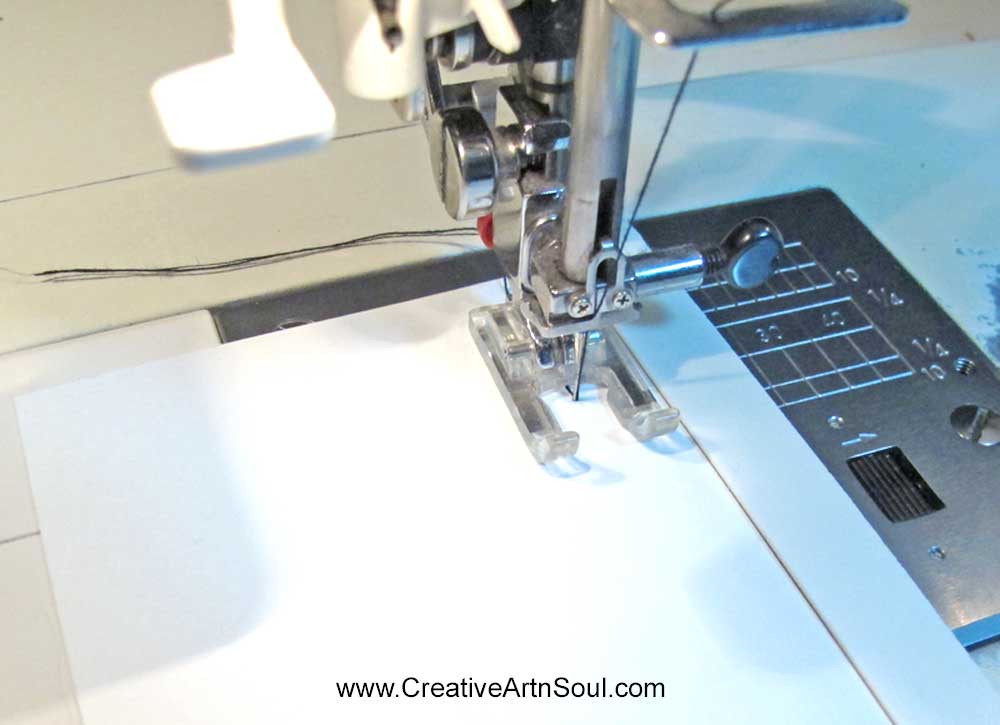
But if you have to sew a straight line, use some sort of sewing guide. You could use the sewing guide that comes with your sewing machine, or even a piece of masking tape, taped alongside the needle plate.
I prefer using these seam guides, which are thick and provide a raised edge that I can butt the paper up against. They guarantee a perfectly straight line of sewing every time whether it’s paper or fabric.
Also – sew slowly – it’s not a race. Sewing on paper slowly will help to prevent your machine foot from slipping as paper has a more slippery surface than fabric.
Tip #4
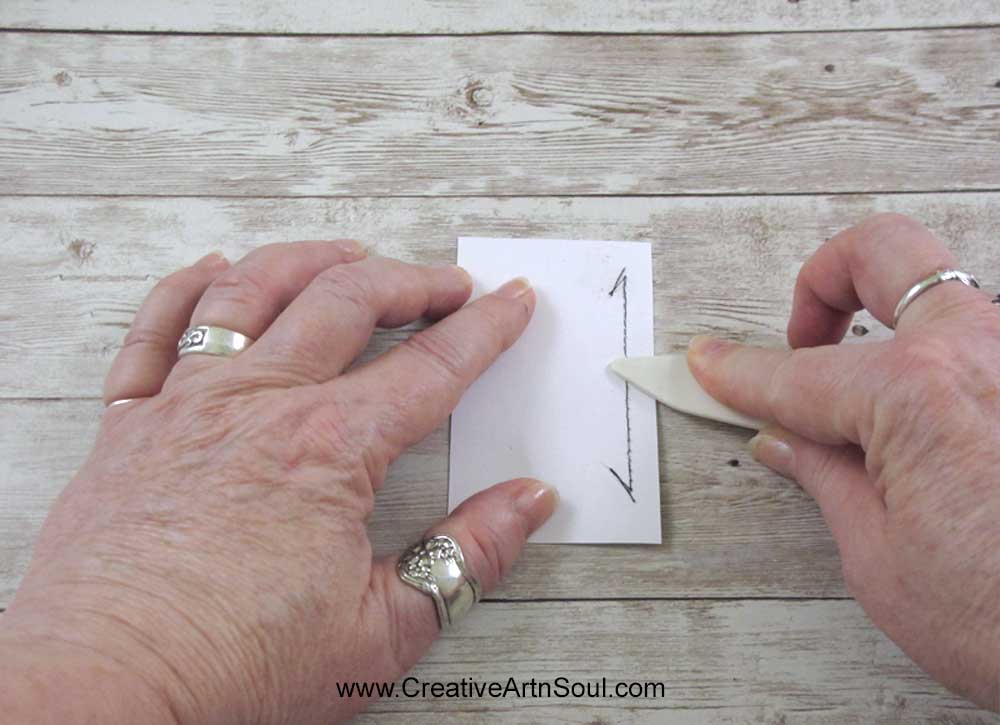
When sewing on paper, the needle tends to push the paper through to the underside which leaves it looking a bit messy and rough.
There’s no way to avoid this, however you can make the rough edged holes a bit flatter by running a bone folder over them to flatten them out a bit. This also helps to lock the stitches in place if your stitch tension is a bit loose.
Tip #5
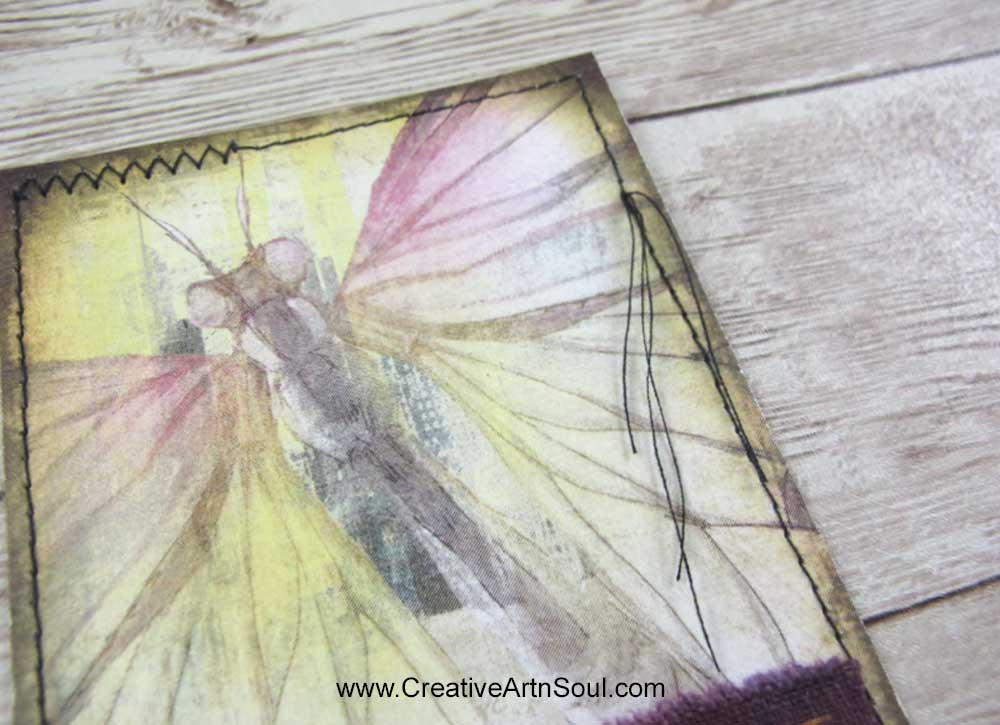
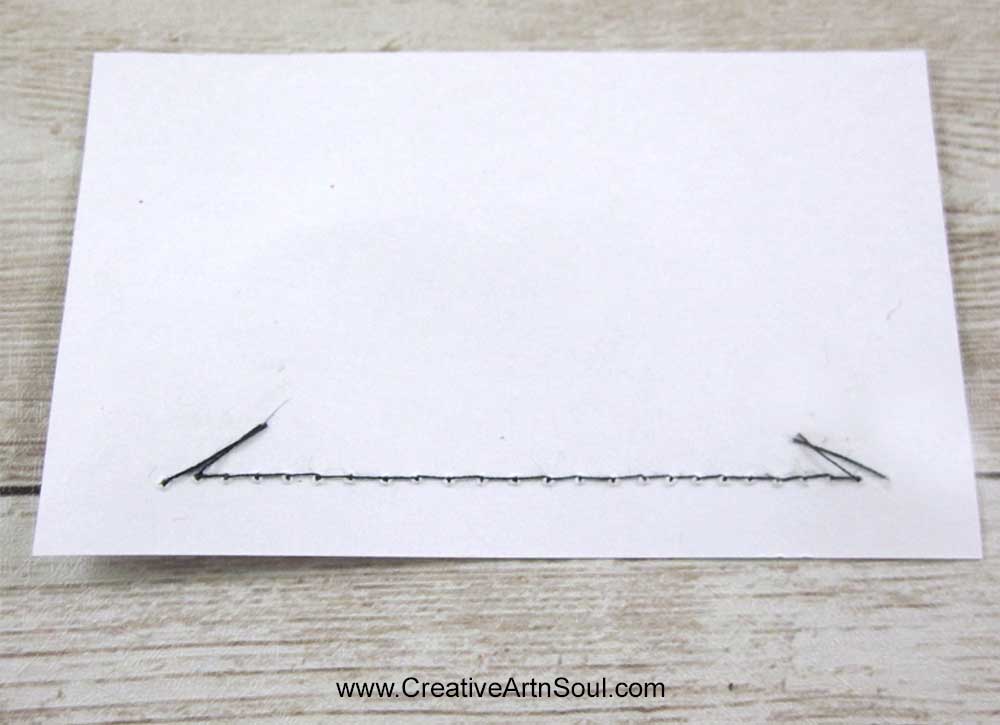
When locking the stitches at the end of a row, I often simply pull the thread through to the upperside, tie in a knot and cut away the excess thread leaving a thread tail. I like that it adds a bit of visual texture.
Tip #6
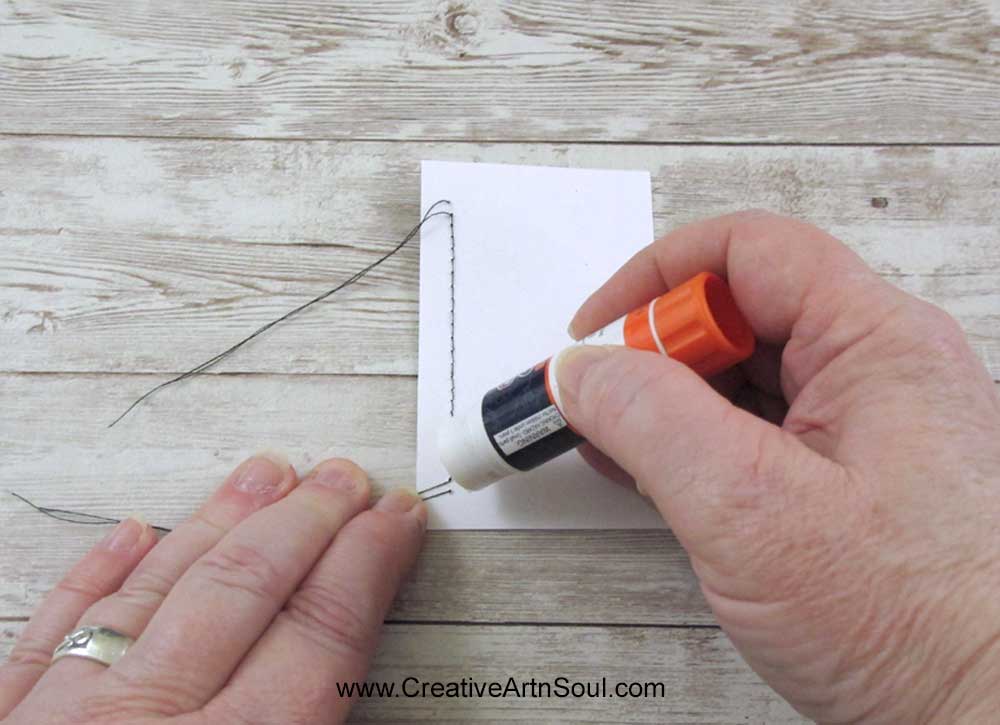
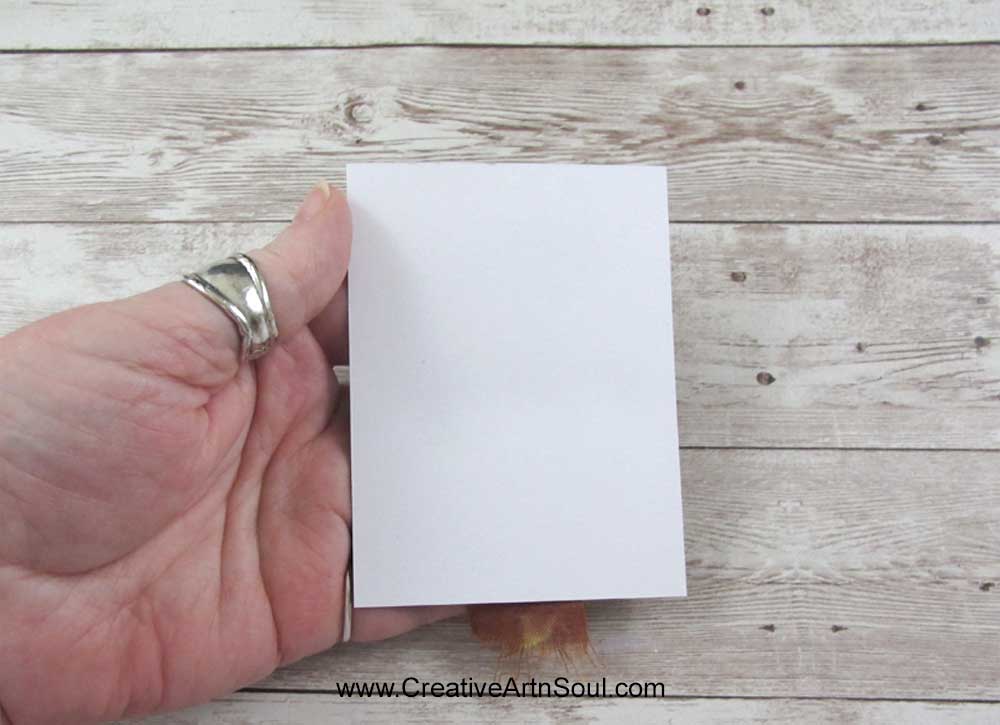
For times when I don’t want a thread tail showing, I’ll simply pull the thread through to the underside and secure with a gluestick.
Tip #7
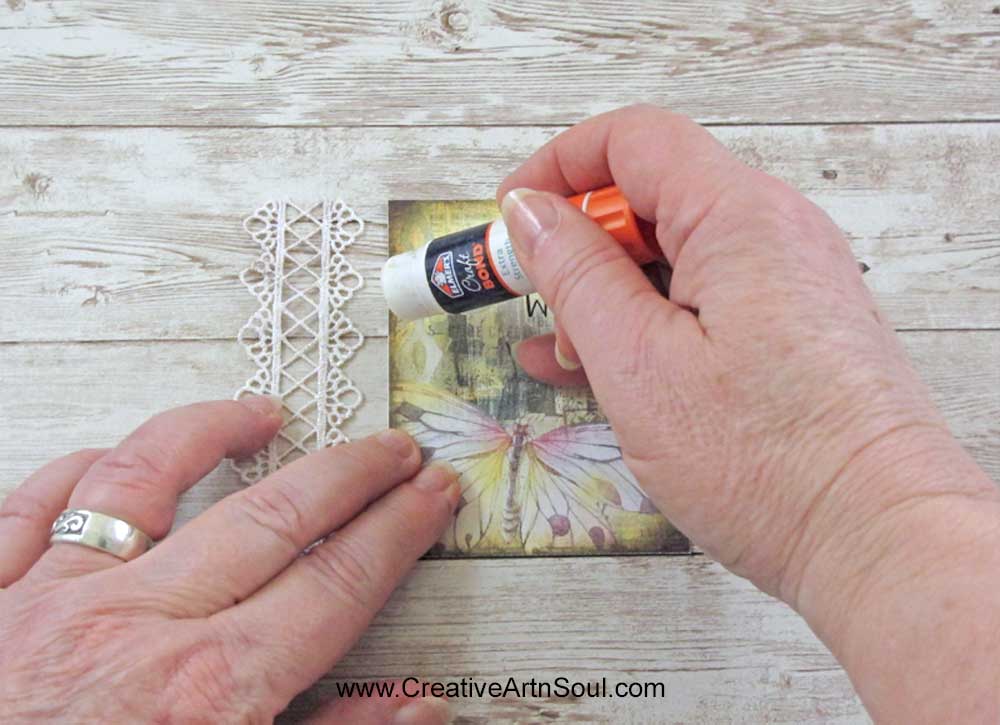
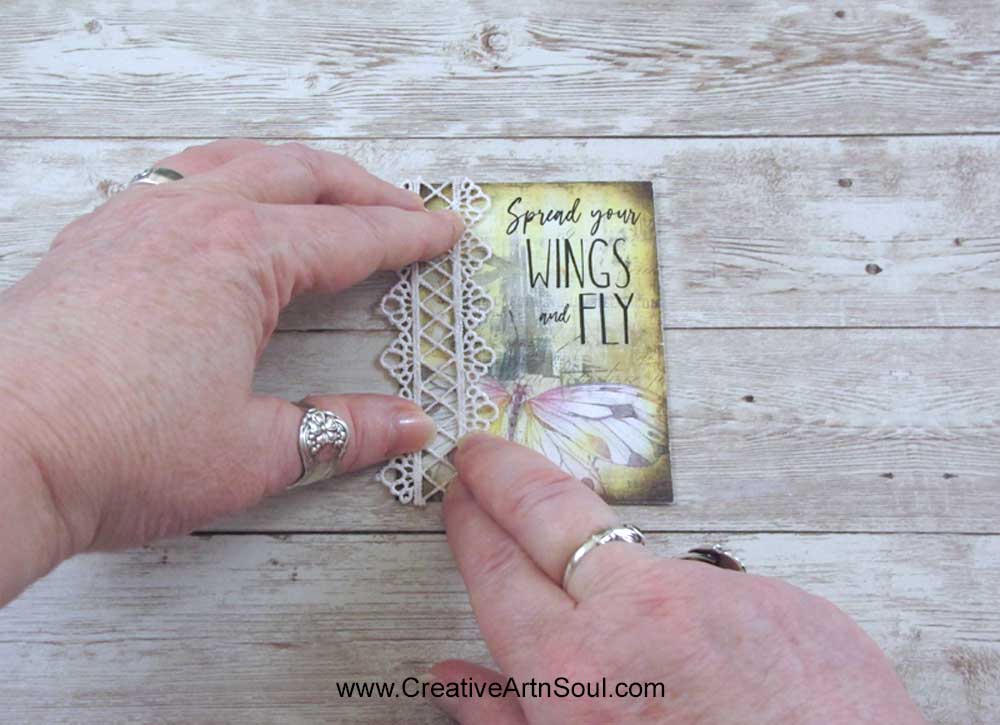
Positioning fabric and lace scraps on top of a paper backing for either hand sewing or machine sewing can be challenging because you can’t really use pins without either bending and creasing the paper or leaving holes in it.
I like to position my fabrics using my favorite gluestick to hold the pieces in position while I sew, particularly when sewing on paper. If you let the glue dry before sewing, you shouldn’t have any problems with the glue gumming up your needle.
Tip #8
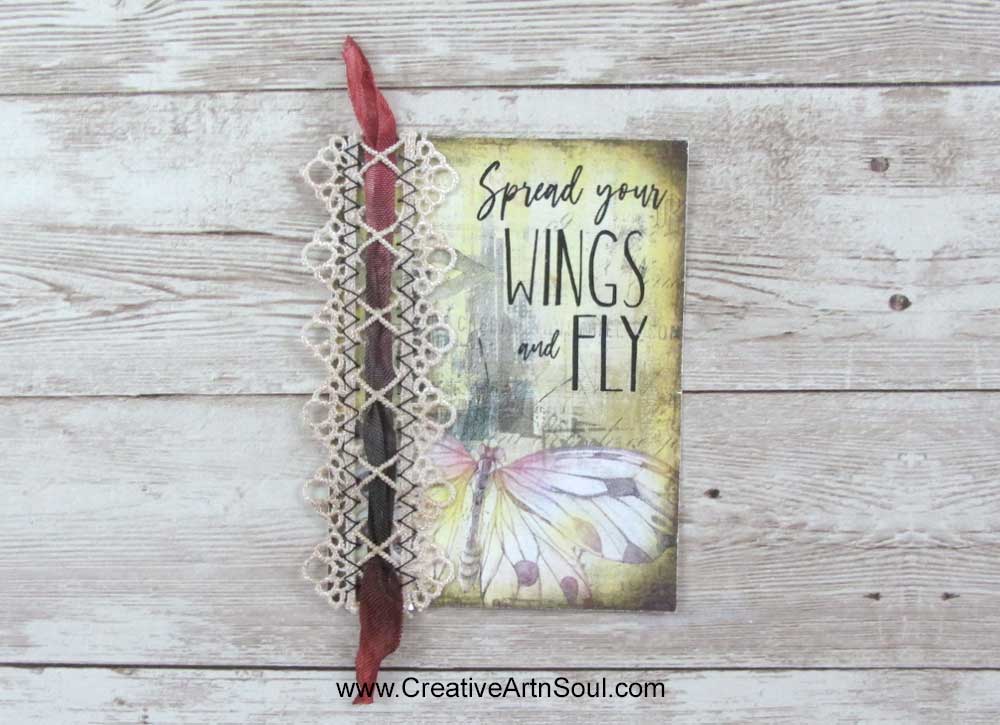
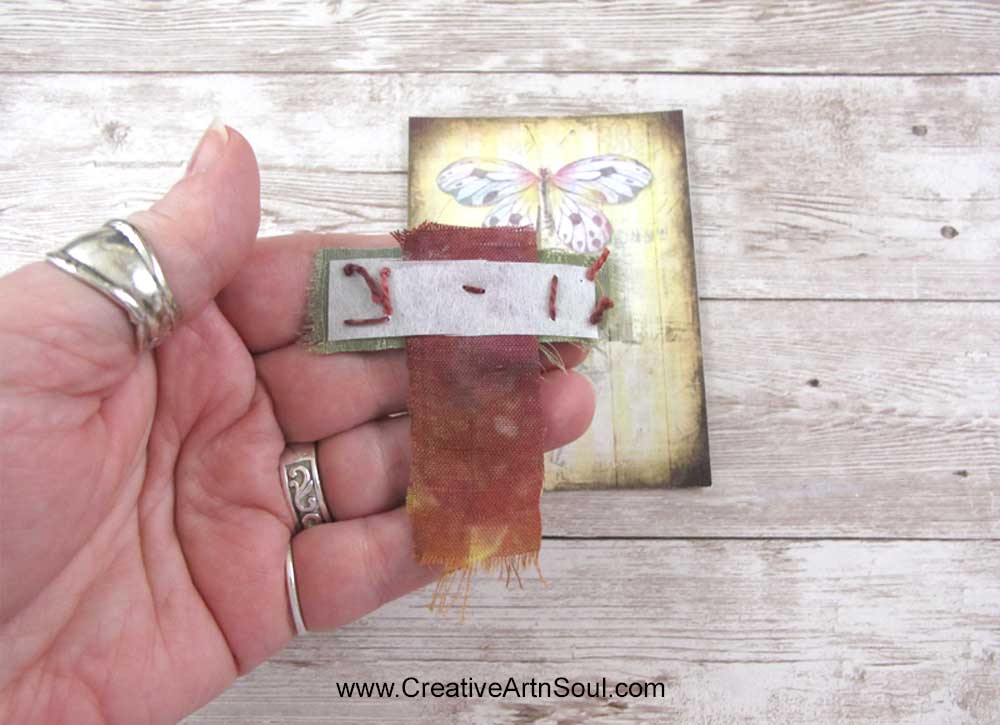
And finally, my favorite tip and one I use regularly. For times when you don’t want stitches to show on the paper backing, either hand sew or machine sew the fabric/lace/embellishments onto a piece of tear-away stabilizer, tear or cut away the excess, and then glue it to the backing paper.
Shop for Creative Journaling Printables
Save this pin to your favorite Pinterest board!
