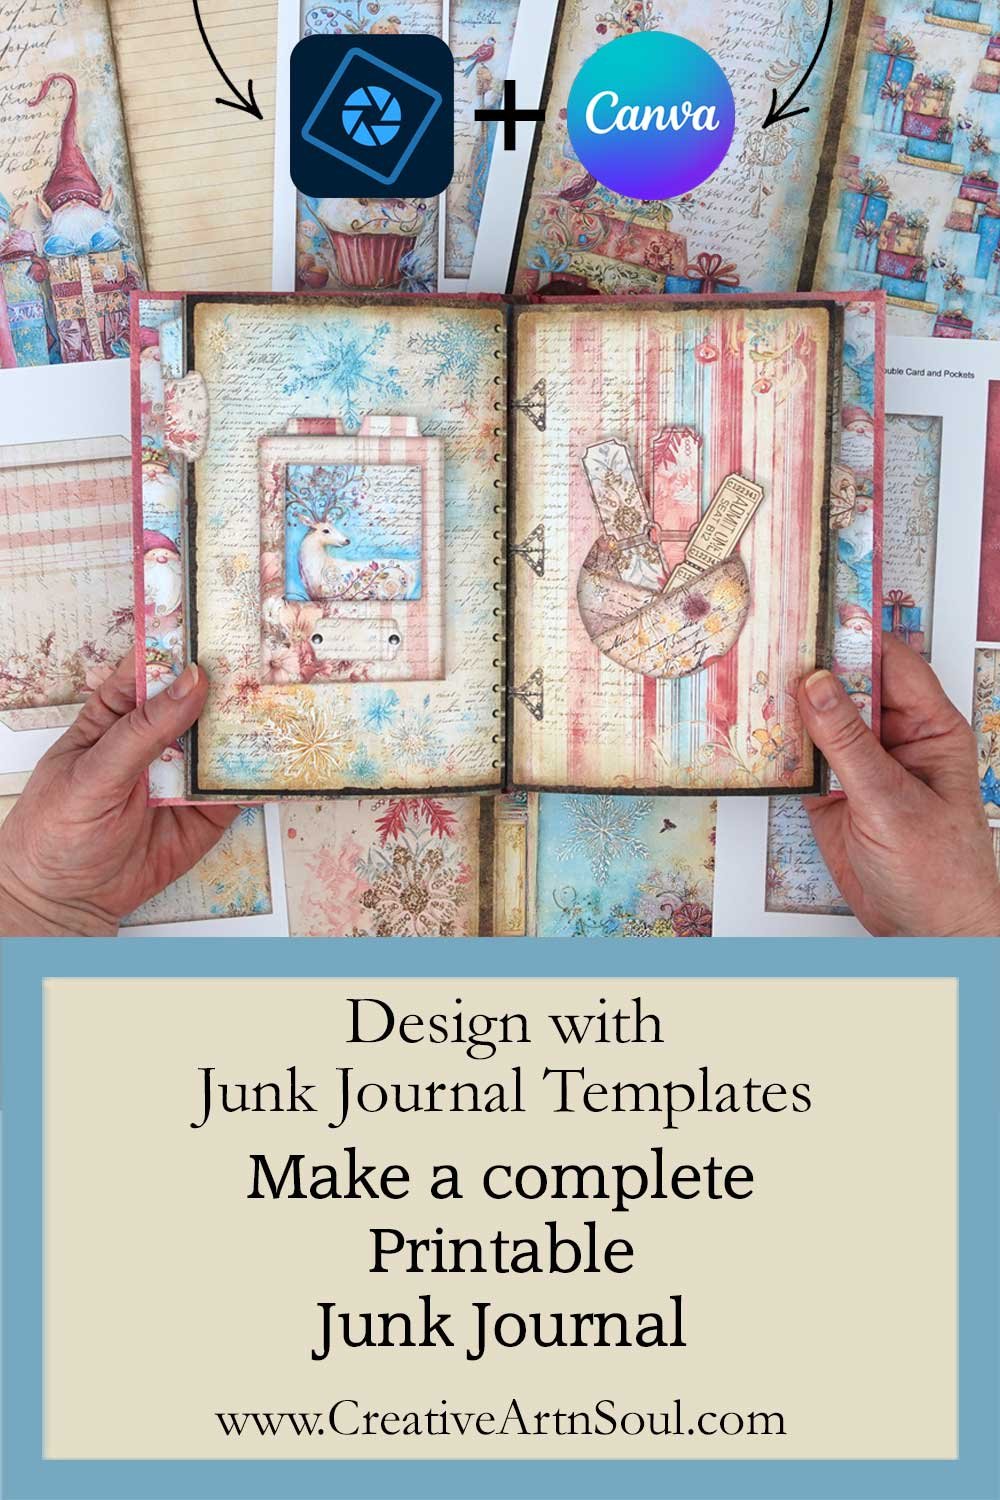
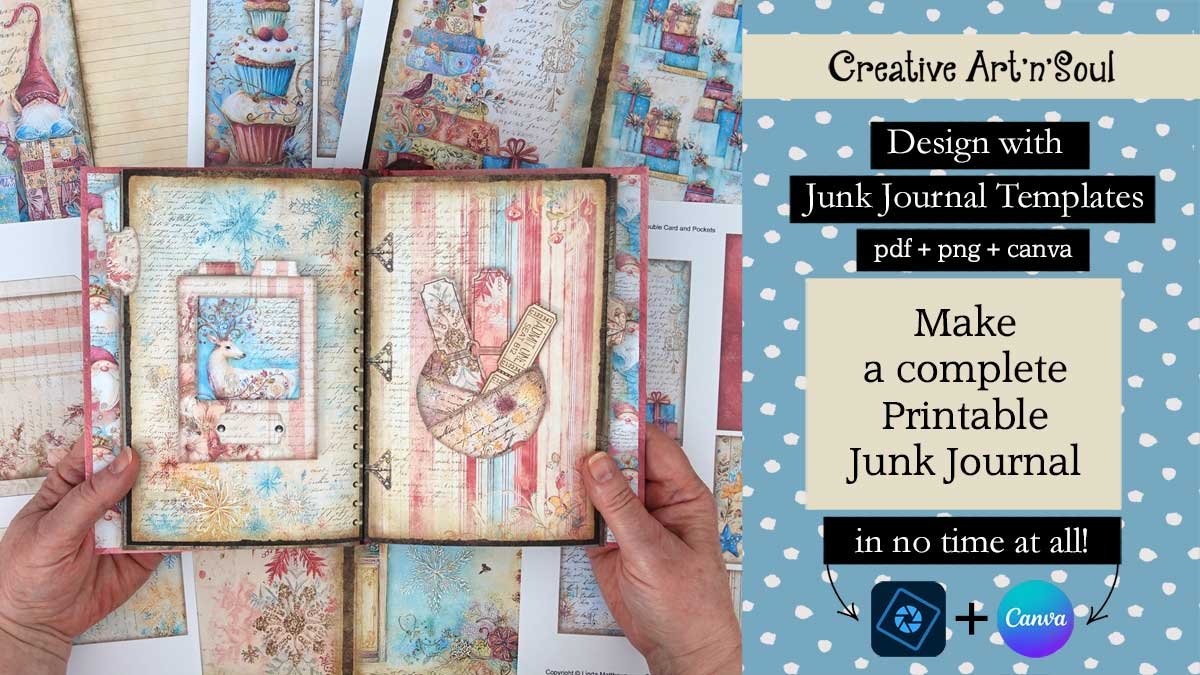
Design and assemble your own complete printable junk journal kit with elements and embellishments using this easy-to-use template set.
If you love creating your own junk journals but want an easier way to turn your favorite digital papers into beautiful journal pages and embellishments, this Complete Junk Journal Template Set is just what you need!
This collection of 20 versatile templates gives you everything you need to create a coordinated junk journal, from decorative page borders and overlays to pockets, envelopes, journal cards, tags, folders and folios. Whether you’re starting with a favorite printable paper collection or using digital papers you’ve created yourself, these templates make it easy to transform your papers into a beautiful collection of coordinating journal elements.
Whether you’re a beginner learning to make your own junk journals or an experienced crafter looking for a versatile collection of templates to add to your creative toolbox, this bundle offers endless possibilities.
Use the templates with your existing printable papers or choose from this selection of digital paper packs. Mix and match different patterns and colors, and create everything from individual journal pages and embellishments to a complete coordinated junk journal. With so many different elements included, you’ll have the flexibility to create something unique every time.
How to Make a Complete Printable Junk Journal
Watch the full step-by-step tutorial
Supplies
- Complete Junk Journal Kit Templates
- A Christmas Story Printable Papers
- Cardstock
- Score Board
- Bone Folder
- Double Sided Tape
- Bookbinding Awl
- Cutting Mat
- Rotary Cutter
- Ruler
- Gluesticks
- Double sided tape 1/2″
- Double sided tape 1/4″
- Double sided tape 1/8″
- Gluestick
Resources
About the Templates
This template set includes 20 different templates that can be used over and over again with different types of digital papers to create your own unique junk journals in no time at all.
The bundle includes a variety of useful templates designed to give you plenty of creative options. Create decorative journal pages with page borders, lined overlays and binder ring details, then add interest with double pockets, specimen pockets, mini envelopes, postcards, journal cards and interactive folios. You’ll also find frames, labels, tabs and tags to complete your designs.
The templates come in three formats. The pdf format is easy to print and can be used with your own printable papers or scrapbook papers. You can use the png format in a photo editing program which gives you more creative options for designing using digital papers. Or you can use the canva frames in canva.
Included are two styles; one with a border for a vintage style finish, and one with no border for a clean edge finish.
Using the PDF Templates
To print using your own paper, open the pdf template file. Make sure the page scaling option is set to none so that the template prints at the correct size.
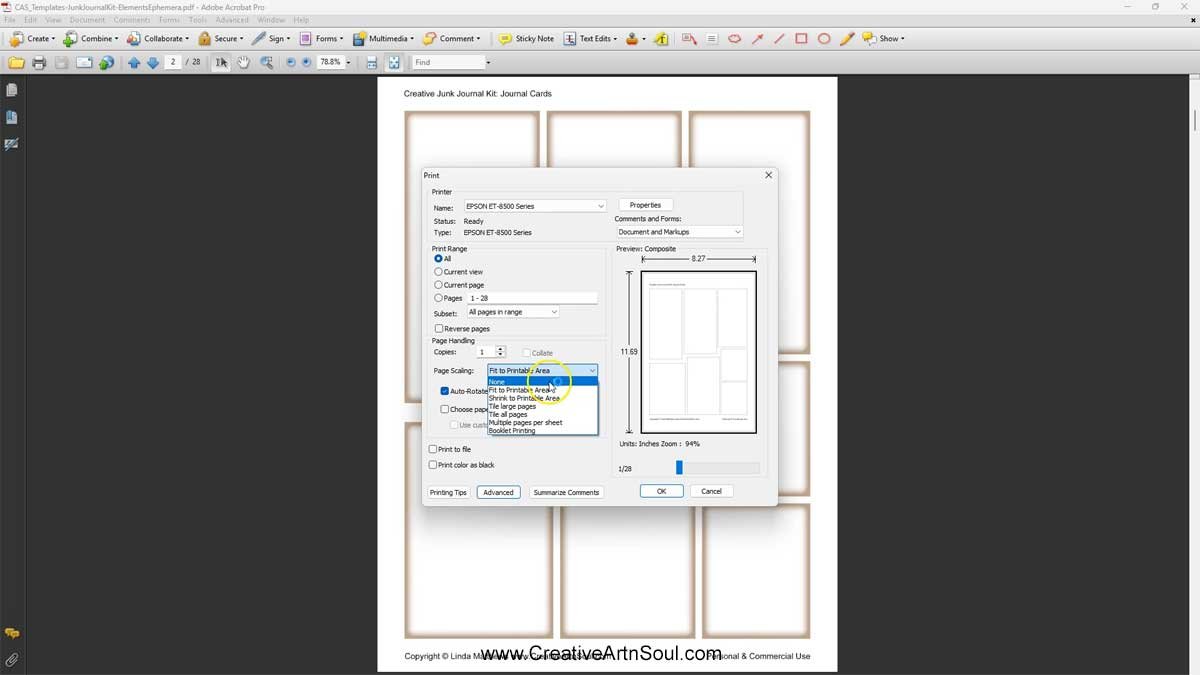
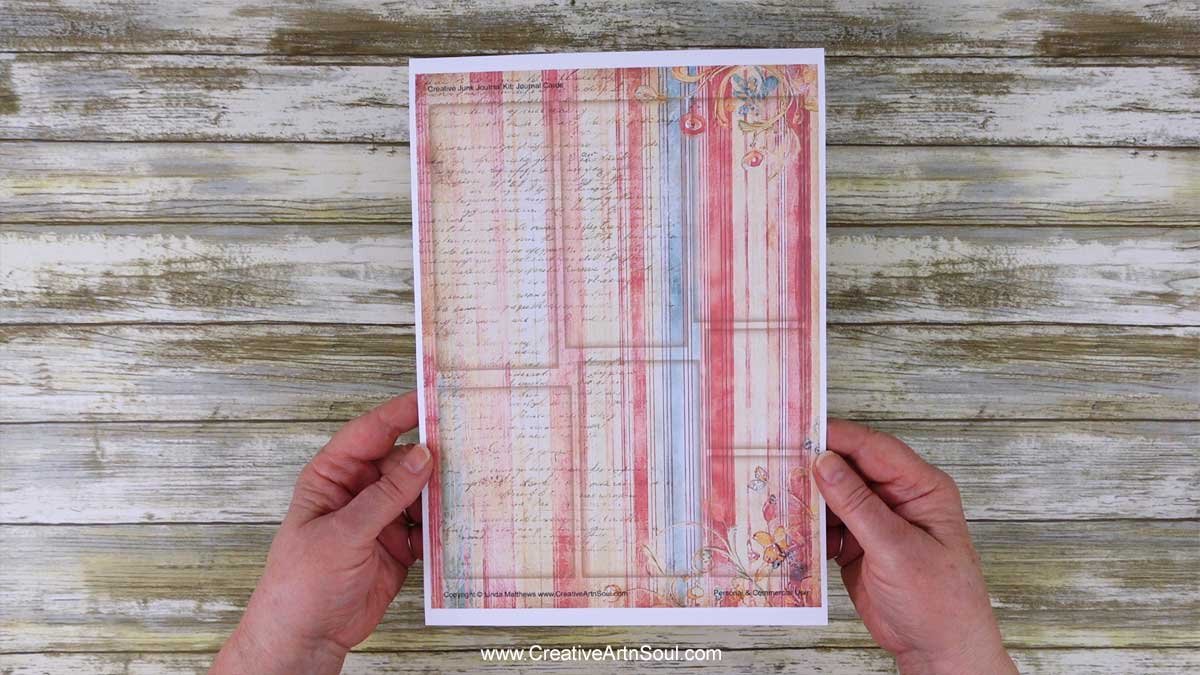
Insert a sheet of printable paper or scrapbook paper into your printer and then print the template page.
Design using the PNG Templates
Although the pdf templates are quick and easy to use, you have more options for creating unique designs when using the png format files.
To get started designing using the png format, open one of the templates in your photo editing program. This is one of the page border templates. Now add one or two digital papers and move them to a layer underneath the template layer.
This is a double sided template and I’m using papers in vertical format so I’m going to use one page on each side.
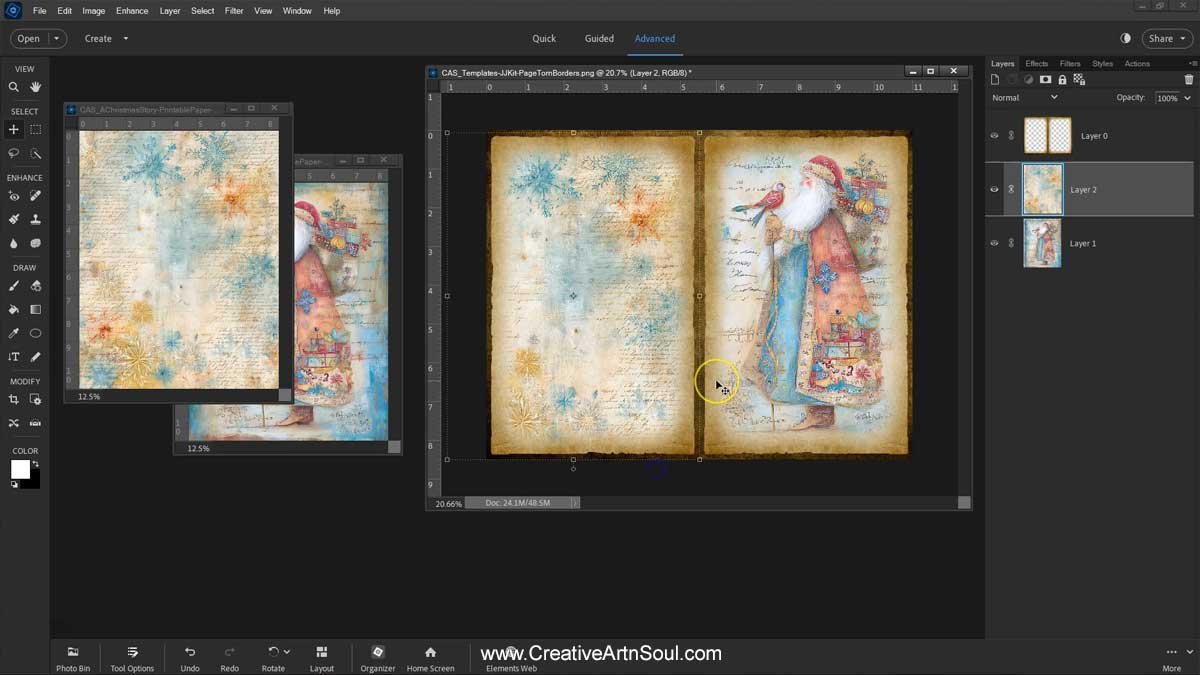
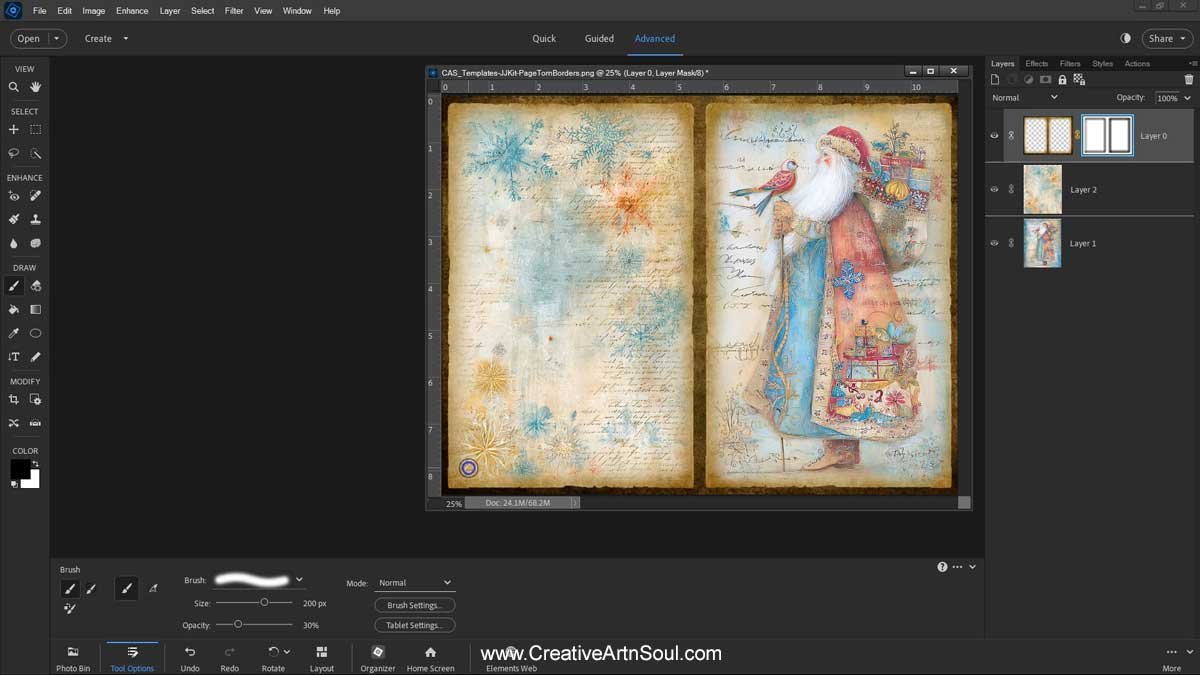
With this border frame template you can hide some of the inner border around the edges if you want more of the paper design to be visible. You can do this using a layer mask
To add a layer mask, select the template layer then click the “layer mask” icon. Select the brush tool and select a soft round brush and reduce the opacity to around 30%. Select the color black and then carefully brush around the inner edges to hide the border.
You may need to go around two or three times to create a soft feathered edge.
You can layer other page templates on top such as the hinge and binder rings overlays to make interesting layouts. Make sure the overlay templates are on the top layer.
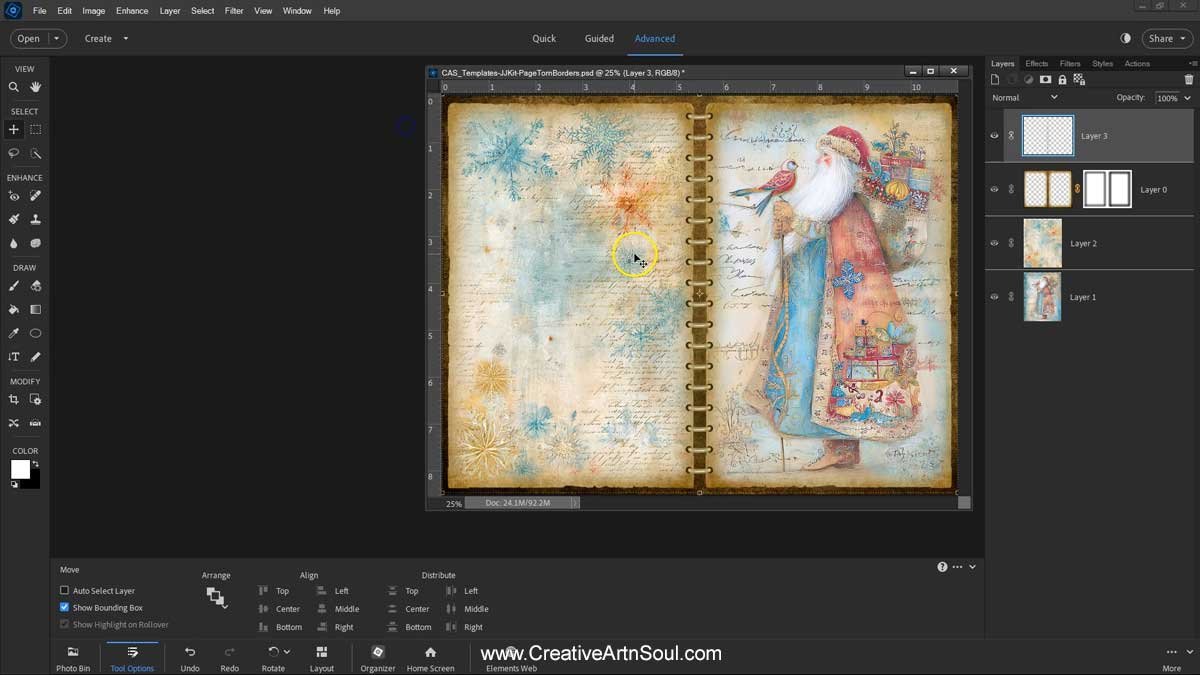
You can design with all the templates in the same way.
Design using the Canva Frames
As well as designing in programs like photoshop, you can also use the templates in canva. Log into canva and click the canva links that are included with your download. When the browser page opens, click the “view template” button.
The page templates include a set with two canva frames – one with a left side image and a right side image, as well as one frame for one image. Also included are the three png border templates and the three png template overlays.
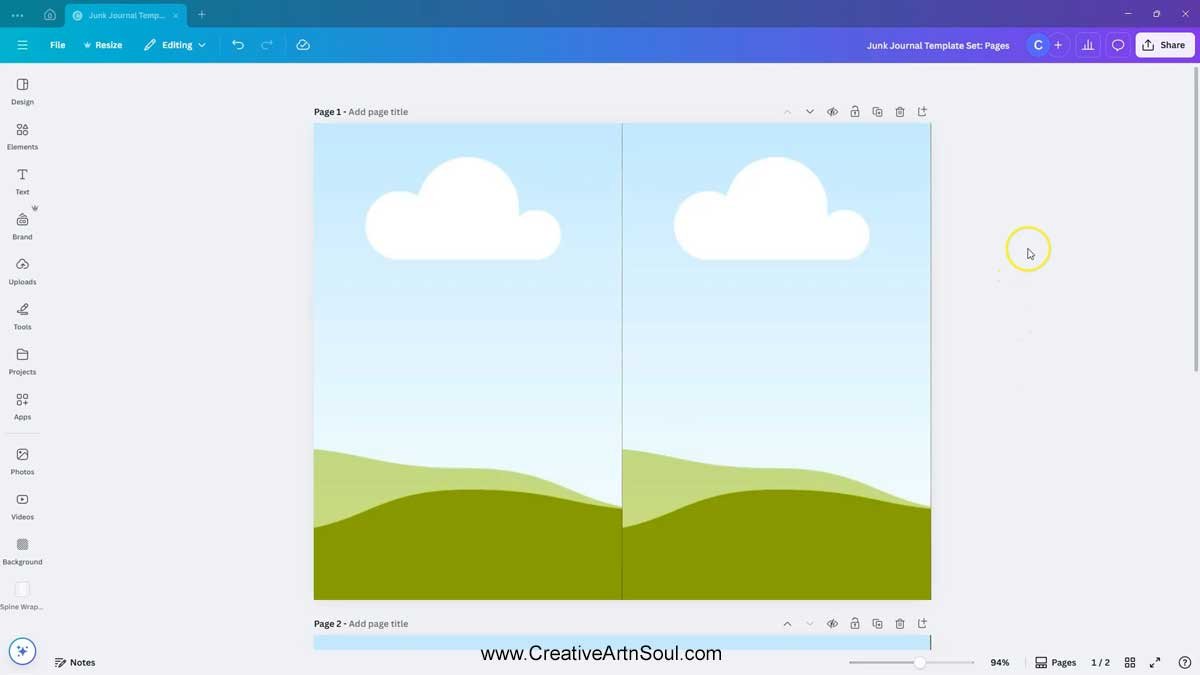
To add the files to the double sided template, drag the thumbnail over the frame until it snaps into place.
If you want to reposition the paper, double click on it and then move it into position. Then click on the editor background when you’re finished.
To add the borders and overlays, click on the “position” button on the top menu and select the “layers” panel.
The border and overlay templates are located underneath the frames so simply select the ones that you want to use and move them to the top layer above the frames.
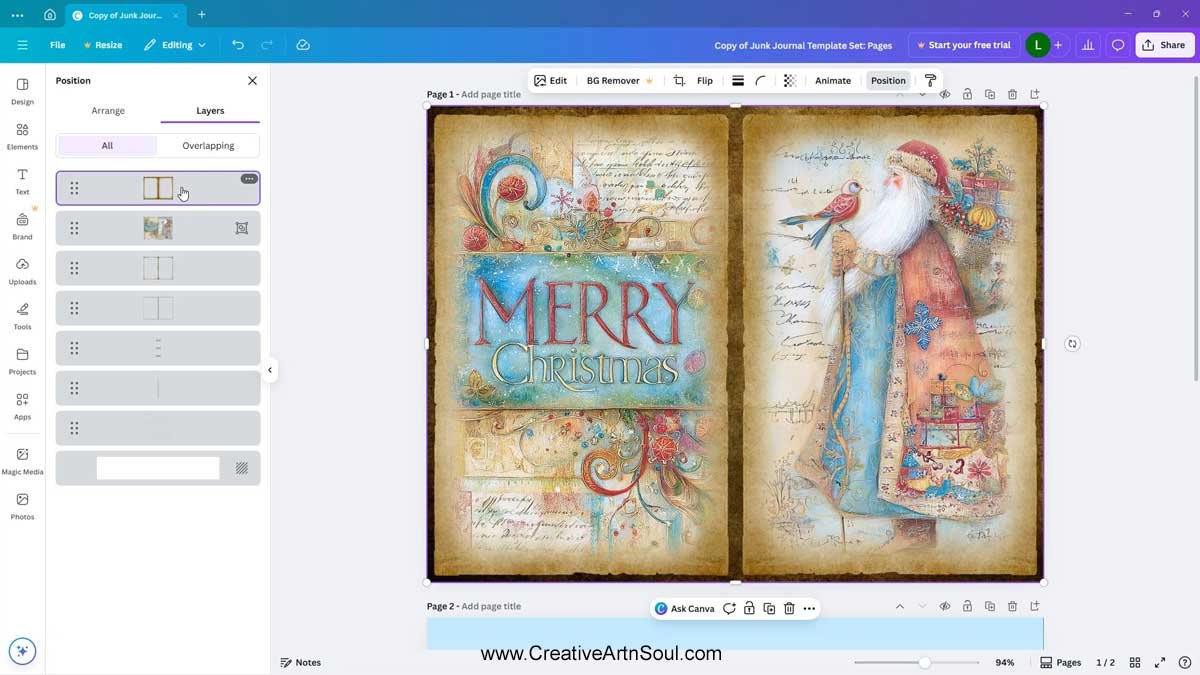
You can design with all the templates in the same way.
Assemble the Complete Printable Junk Journal
Once all the designs are completed, print the pages and cut out the pieces. Print the pages double sided then fold in half and crease down the middle.
I’ve printed the pages onto lightweight cardstock about 90lb weight. I’ve printed the elements onto heavyweight cardstock about 110lb weight. For some of these pages you may want to print a full page design on the back.
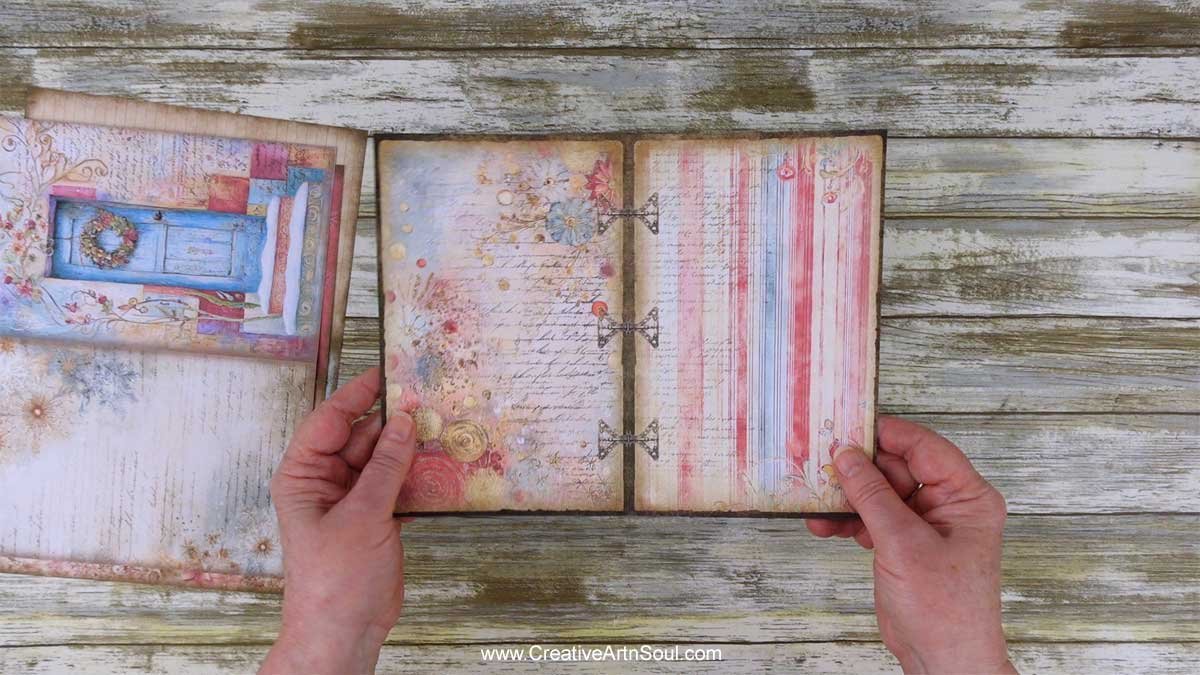
Make the Cover
I’ve printed one double page that I’m going to cut and use on the front and back covers of my journal. And I’m making a no sew junk journal which is really quick and easy to make. You can find a tutorial for this no sew junk journal cover here.
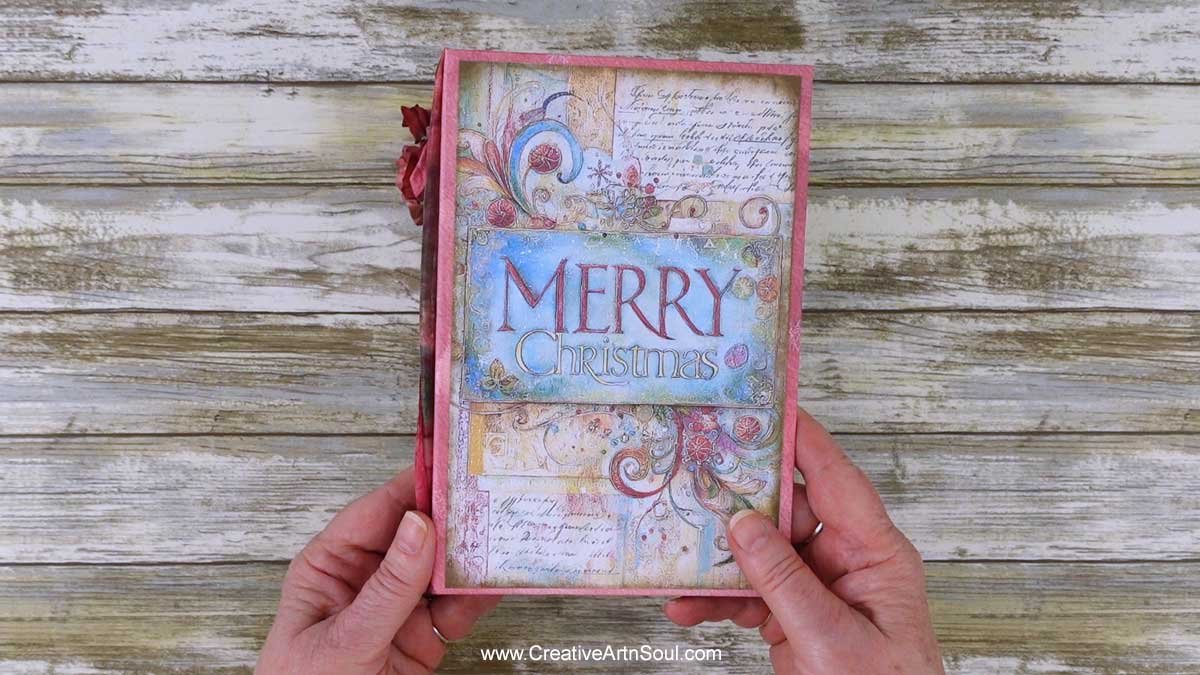
For this journal I’m using three signatures with three pages per signature however you can make more or less as you prefer.
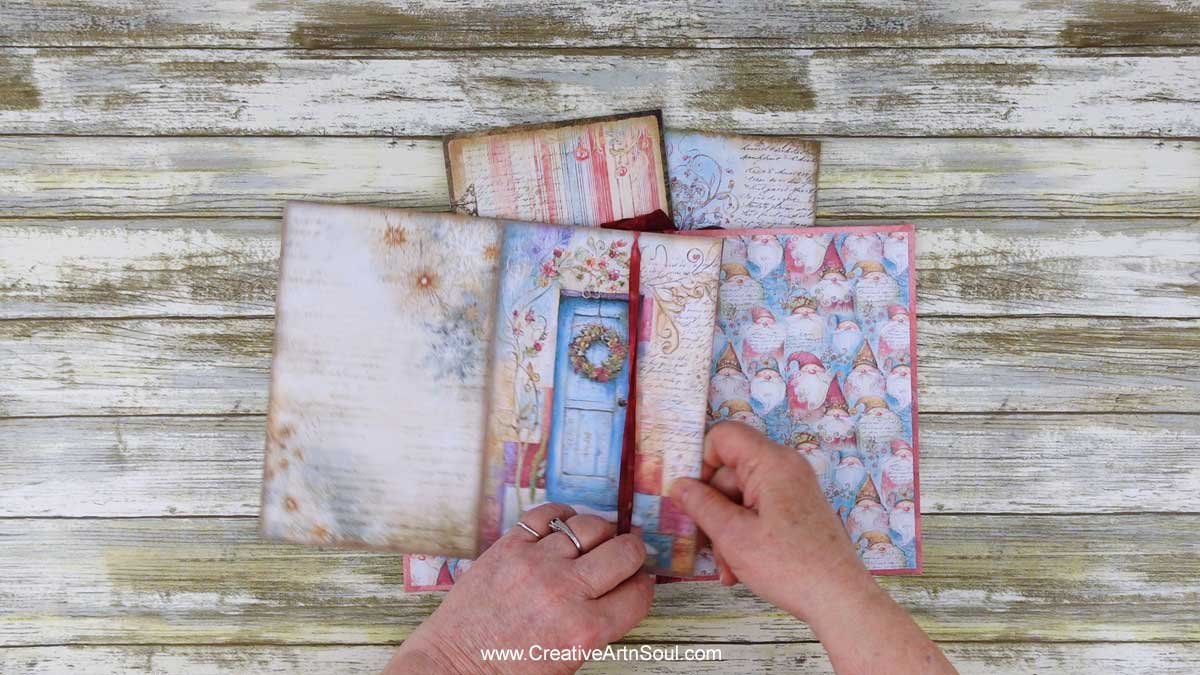
This no sew journal is easy to assemble. Simply slip the signatures under the ribbon sections and it’s done!
Make the Specimen Pockets and Cards
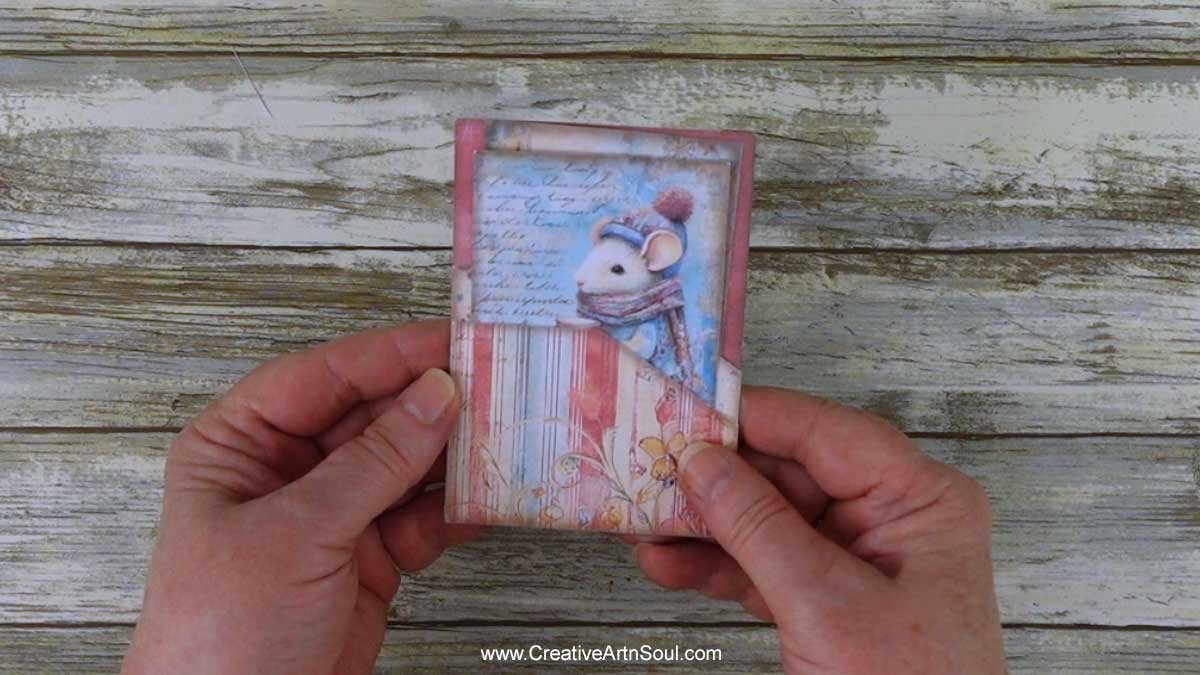
To assemble the specimen pocket and cards, first cut out the center section of the pocket. It’s easiest to do this using a craft knife with a sharp blade.
The pocket can be made with a top opening or a side opening. For a top opening, cut away the tab at the bottom of the pocket. For a side opening, cut away the tab on the left or the right side of the pocket depending on which side you want the opening.
Then crease and fold the tabs and center fold on the pocket. Apply double sided tape or craft glue to the tabs then fold the tabs over, and carefully press the pocket pieces together.
Fold the card tabs in half and glue them to the top or the side of the cards. Then insert the cards into the pocket. You can embellish the front of the pocket with the label that’s included with the template set.
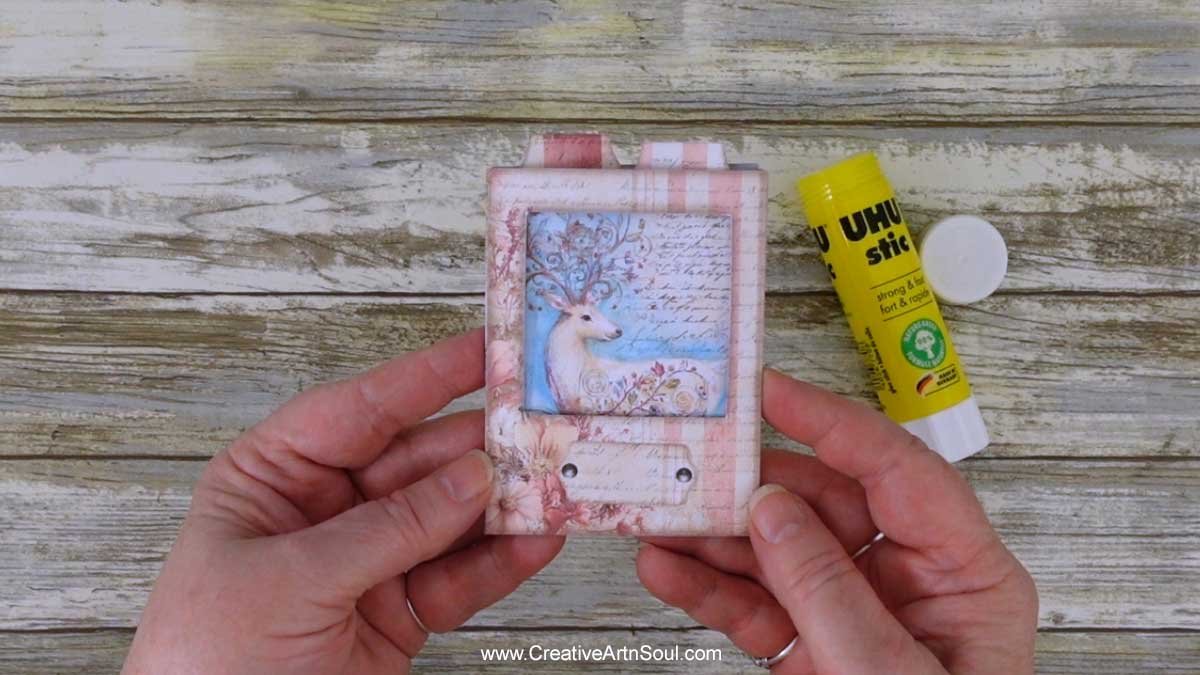
Make the Slot Pocket and Cards
To assemble the slot pocket and cards, first cut the slot sections on the front of the pocket. The easiest way to do this is to use a craft knife with a sharp pointed blade and carefully cut away the sections.
To assemble the slot pocket, crease and fold the pocket tabs. Then crease and fold the card tabs and glue them to the top of each of the cards.
There is a label included that you can glue to the front of the pocket if you want to use it.
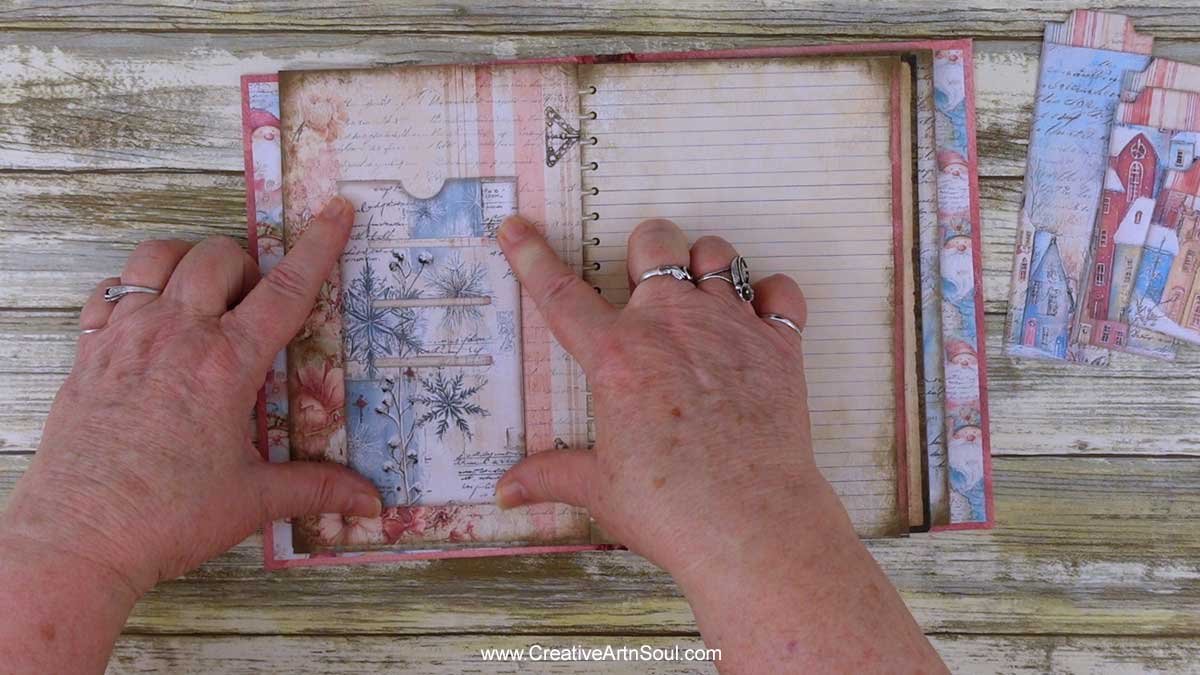
Make the Petal Fold Envelope
To make the petalfold envelope, fold each of the flaps over in sequence and tuck one side of the last flap under the first flap.
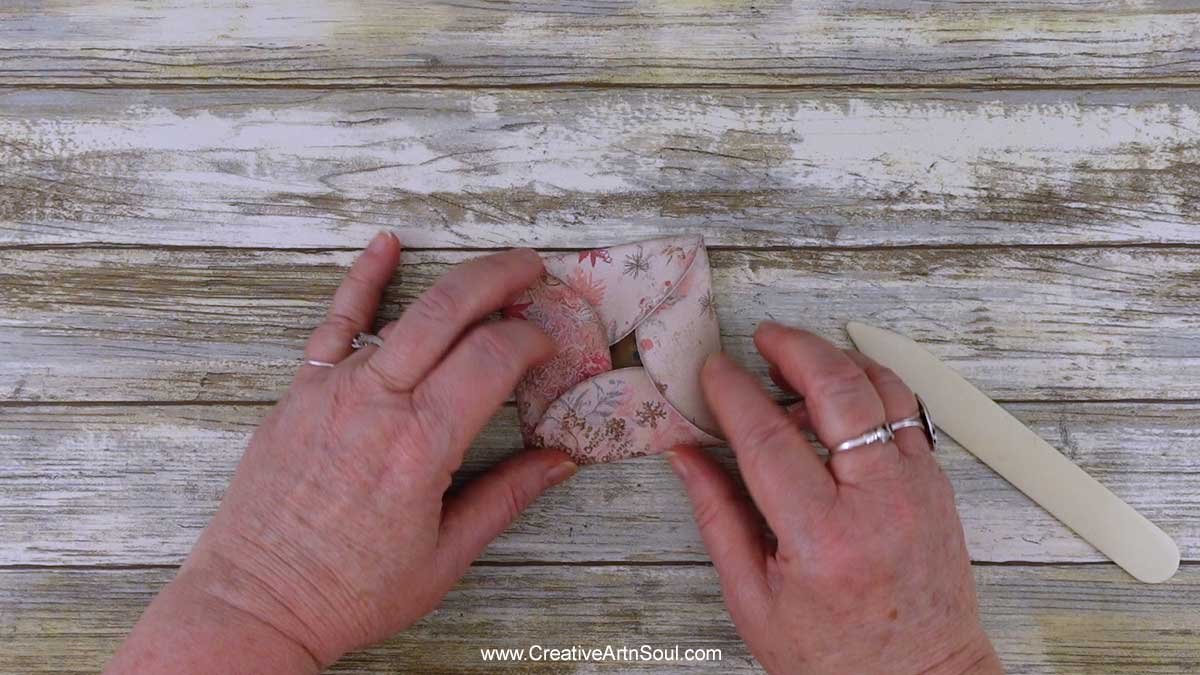
Make the Large Envelope
To assemble the large envelope, first fold in the side sections. Fold the bottom section up and apply glue or double sided tape along the edges then press onto the side sections. Fold the top section over.
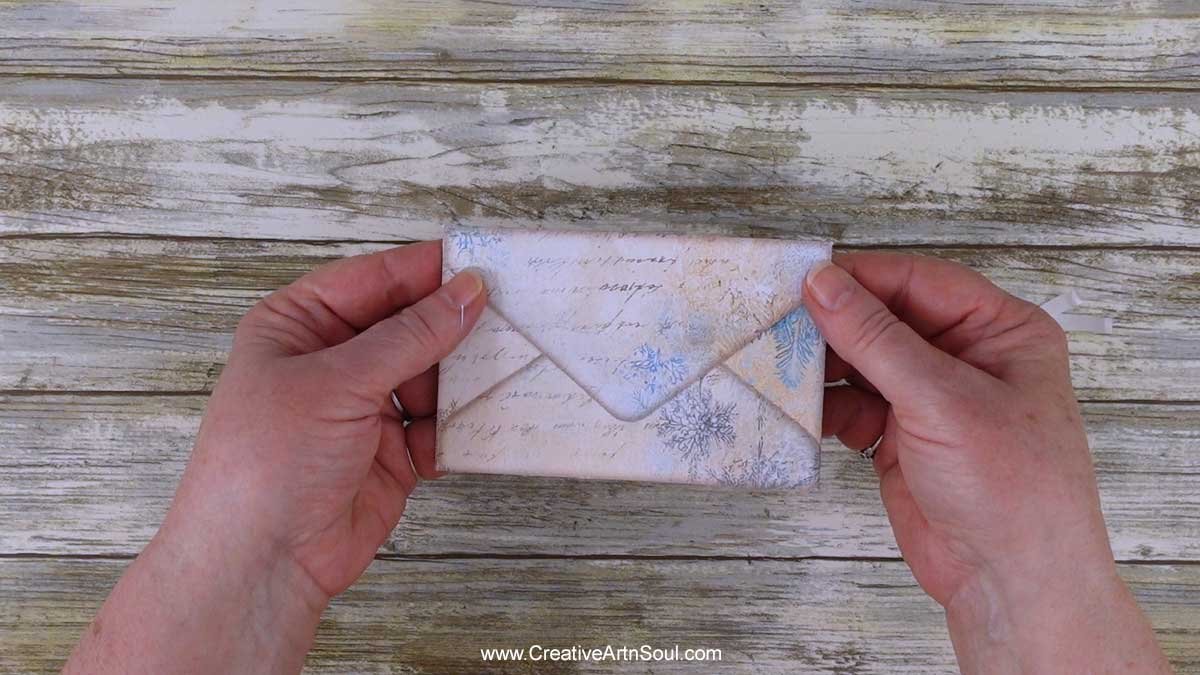
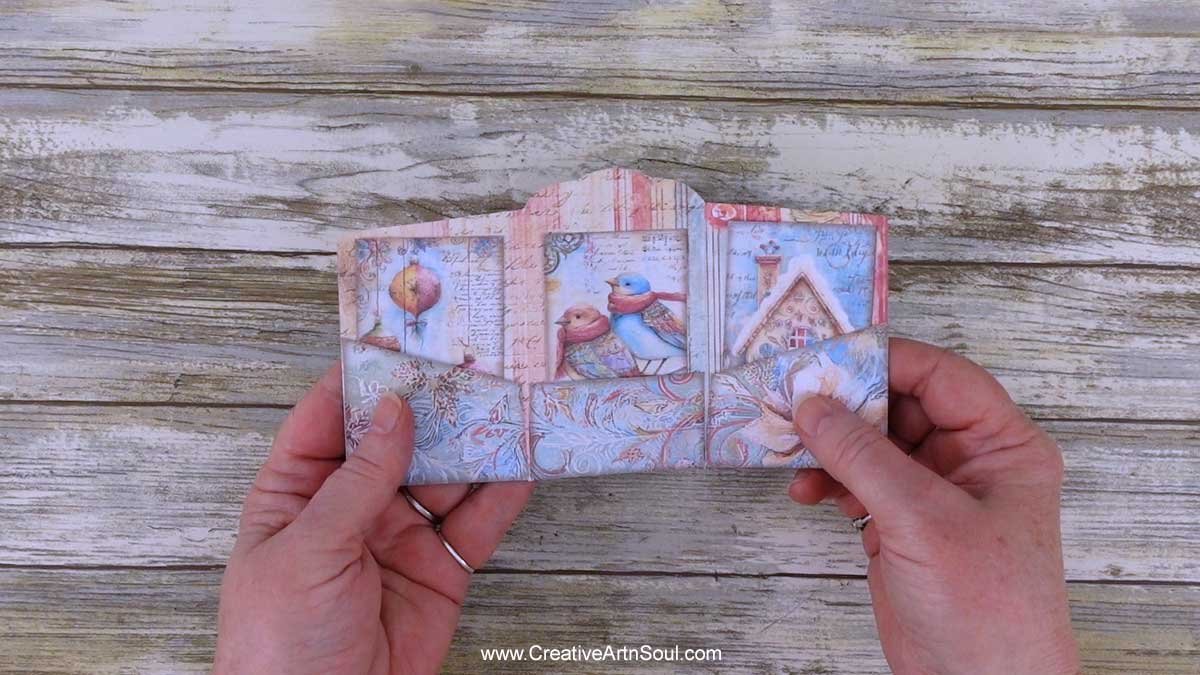
Make the Mini Folio
To assemble the mini folio, fold along the foldlines lengthways and widthways. Fold the bottom pocket sections up toward the inside of the folio. Apply a narrow line of glue or double sided tape along the side edges of the pockets and press in place. Insert the cards then fold the sides over.
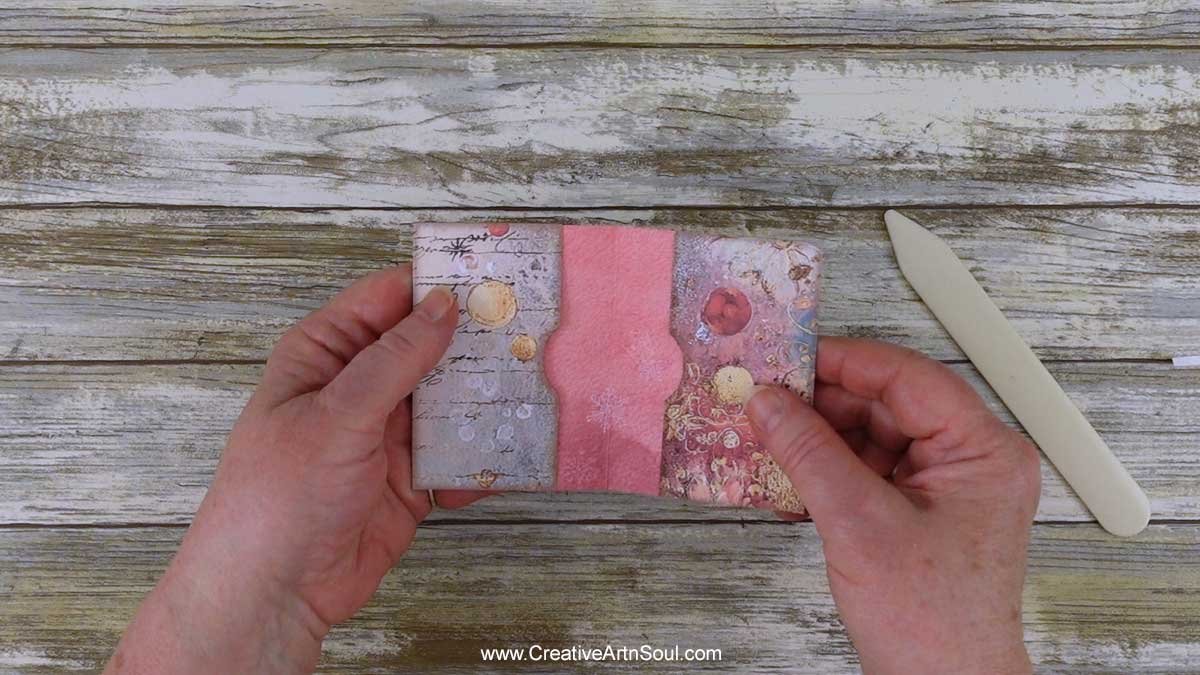
Make the Mini File Folder
To assemble the mini file folder, fold the side sections toward the center. apply a narrow line of glue or double sided tape along the side edges and press in place.
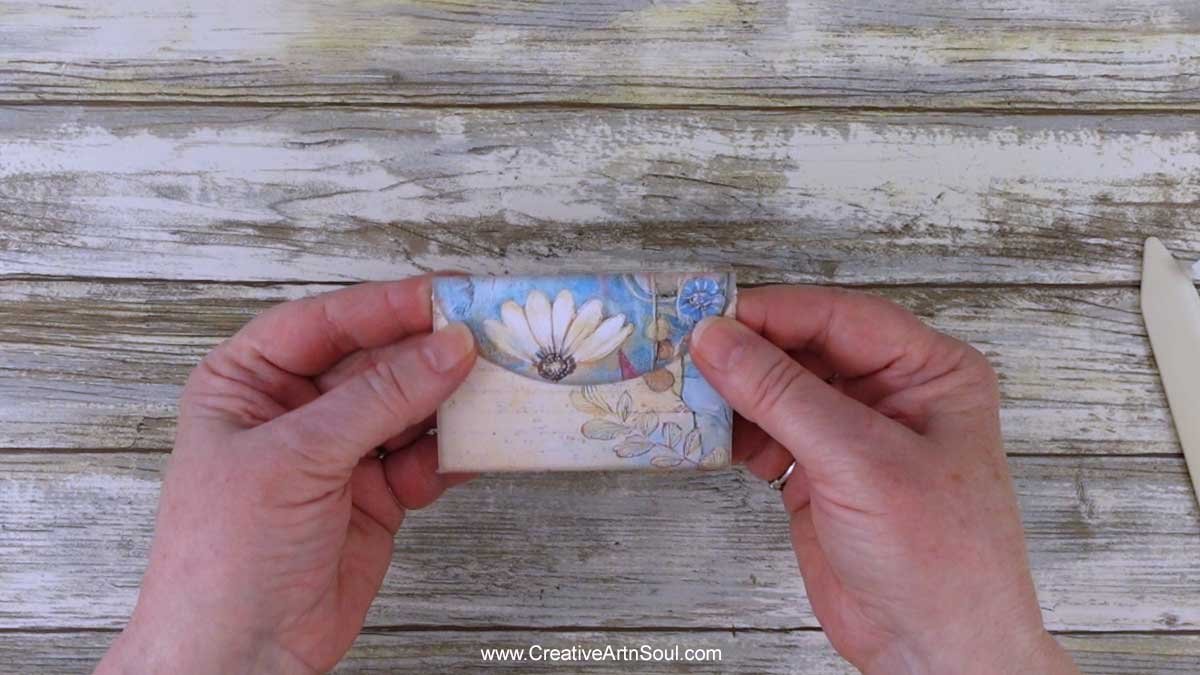
Make the Envelope and Postcards
To assemble the envelope and postcards, apply glue or double sided tape along the tabs, fold and press the tabs toward the inside, then fold up the bottom section and press in place.
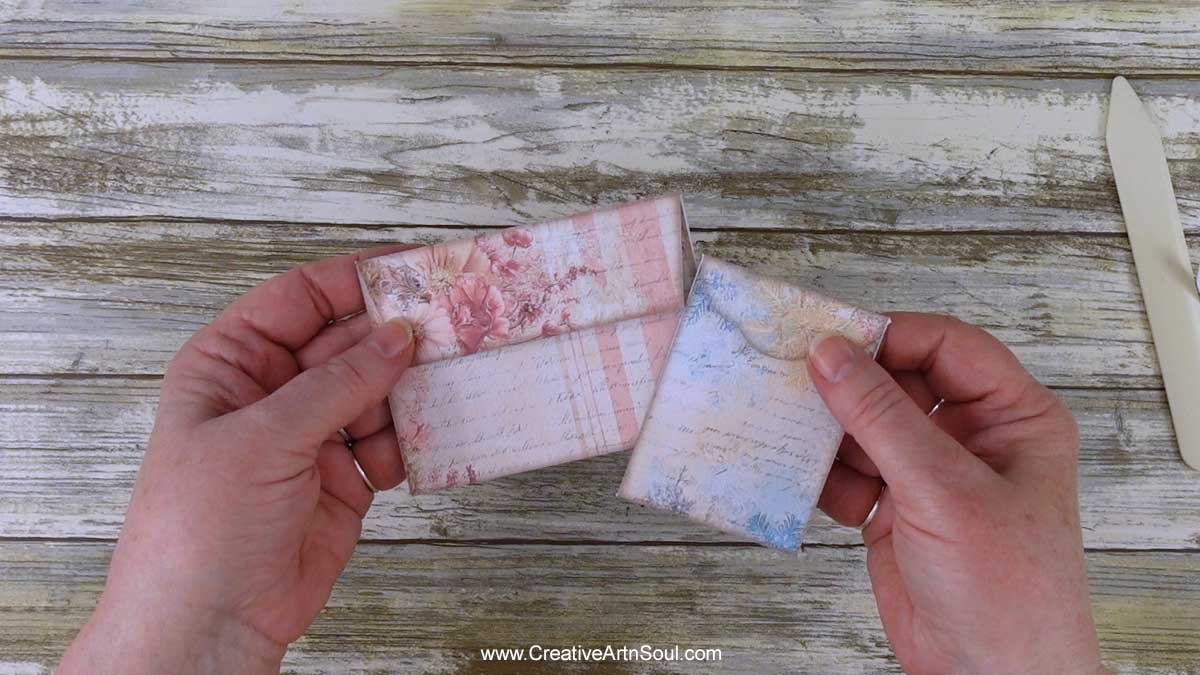
Make the Envelopes
To assemble the envelopes, apply glue or double sided tape along the tabs, fold and press the tabs toward the inside, then fold up the bottom section and press in place.
Make the Double Pocket and Cards
To assemble the double pocket and cards, apply a thin line of glue or thin strip of double sided tape along the bottom and sides of each of the pockets. Press the larger pocket onto the background and then press the small pocket onto the larger pocket.
Embellish the Pages
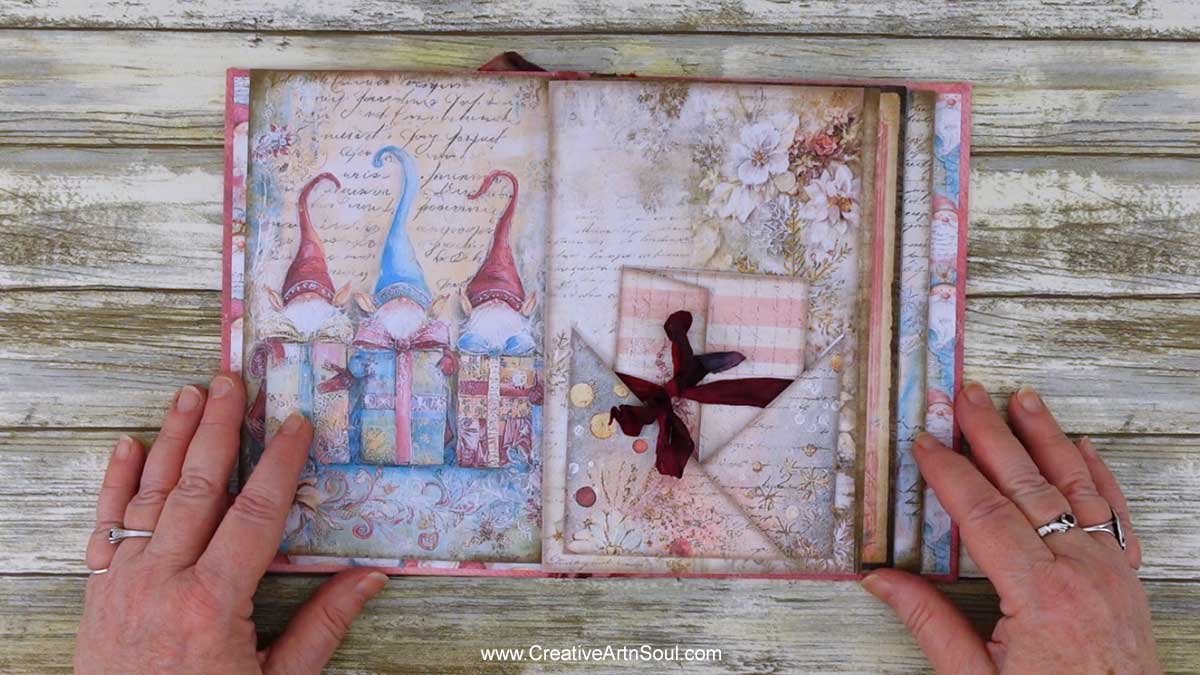
Now all the elements are assembled you can use them to embellish the pages of your junk journal. There’s no right or wrong way to use the embellishments so be creative and have fun!
Save this pin to your favorite Pinterest board!