
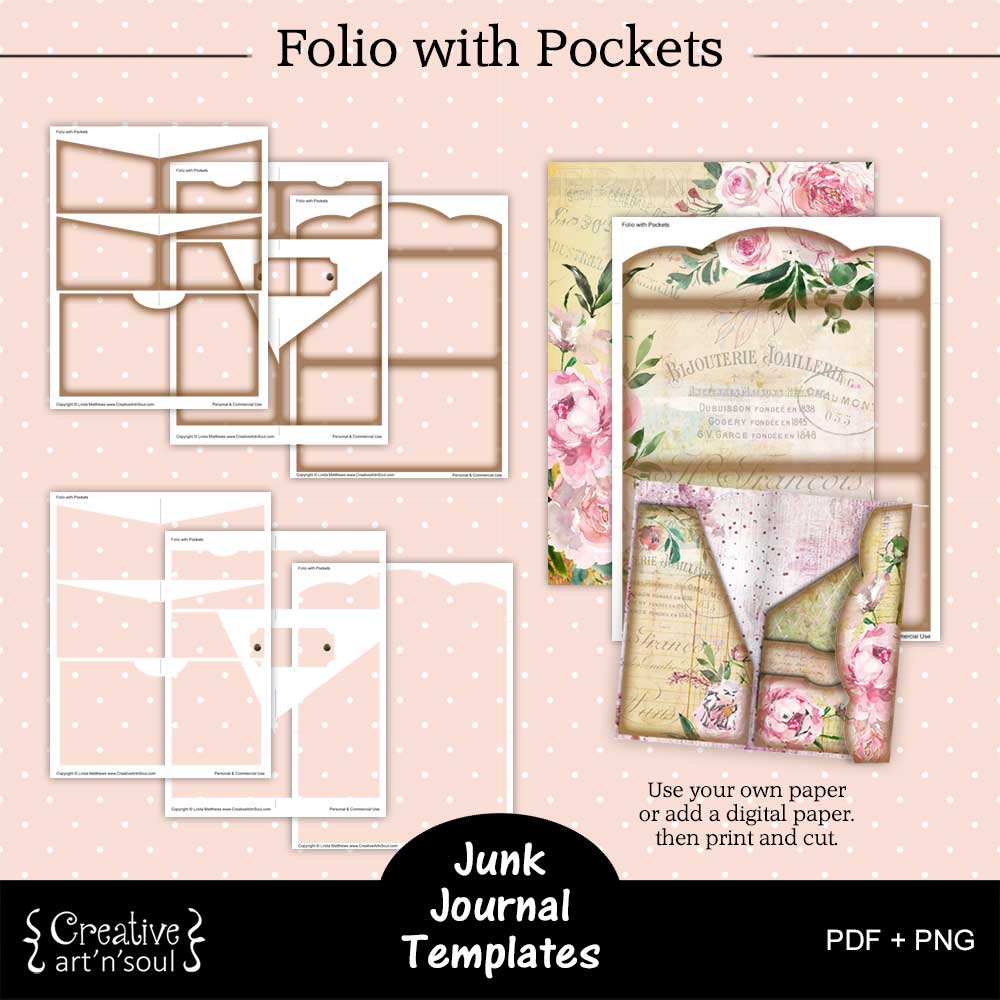
Learn how easy it is to make a junk journal folio with pockets in a variety of different sizes using one printable template.
Printable junk journal folios are a great addition to your junk journals. These folios can be used as decorative pages in your junk journals, or they can be more functional and used to hold junk journal clipart or other types of printable ephemera.
While making a junk journal folio from scratch can be time consuming, you can save time using this printable folio template.
This folio template set includes a folio cover with a foldover section, together with lots of different pockets so you can create an unlimited number of folios by simply rearranging the way you attach the pockets. Another advantage of using this printable template is that you can easily make printable folios in different sizes.
The template comes in two formats. The pdf format is easy to print and can be used with your own papers. Or you can use the png format in a photo editing program which gives you more creative options for designing using digital papers.
Included also is two styles; one with a border for a vintage style finish, and one with no border for a clean edge finish.
Design the Junk Journal Folio with Pockets using the PDF Template
To print using your own paper, open one of the pdf template files. Make sure the page scaling option is set to none so that the template prints at the correct size.
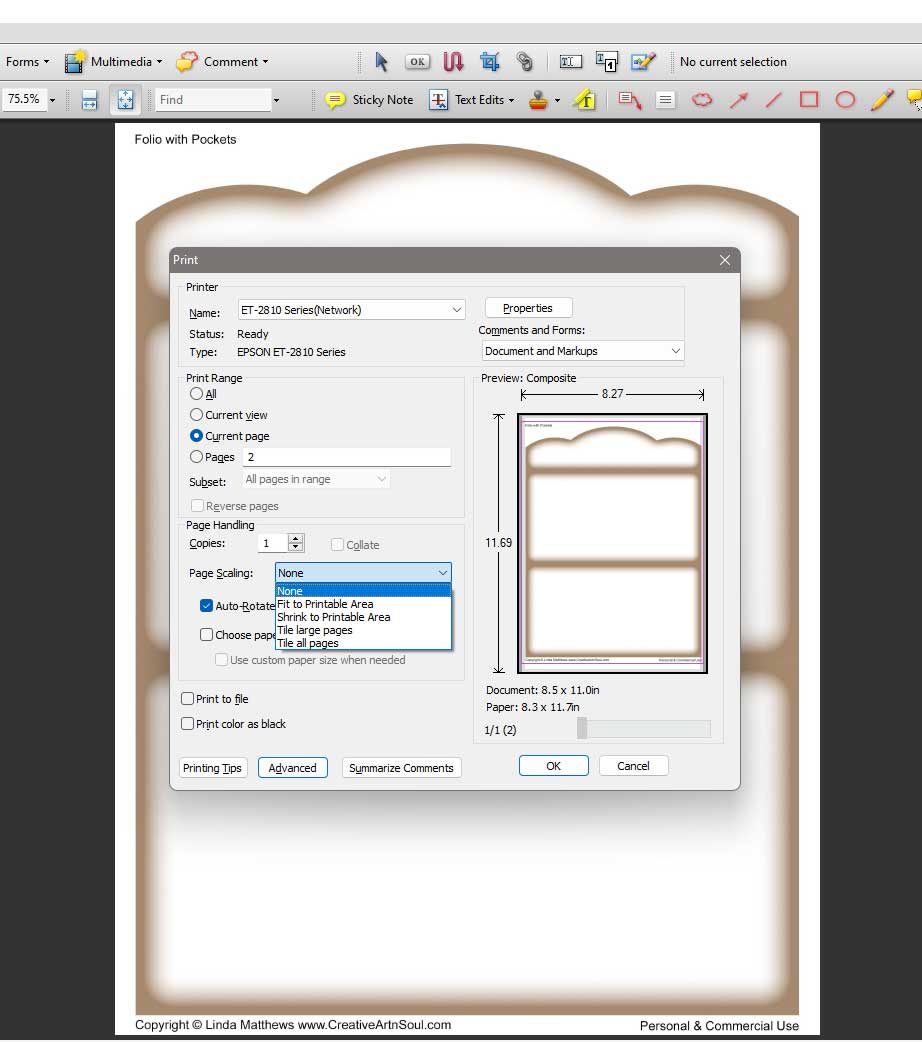
Insert a sheet of decorative paper into your printer and the print.

Cut out all the pieces and assemble.

Design the Junk Journal Folio with Pockets using the PNG Template
While the pdf format template is quick and easy to use with your own papers, the png format templates gives you more options for designing.
In this demonstration I’m using the Affinity Photo program however you can use any type of photo editing program to achieve the same results.
To get started designing using the png format, open the folio cover template in your photo editing program.

Add a digital paper and move it to a layer underneath the template layer.

Once you’re happy with the layout, save your file in the native file format. Then you can come back and edit it if you need to, and print it at a later time.
Next open the pocket templates.
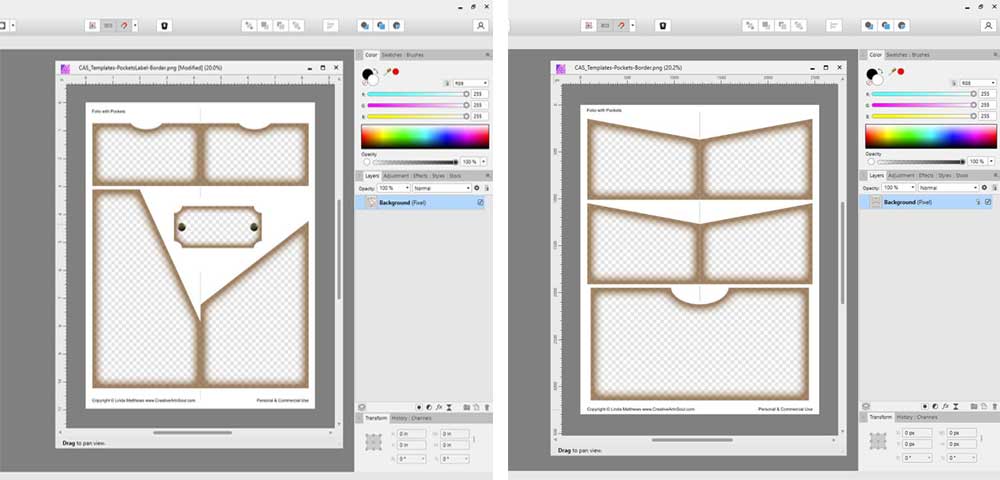
The great thing about using the png templates is that you can add different papers to make pockets in different colors and designs. Just make sure to place the papers on a layer underneath the template and then position them wherever your want to. Once you’ve completed your design be sure to save the files.

Once the designs are completed, print each of the pages onto a sheet of cardstock. Make sure to print a full page design on the back of the folio cover.

Assemble the Junk Journal Pocket Folio
To make the folio, first make a crease on the foldover flap on the folio cover. Then cut out all the pieces.


To make the folio folder, press the foldover flap with a bone folder to make a sharp crease, then fold the other end over and align up against the fold and press with a bone folder.

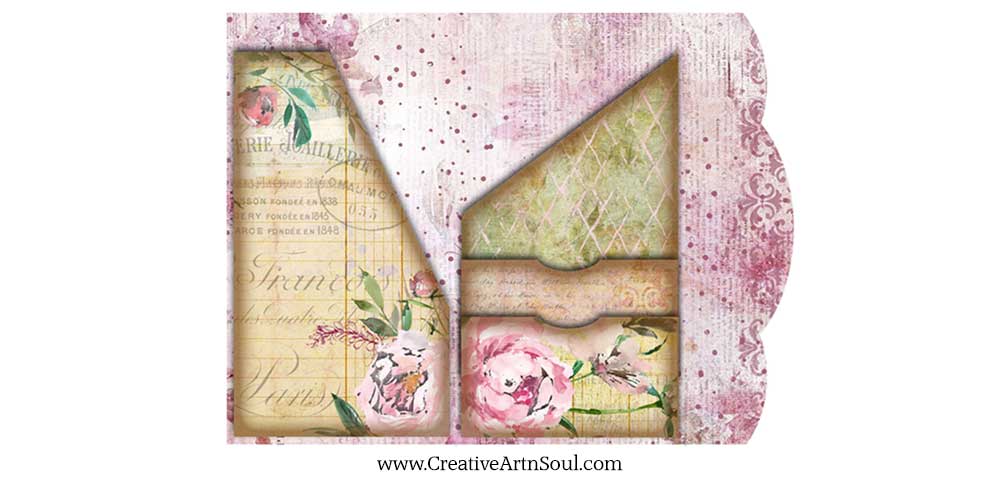
There are lots of different pockets that you can use to make different folio layouts. Attach the pockets to the inside or outside of the folio cover, or both sides.
To attach the pockets, apply some glue down both sides and the bottom edge of each pocket with a tape runner or a gluestick and press onto the cover. These are some examples of layouts.

How to Resize the Folio
As well as full size folios, you can also easily make them in smaller sizes. The original size is 8″ x 4.1/4″. So I’ve printed off several smaller sets; one at 90% which gives a folio size of about 7.1/4″ by 3.3/4″ and one at 80% which gives a folio size of about 6.1/2″ by 3.1/2″.

The easiest way to resize the folio pages is to open your design files in a photo editing program.

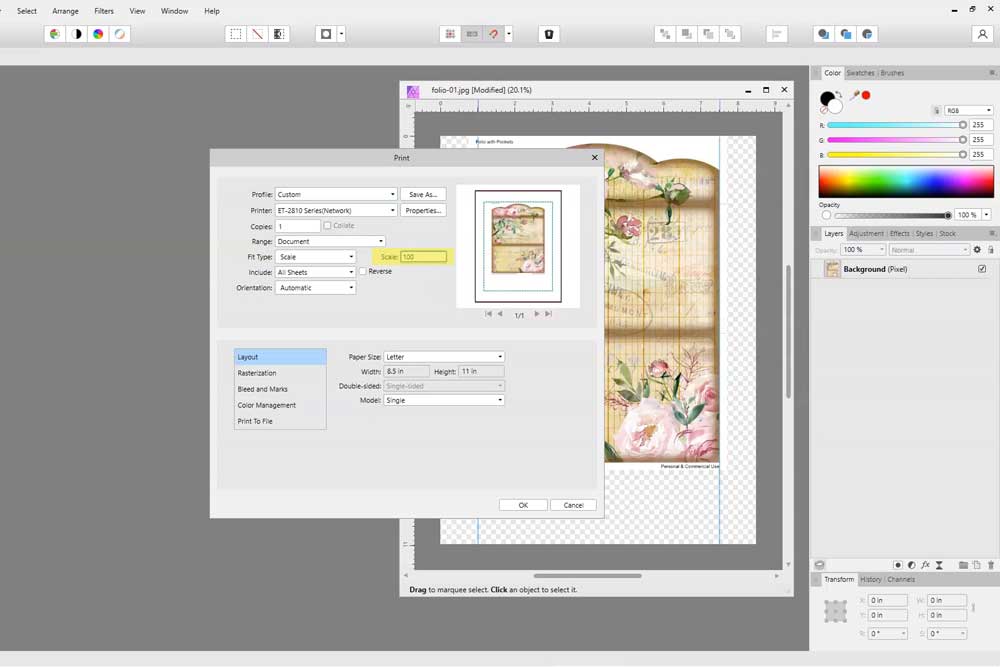
On the main menu select File > Print and open the print dialog box. In the dialog box there will be an option to resize or scale the file.
In Affinity Photo there is an option to scale the print size so you can select a percentage to reduce the size.

An alternative method is to manually resize the document by pulling the handles of the layer. This works best with a flattened jpg format file.
You can then resize the layer to whatever size you like. For a more accurate size use the ruler guides. Simply pull a guide from the left side ruler and position where required.

When using this method, make sure to print at 100% or full size. Once printed, assemble as above.


Save this pin to your favorite Pinterest board!
