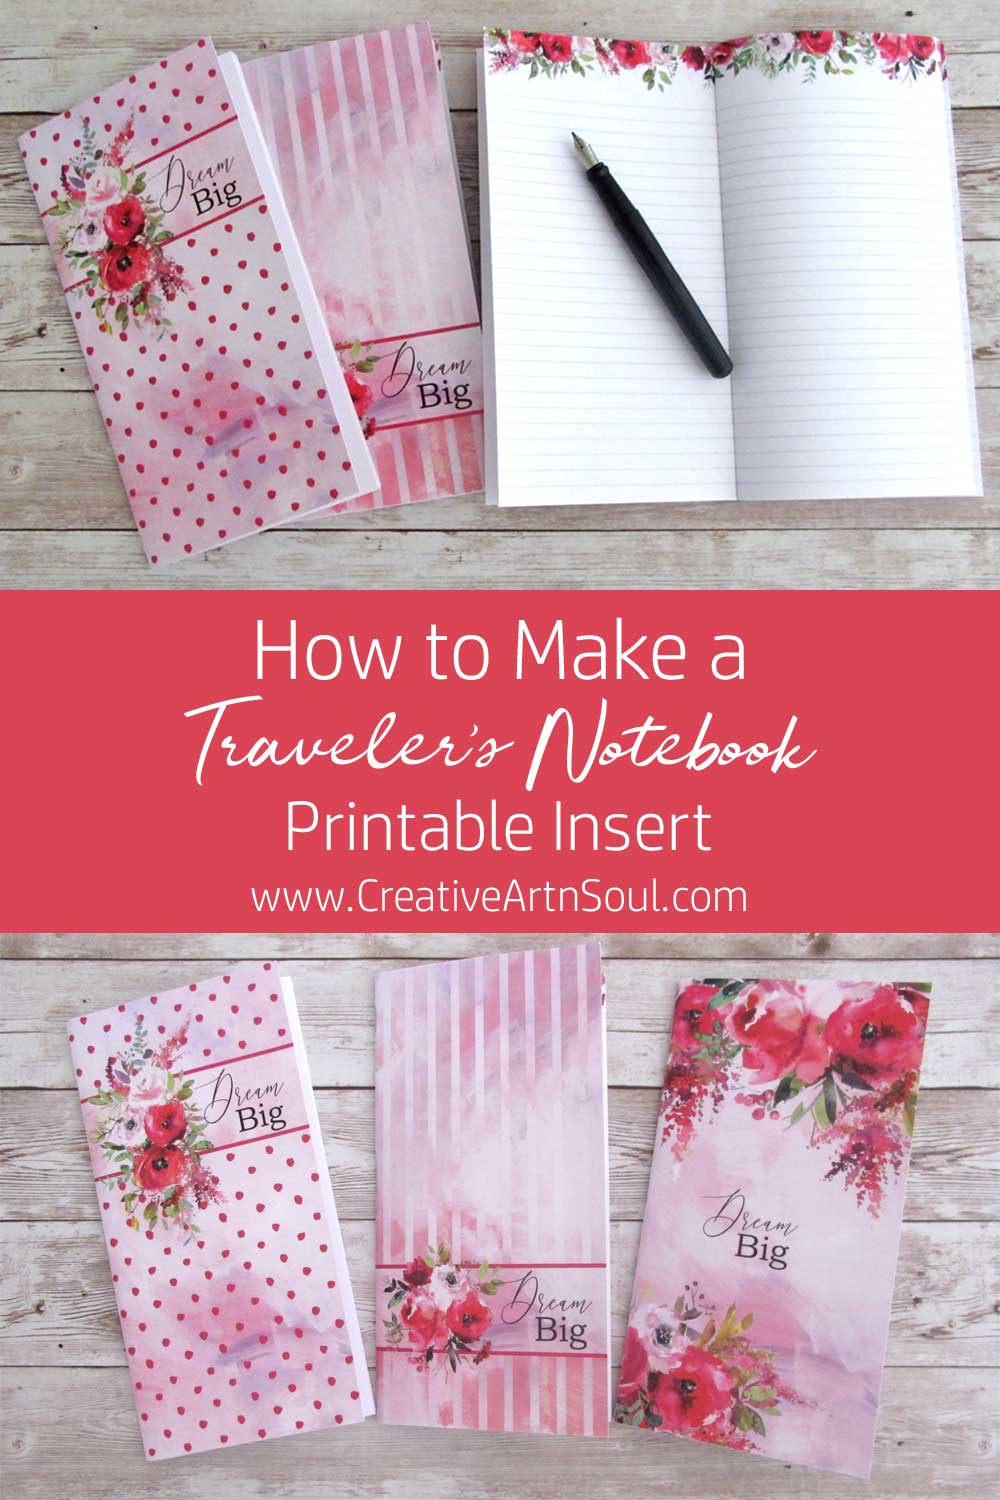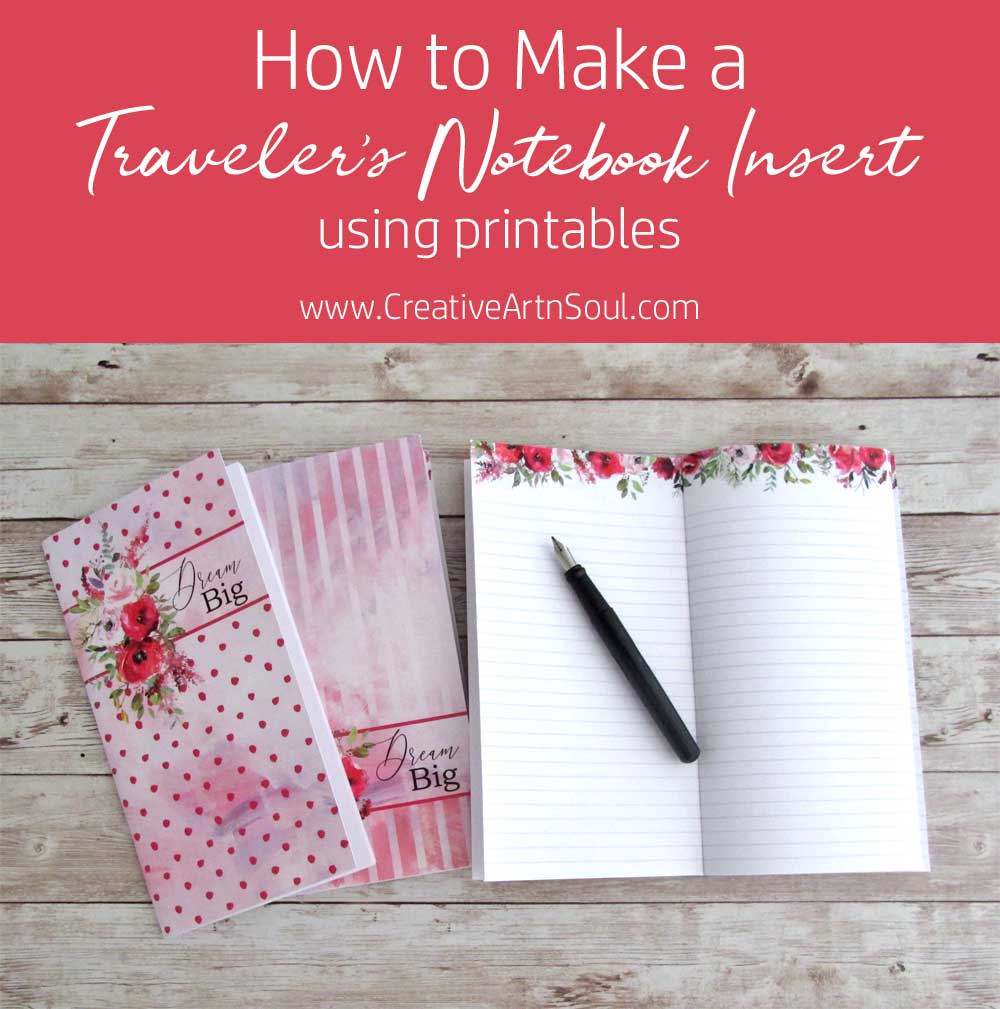
Discover just how easy it is to make your own traveler’s notebook inserts.
A traveler’s notebook is the perfect size for carrying with you as you go about your day, and because they are so customizable you can easily include different types of inserts to create your own perfect planner. You can have separate notebooks for sketching, writing, taking notes, or painting. You can even create your own traveler’s notebook junk journal.
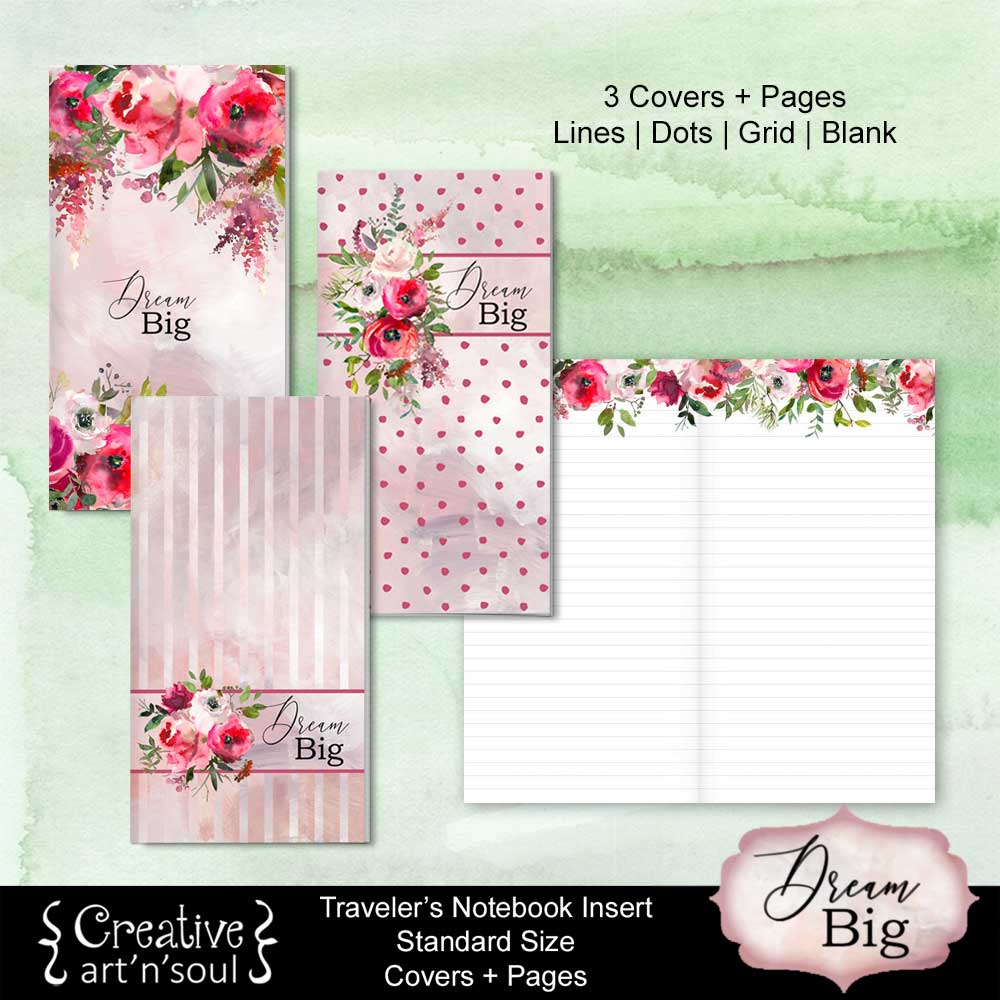
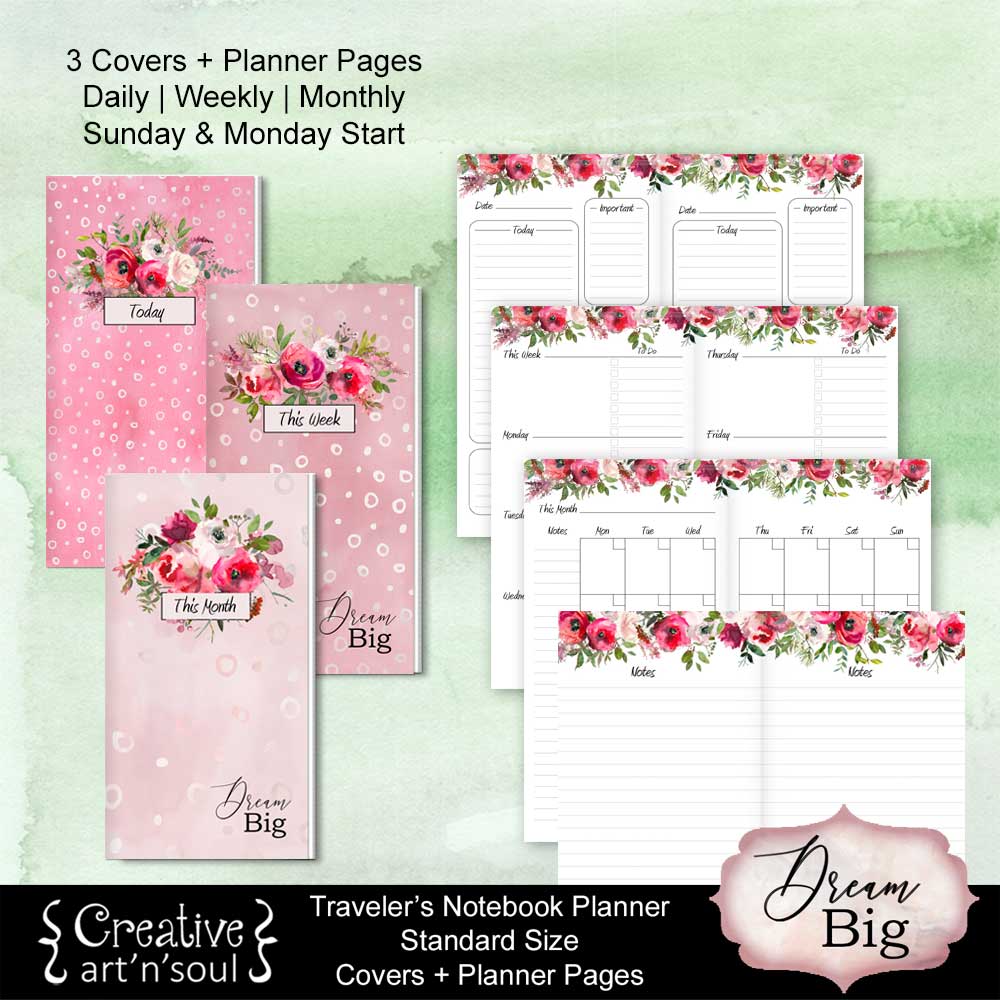
Using a traveler’s notebook is a wonderful way to stay organized, particularly if you use traveler’s notebook size planner inserts, because once you’ve filled up the inserts, they can easily be replaced with new ones. You can of course purchase commercial inserts, but printable inserts are just so convenient and easy to make. Plus, you can purchase lovely and decorative printable covers to wrap around the pages, instead of having just plain covers.
In this tutorial I’m showing you how to make a printable traveler’s notebook insert using the Dream Big Printable Traveler’s Notebook Inserts, however you can use any type of printable insert, or even writing paper for the pages and thick scrapbook paper or cardstock for the cover.
If you need a cover to keep your inserts organized, you can find a tutorial for making a fabric traveler’s notebook cover here.
Supplies
- Printable Travelers Notebook Inserts
- 110lb Cardstock
- 24lb Copy Paper
- Bone Folder & Paper Creasing Tool Kit
- Binder Clips
- Non-slip Ruler
- Xacto Knife or Stanley Knife
- Long reach stapler
How to Make the Printable Traveler’s Notebook Inserts
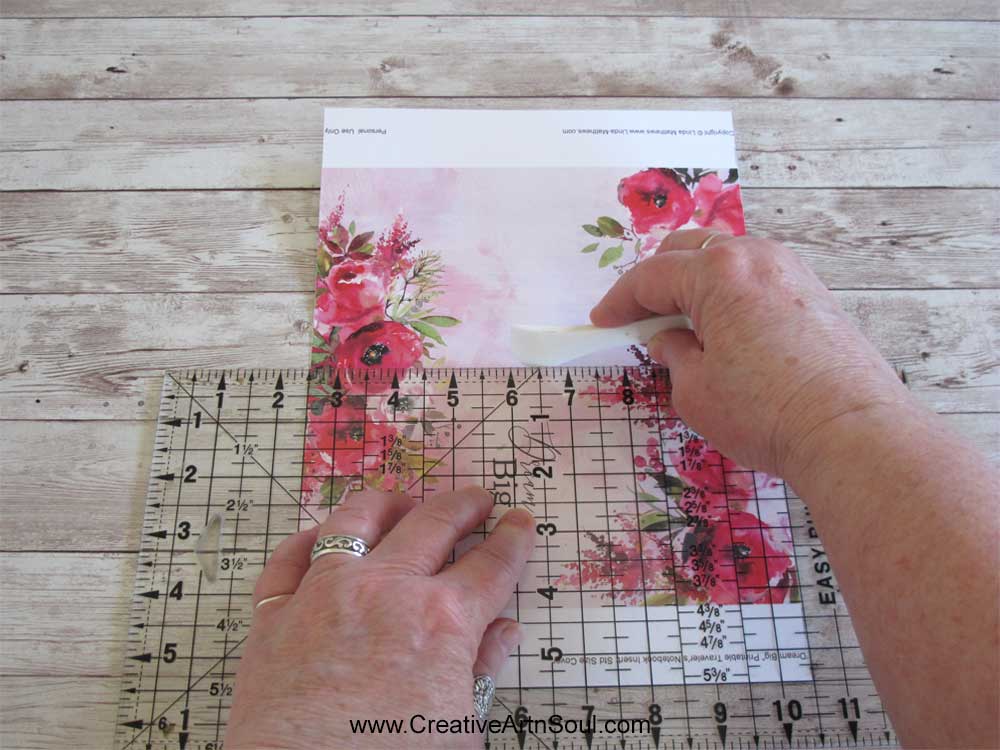
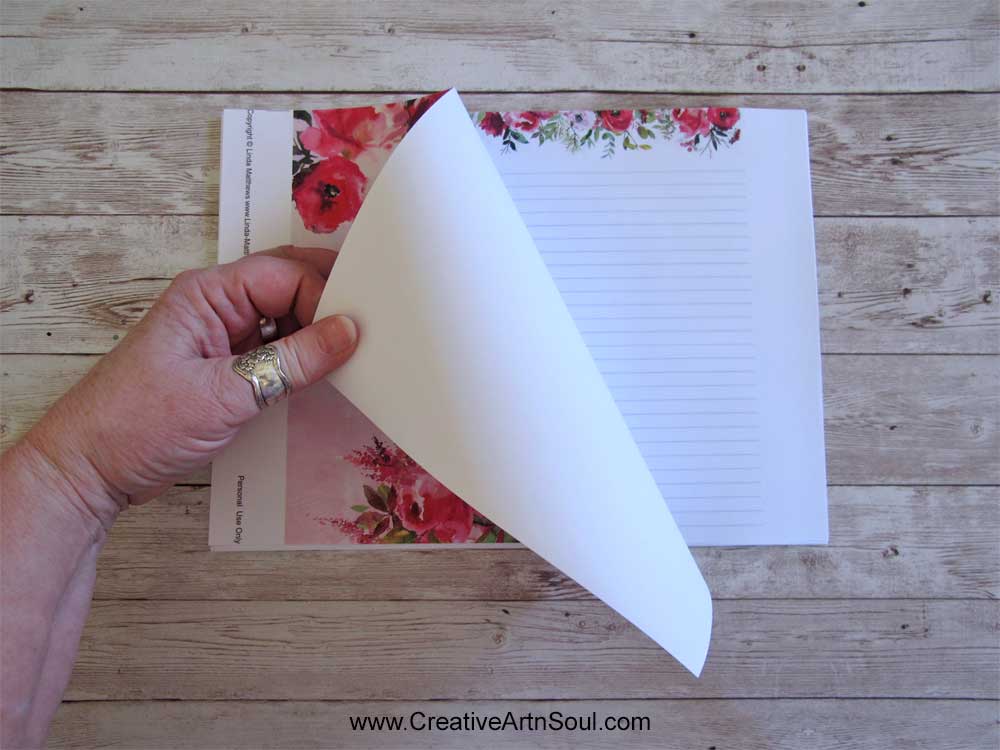
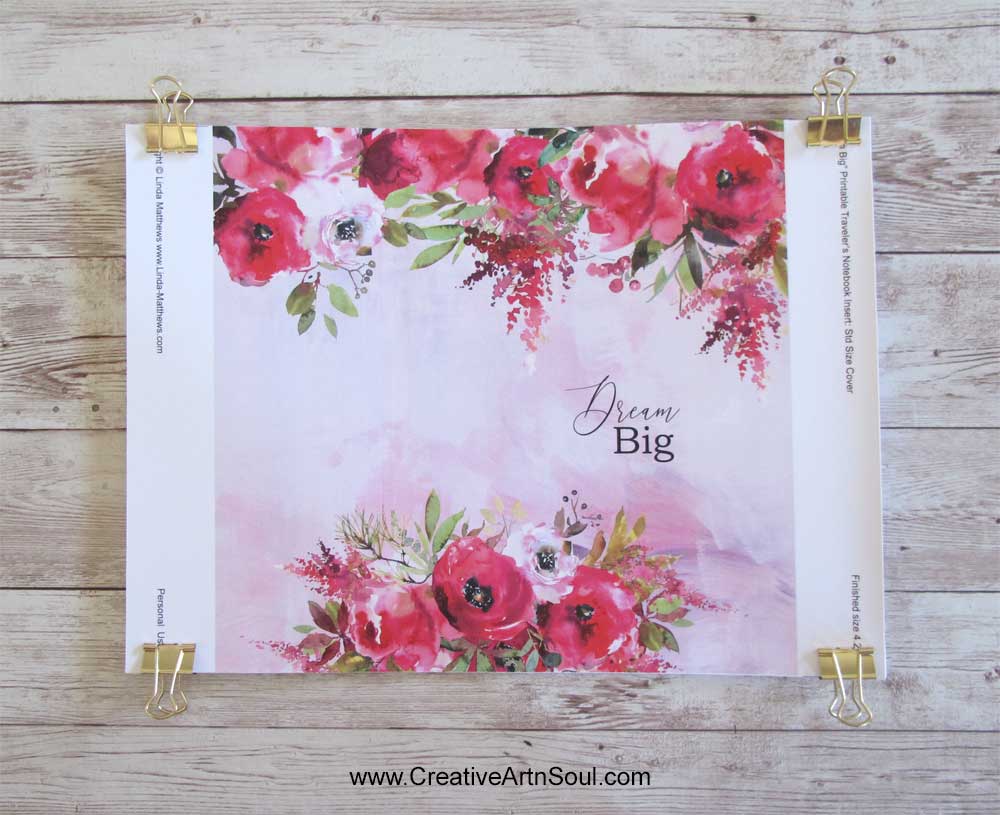
Print the insert cover onto a sheet of good quality cardstock.
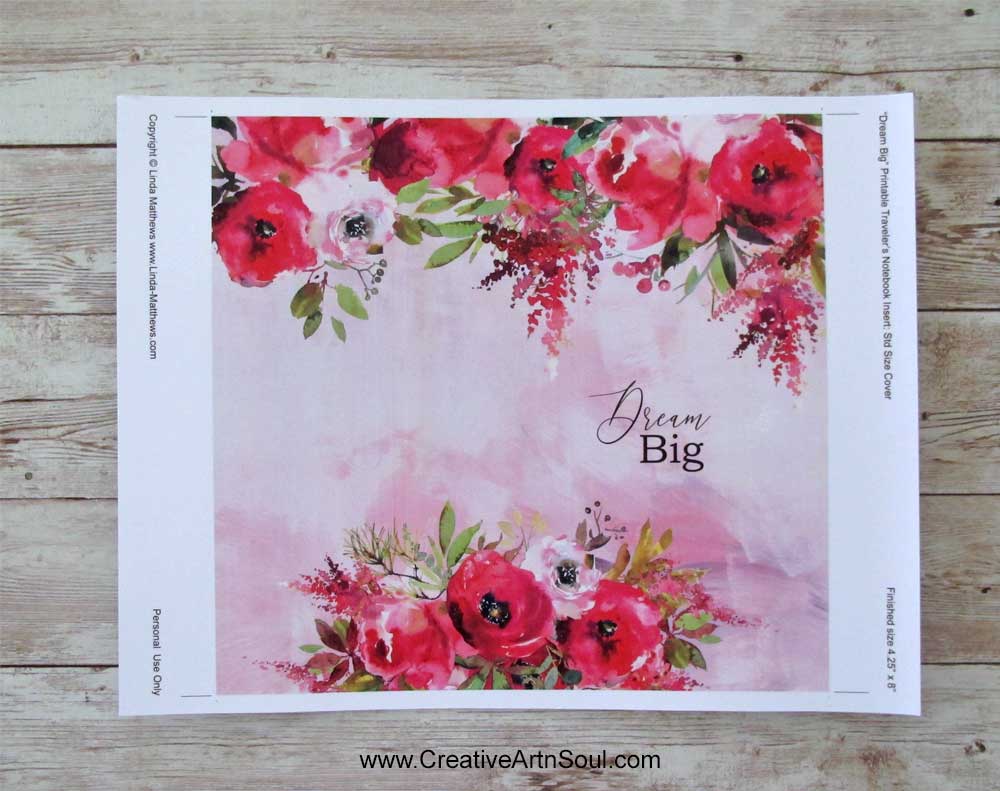
Trim 1/4″ from the top and bottom of the cover so that the page measures 11″ wide by 8″ high.

Using a creasing tool make a crease down the center of the cover.
Print 10-12 double-sided insert pages onto good quality copy paper such as 24lb weight copy paper or similar weight. This weight of copy paper is thick enough to provide good support for writing without the ink bleeding through to the other side.
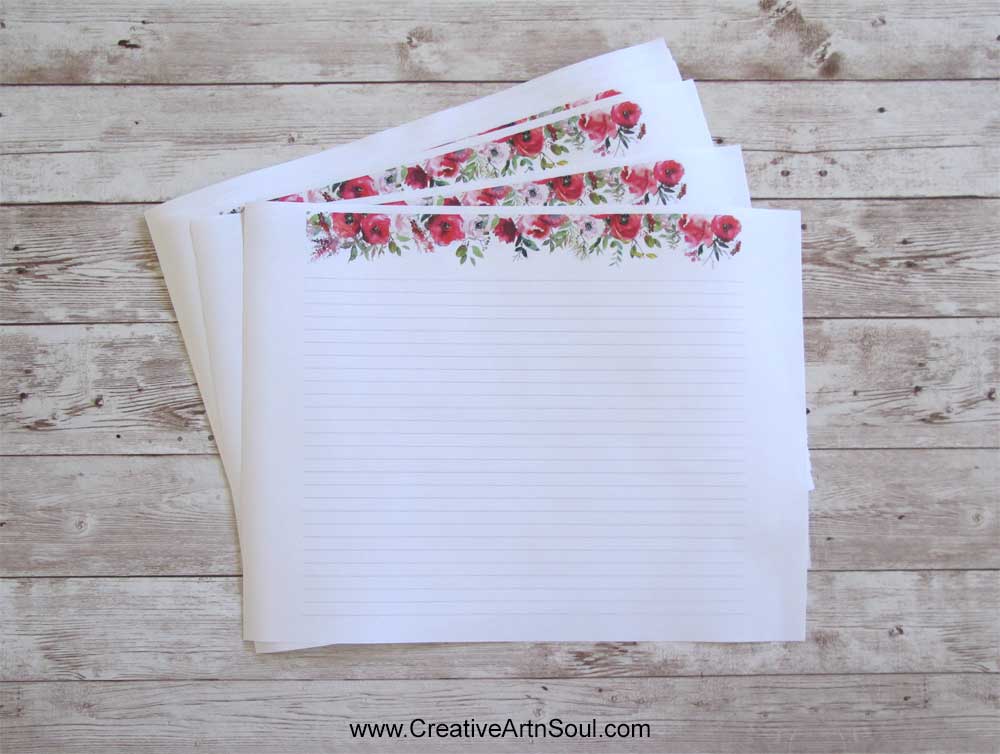
Trim 1/4″ from the top and bottom edges of each of the pages so that they measure 11″ wide by 8″ high.
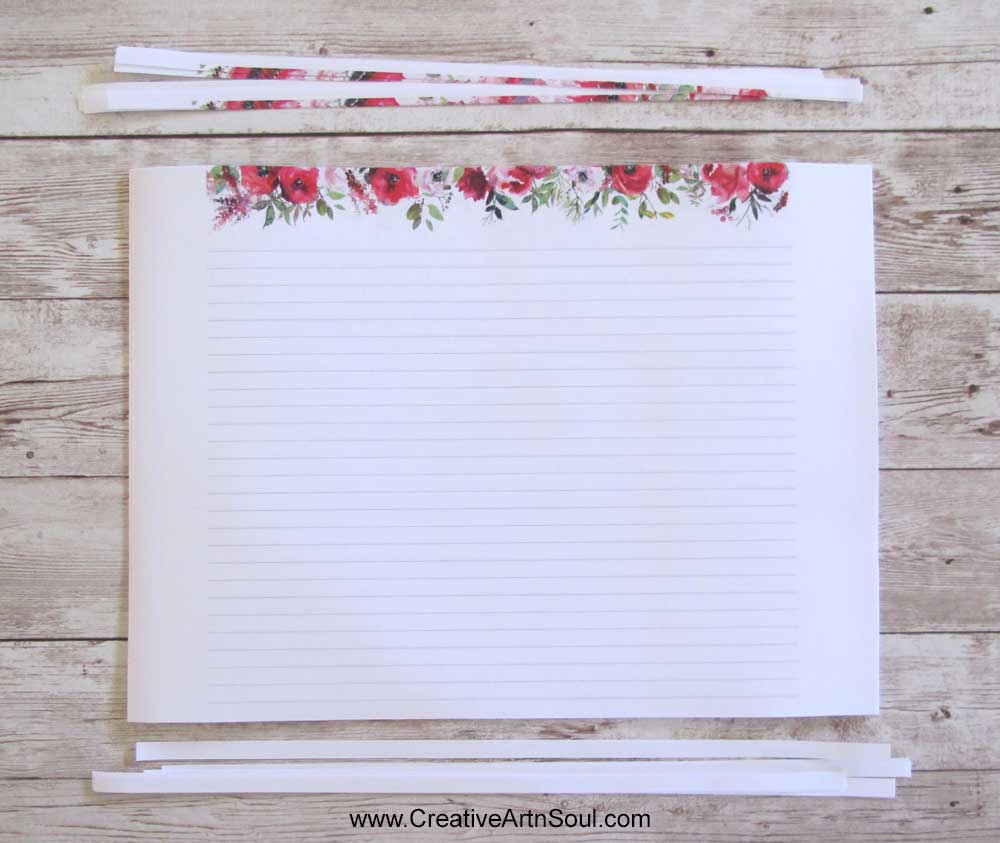
Stack all the pages together with the cover on top.
Use some binder clips to hold the pages together.
You can assemble the insert in several different ways. Use a long reach stapler to staple the pages together. A long reach stapler has an extra long arm space which makes it easy to staple wide pieces of paper.

Or you could sew the pages together on your sewing machine. Be sure to use a strong needle and sew slowly to avoid breaking the needle. Once sewn, tie off the thread tails in a knot at both ends.
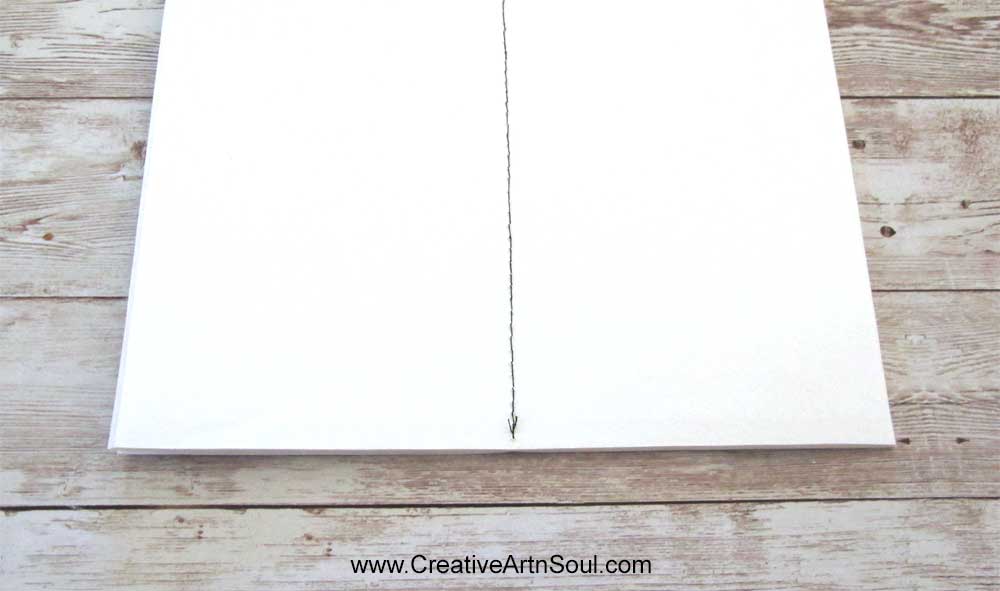
Or sew the pages together using a pamphlet stitch – instructions can be found here.

Fold the insert in half and press along the spine using a bone folder.
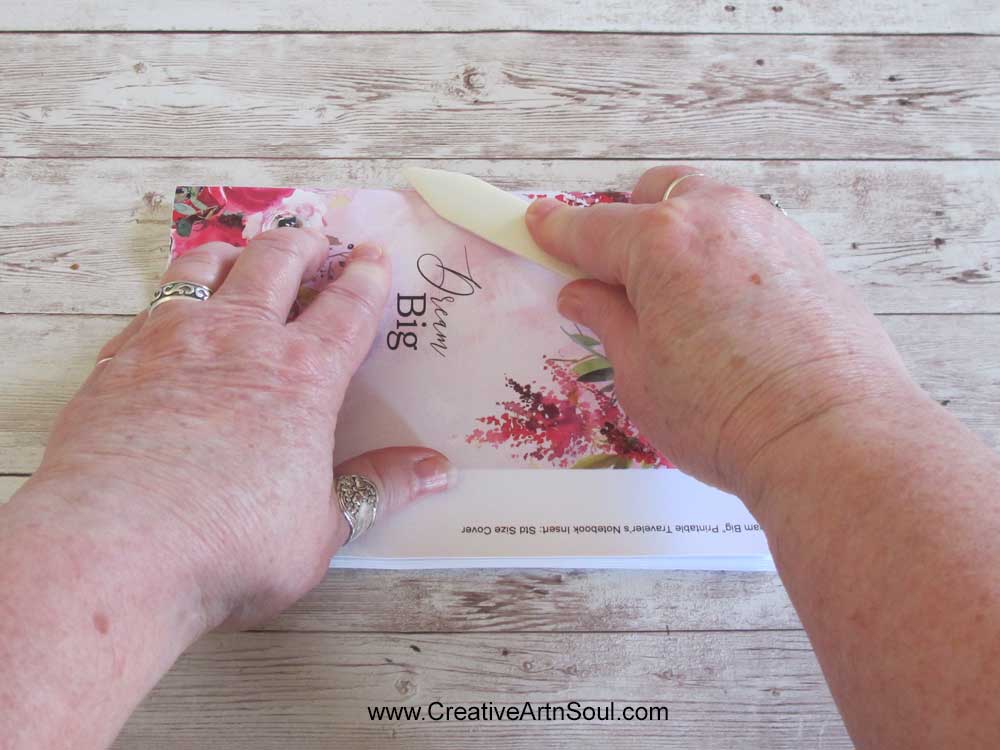
Align a ruler along the long edge of the cover and use an xacto knife or Stanley Knife to cut away the excess paper. Take your time and cut lightly but firmly until all the pages are trimmed.


Save this pin to your favorite Pinterest board!