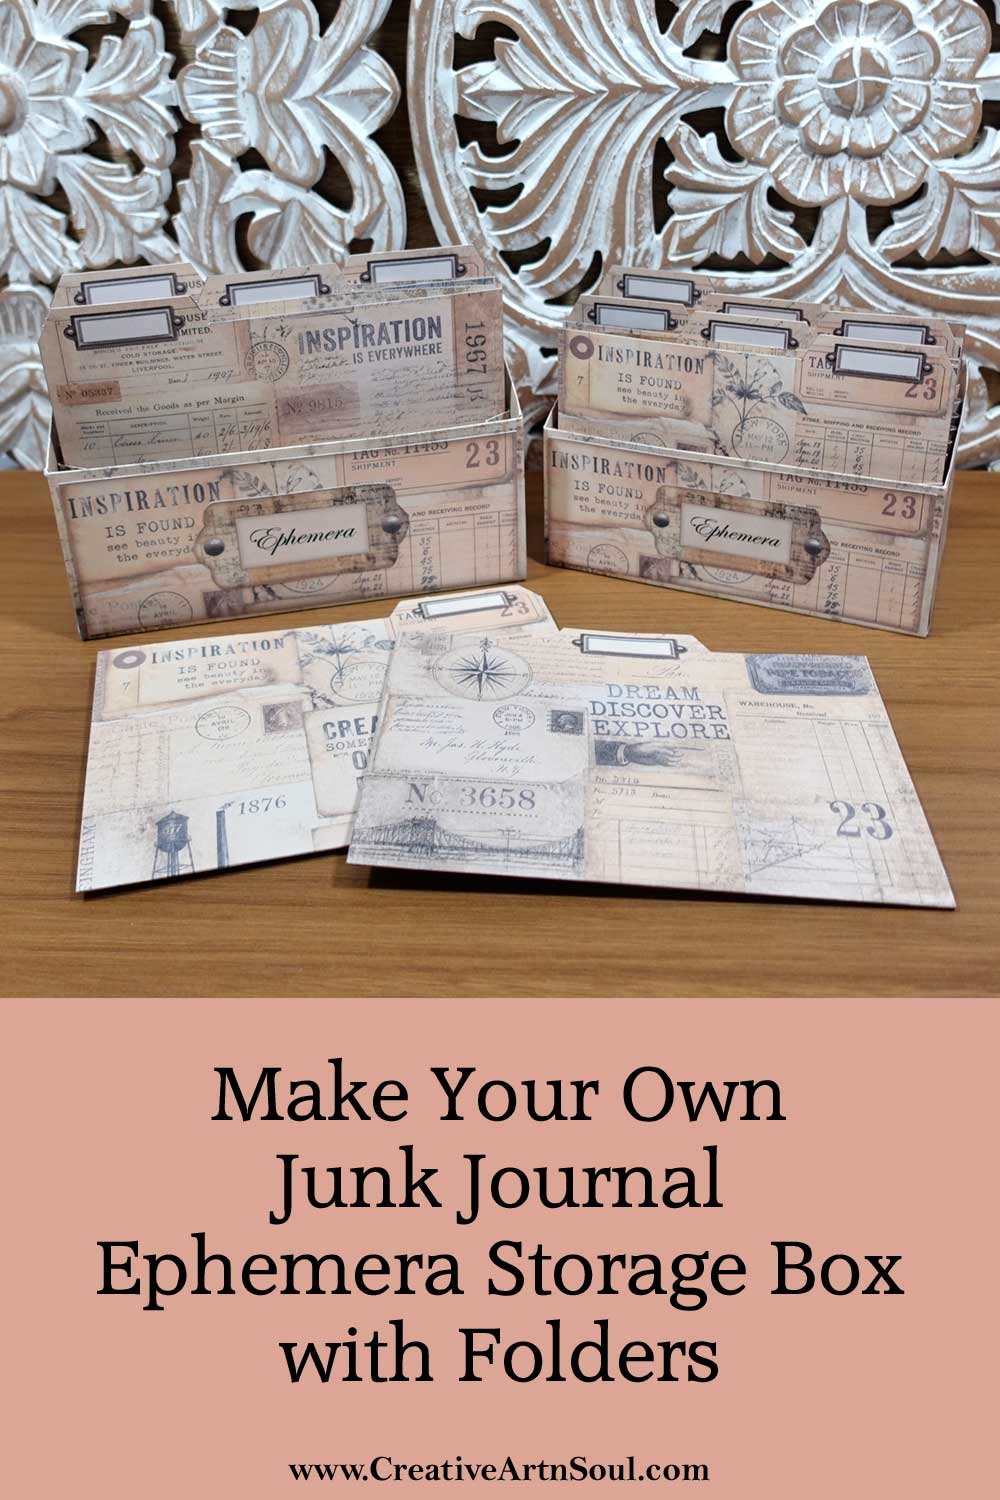
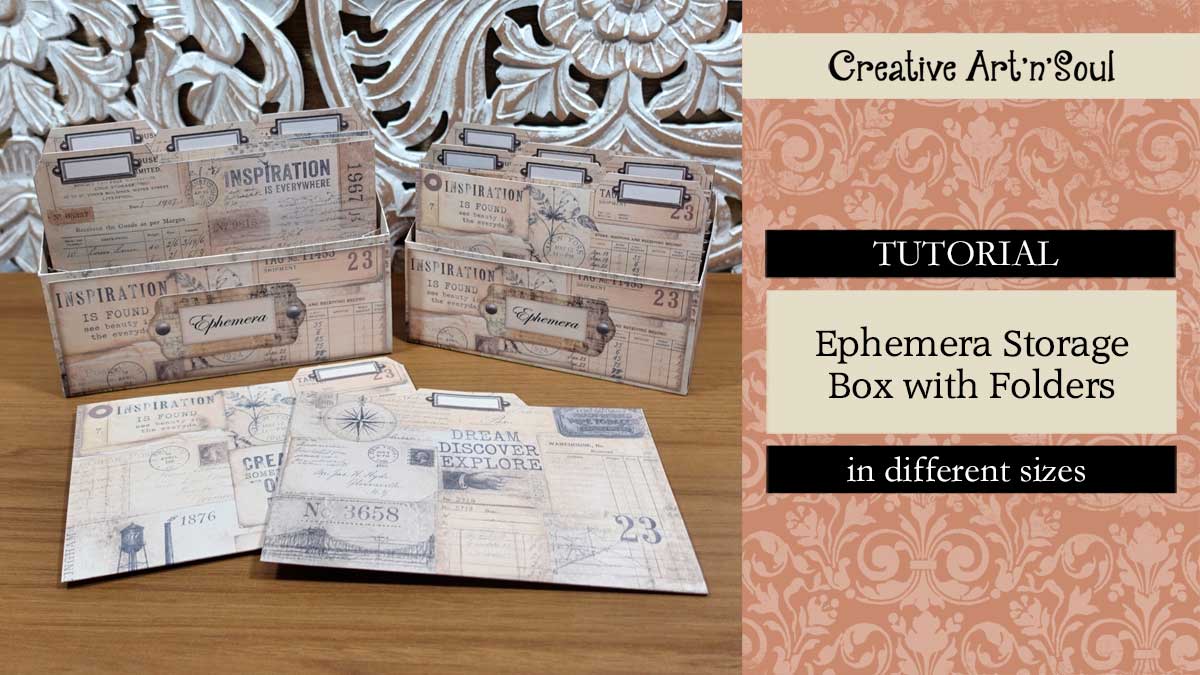
Make your own junk journal ephemera storage box with folders in no time at all
For any passionate paper crafter, junk journaling quickly transforms from a relaxing hobby into a mountain of beautiful, chaotic paper scraps. One day you’re neatly cutting out a few vintage labels, and the next, you’re drowning in a sea of movie tickets, faux stamps, and other small paper ephemera. While collecting these tiny treasures is half the fun, hunting for that one specific tag can totally kill your creative vibe. That’s why a dedicated junk journal ephemera storage box is a complete game-changer for your craft space.
Unlike plastic bins, a specialized ephemera box is built with the paper artist in mind. It gives you a number of folders and dividers to keep your small fussycuts and vintage ephemera visible and safe from getting bent or buried. By grouping your stash by theme, color, or style, you spend less time digging through messy piles and more time actually gluing and creating.
These printable ephemera storage boxes do double duty as beautiful studio decor and functional ephemera keeper. It keeps your precious paper finds safe, clears up your workspace, and makes sitting down to journal feel like an absolute treat.
How to Make Your Own Junk Journal Ephemera Storage Box with Folders
Supplies
- Junk Journal Ephemera Storage Box Printables
- Printer
- Cardstock 110lb
- ScoreBoard
- Bone Folder
- Gluesticks
- Double sided tape 1/2″, Double sided tape 1/4″, Double sided tape 1/8″
- Cutting Mat
- Rotary Cutter
- Ruler
Instructions to Make the Junk Journal Ephemera Storage Box with Folders
Get the Printables
To get started head over to the online store and select your favorite printable junk journal ephemera storage box. The storage box is available in several different designs. The size of the box is 7″ long x 3.5″ wide x 4″ high however you can also make smaller boxes by adjusting the print settings in the print dialog box.
The box is made using several layers of cardstock so it’s very sturdy and long lasting. And the folders can be made in several different ways – as simple foldover folders, or they can be made with an accordion fold so that they hold more junk journal ephemera.
Print the Pages
Print out the pages onto sheets of cardstock. The cardstock should be approx 100lb in weight. Make sure to print a backing on the underside of the side accordion sections, and each of the folders.
Crease and Fold
Make creases along the printed guidelines, then cut out each of the pieces. Fold the creases on all the pieces except the lining, to the underside and press with a bone folder.
On the lining section, fold the sections over to the top side. To make the folds on the side accordion sections, press each fold in the opposite direction.
Make the Folders
The folders have one single fold along the bottom however you can easily add an accordion fold to the bottom of the folders to create more space inside them. To do this, make a crease 1/4” away from the bottom fold on both sides. Then press the creases in opposite directions to create an expandable fold.
Make the Storage Box
Apply double sided tape to the upperside of the left, right and bottom tabs on the side sections, and the underside on the top tab.
Apply double sided tape to the underside on the top tab of the front and bottom section and the back section, and the upperside of the bottom tab on the back section.
Glue the front, bottom and back overlay pieces onto the front bottom and back sections, and the side overlay pieces onto the side sections.
To assemble the junk journal ephemera storage box carefully align and press the front and bottom section to the tab on the back section. Attach the side sections one tab at a time. Start with the bottom tab on both sides, then the front tabs, then the back tabs. Take your time to accurately align the edges before pressing the tabs in place.
Insert the front bottom and back lining section into the box to make sure that it fits properly. If you have accurately assembled the outer box, the lining should fit perfectly, otherwise you may need to make some adjustments.
It’s not necessary to glue the lining section inside, it will be held in place once you fold over the top tabs.
Then insert the side lining sections and make sure they fit. If they don’t fit snugly, just trim away a piece from one of the side edges.
When you’re happy with the way that they fit, attach some double sided tape to each of the edges, remove the backing and press in place.
Once the lining is in place, fold over the top tabs. if they don’t fit properly, trim away a small section from each of the edges. Then remove the backing from the tape and press in place.
The side accordion sections will help to keep the folders vertical. You can use this option with the simple foldover folders and you can omit them if you want to use folders with accordion folds. The accordion sections fit along the side edges with the edge of the end sections facing in toward the sides.
To attach the sections, add some double sided tape to both end sections, insert into the box, then press the ends to the front and back sections.
To keep the accordion from popping out, apply a piece of double sided tape along each of the side sections and carefully press the accordion in place.
Final Touches
To finish off the junk journal ephemera storage box, you can glue one of the ephemera labels to the front section.
These storage boxes are really useful for storing and organizing your small paper ephemera.
With the accordion sections in place, you can insert up to 10 folders. And you can even make multiple boxes with more folders if you need them.
How to Print the Junk Journal Ephemera Storage Box in Different Sizes
It’s also possible to easily resize your printables if you want to print the junk journal ephemera storage box in a smaller size.
To resize the printables using a pdf reader
Open the pdf file then select the print button and you should see a page scaling setting. Depending on the type of software that you use, the wording may be different.
Within this setting you’ll have an option to scale by percentage. On my softward, the setting is within the option “tile large pages”. Using this setting you can set the percentage to print the pages smaller.
To resize the printables using a jpg files
Another way to resize your printables is to convert the pages of your pdf document into jpg files and then you can resize them in a photo editing program such as Photoshop Elements or any other type of program that has photo editing options.
To resize using photoshop elements, open an image on the editing screen and from the main menu select Image > Resize > Image Size.
You can resize the image proportionally in height and width by making sure that the “constrain proportions” option is selected.
Then change the width or height measurement, and the other measurement will automatically adjust proportionally.
So for example, if you changed the size of this image proportionally and set the width to 10″, the height automatically sets to 7.727″.
You can also set the size for the height and width individually.
With images, you can stretch either the height or the width by up to about 10% without causing any noticeable distortion.
To do this, uncheck the “constrain proportions” option, and then you can change the size of the height and width individually.
Using this option means you can set individual dimensions to best suit your paper size or project size.
Save this pin to your favorite Pinterest board!