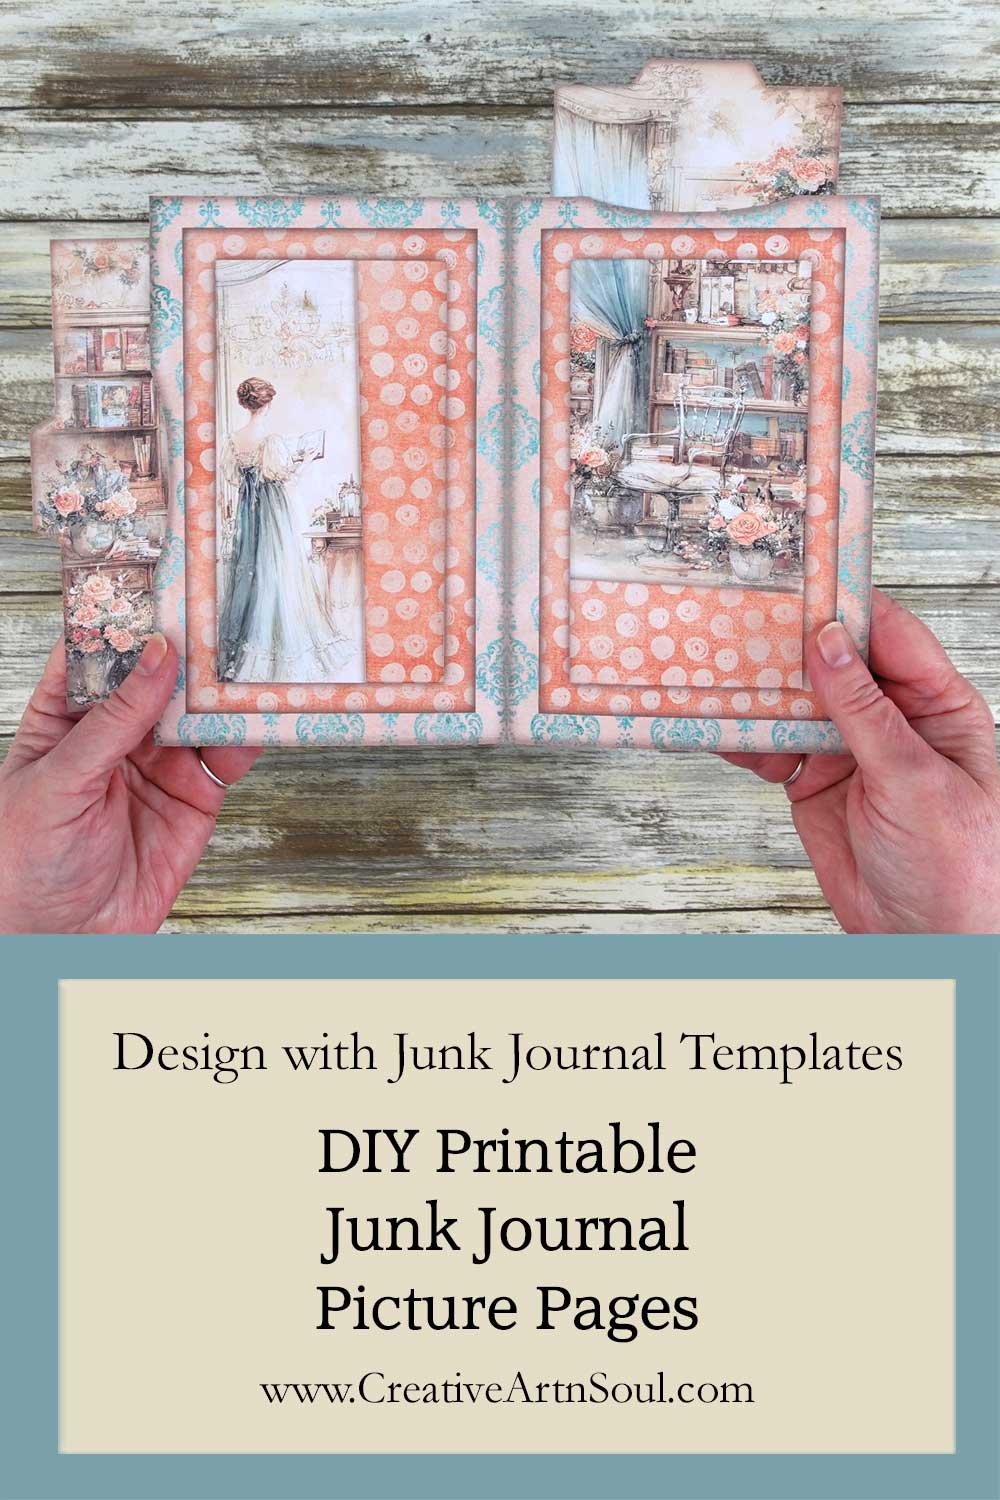
Design, print and assemble your own printable junk journal picture pages using these easy-to-use templates.
Make your own unique junk journal picture pages, or make picture page frames with removable picture cards using these junk journal templates. Design using easy-to-use junk journal templates in photoshop, photoshop elements, photopea or canva. Then print, cut and assemble.
- Supplies
- About the Junk Journal Templates
- Design Junk Journal Picture Pages using Individual PNG Templates
- Design Junk Journal Picture Pages using the PSD Files in Photoshop
- Design Junk Journal Picture Page Frames with Cards in Photoshop
- Design Junk Journal Picture Pages using the Canva Templates
- Assemble the Picture Pages
DIY Printable Junk Journal Picture Pages
Supplies
- Picture Pages Templates
- Template Library
- Printable Papers
- Craft Knife
- Double Sided Tape
- Cardstock
- Epson EcoTank Printer
- Photoshop Elements
- PhotoPea
About the Junk Journal Templates
Using these templates you can design a printable junk journal page, or you can design a printable picture page frames with a picture card insert.
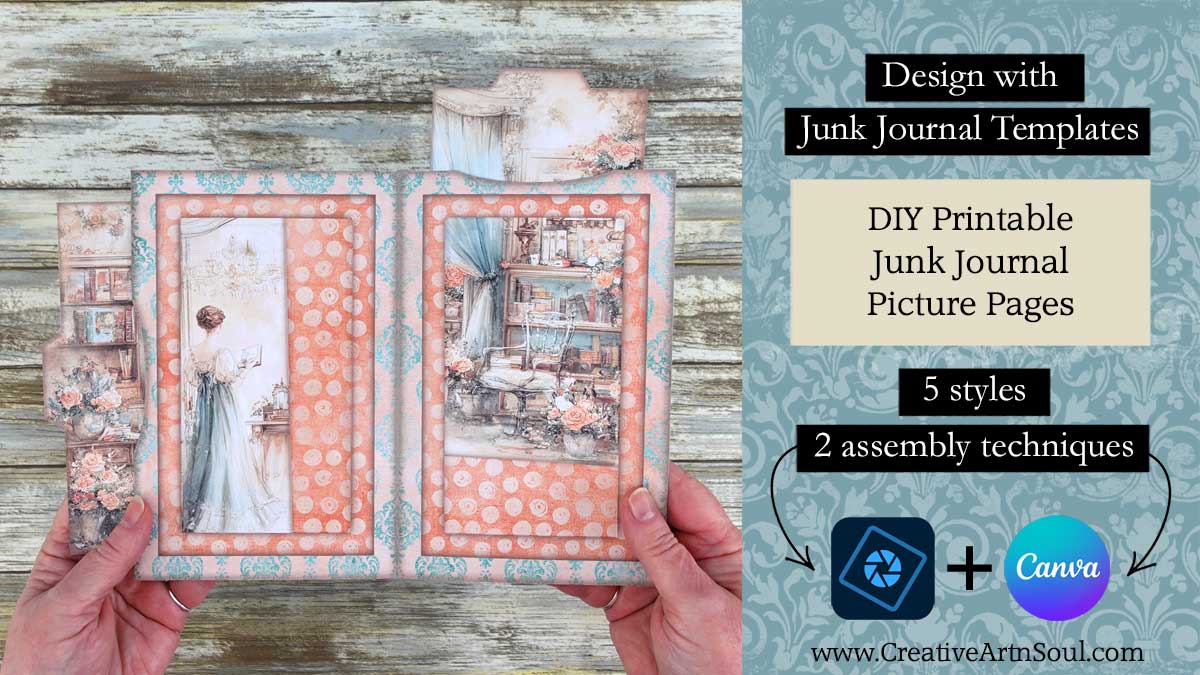
The template set includes 5 sets of frames, each with a different border and picture shape, and 2 sets of card templates.
The template set includes png files that can be used in photo editing programs such as photoshop, photoshop elements and photopea. Also included is a set of canva frame templates that can be used to design in canva.
Design Junk Journal Picture Pages using Individual PNG Templates
Included in the template set is a full set of individual png templates plus a handy psd file that includes all the templates organized into folders.
To get started using the individual png templates, make a new document 11″ wide by 8.5″ high at 300dpi. This will make a double-sided junk journal page. Then use the bucket tool and fill the document with the color white to create a temporary background.
Add the templates to the document to create your picture page designs. The templates are sized to fit perfectly within the document and can be layered one on top of the other, above the background layer.
Design Junk Journal Picture Pages using the PSD Files in Photoshop
As an alternative to using the individual templates, you can use the handy psd file. This file includes all the templates so that you can quickly and easily make picture pages on both left side and the right side, or on one side only.
The files are organized into groups for left side and right side so in order to use the psd file you will need to use photoshop or photopea, or a version of photoshop elements that supports grouped layers.
Some of the templates are hidden by default, so all you need to do is click the little eye icon on each layer to reveal the template.
You can create a double sided junk journal page with picture frames on both sides or either the left side or the right side simply by hiding the templates that you don’t want to use.

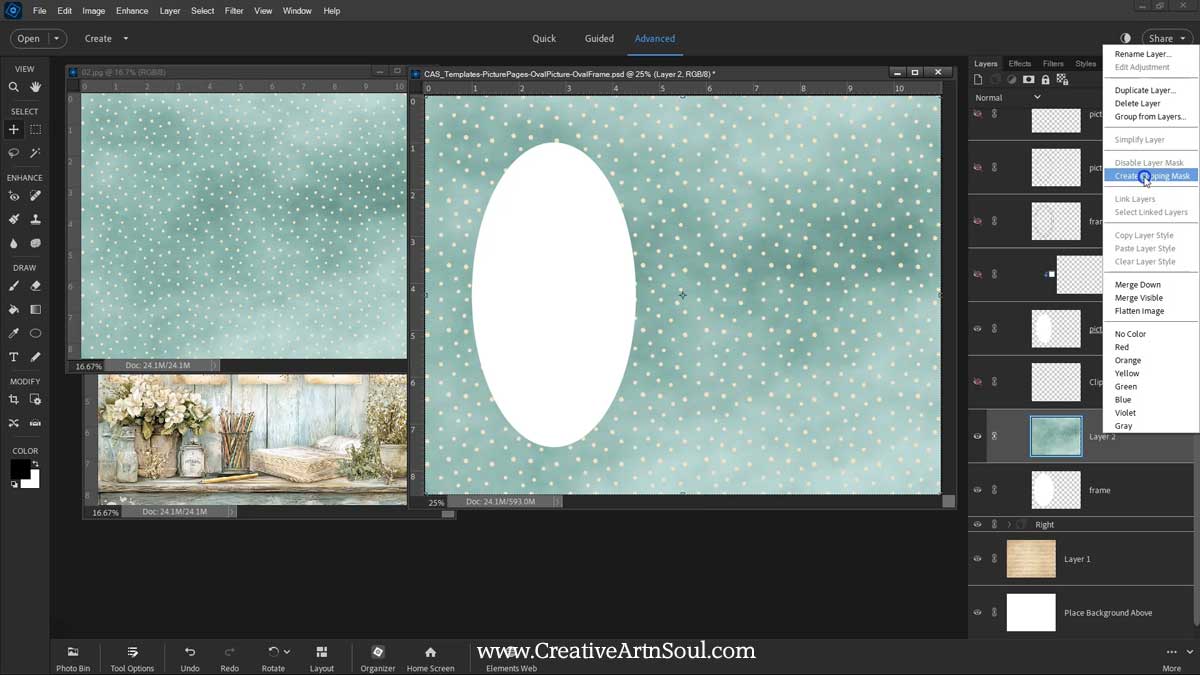
To get started designing using the psd file, first add a background paper. Move the paper to the layer above the bottom layer that says “place background above”. This creates the background for your junk journal page.
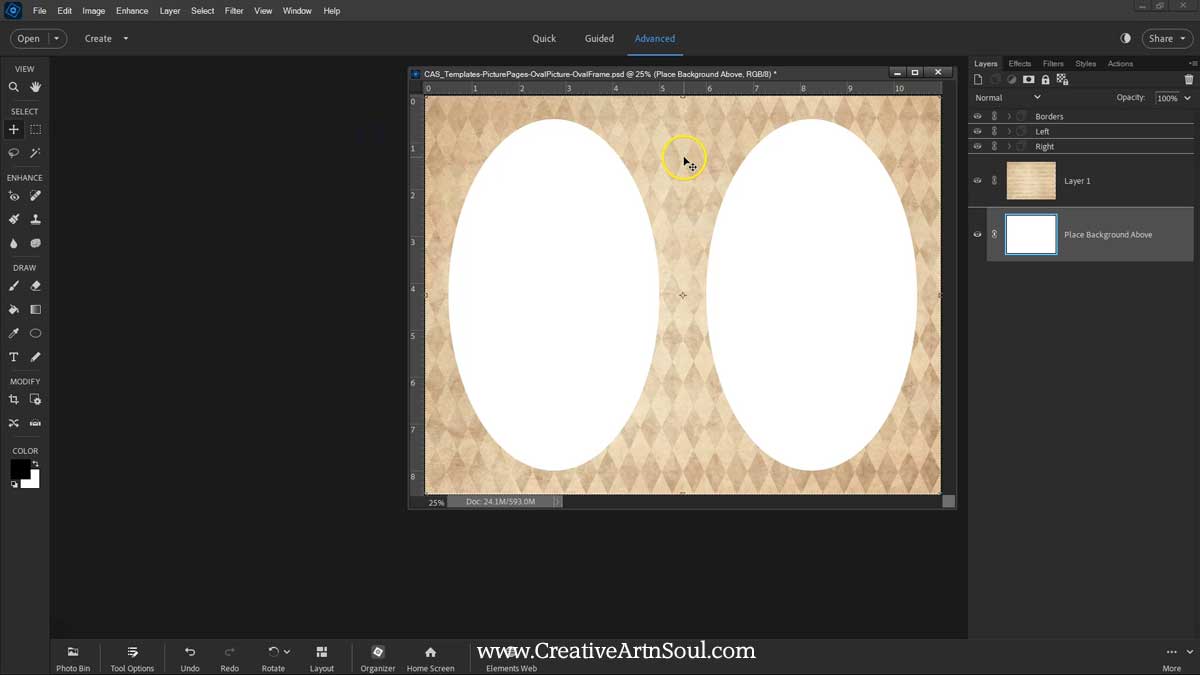
Next add the paper for the picture frame. Place this paper on the layer underneath the layer that says “place frame under”.
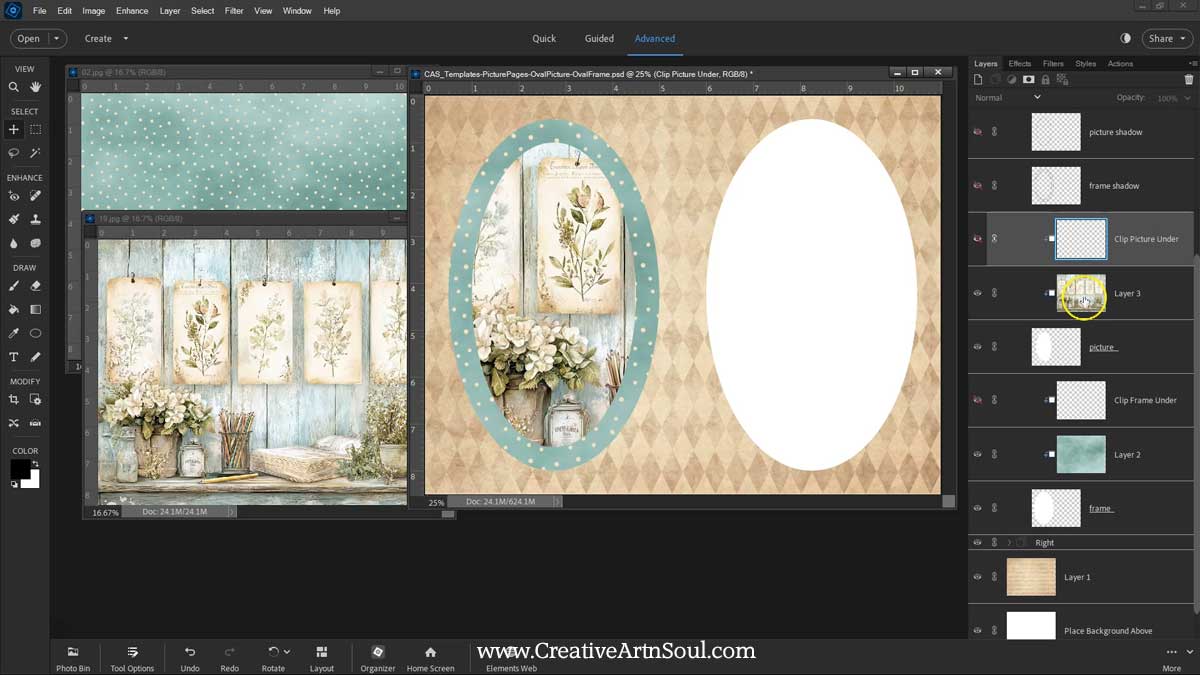
You can see that this layer is clipped to the frame layer below. Once you add the paper, if the layers become unclipped, right click on the paper layer and select “create clipping mask”.
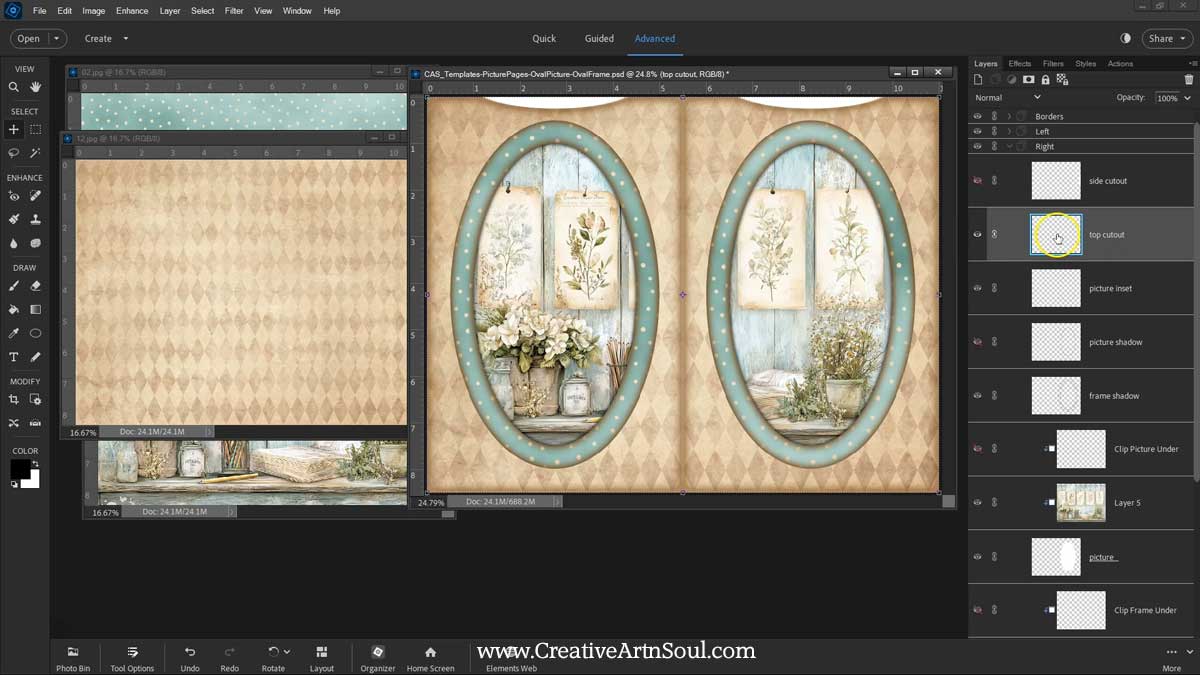
Then do the same to add the picture layer. You can resize and move the picture layer around until you’re happy with the way it looks.
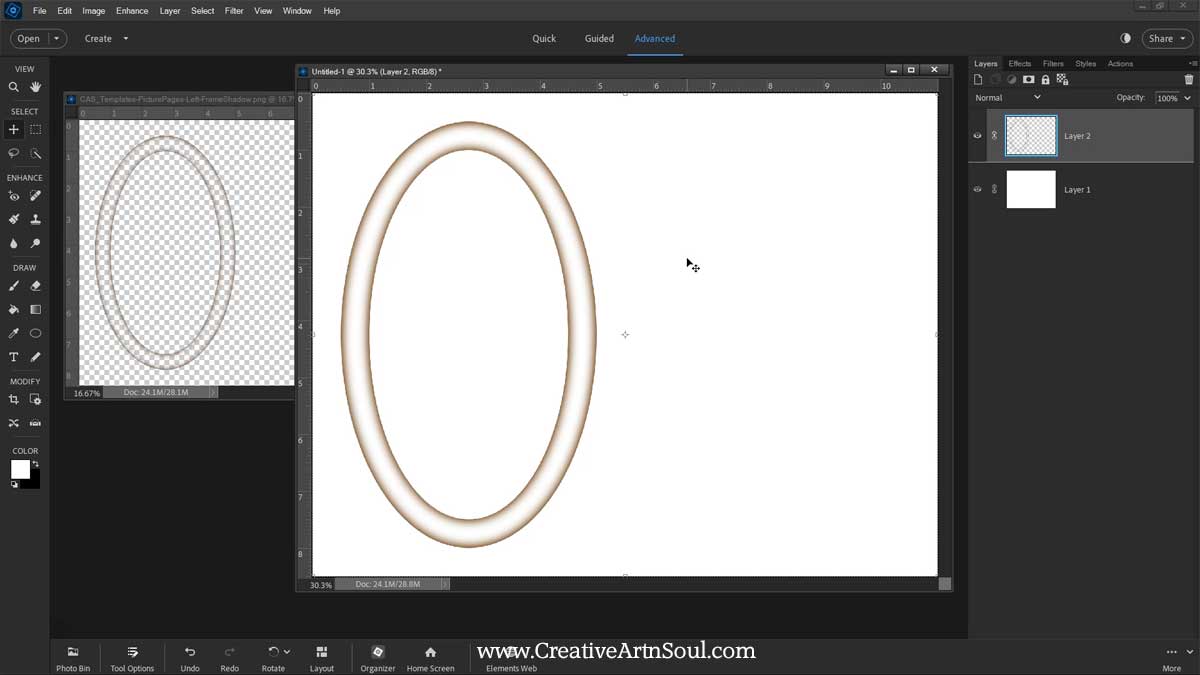
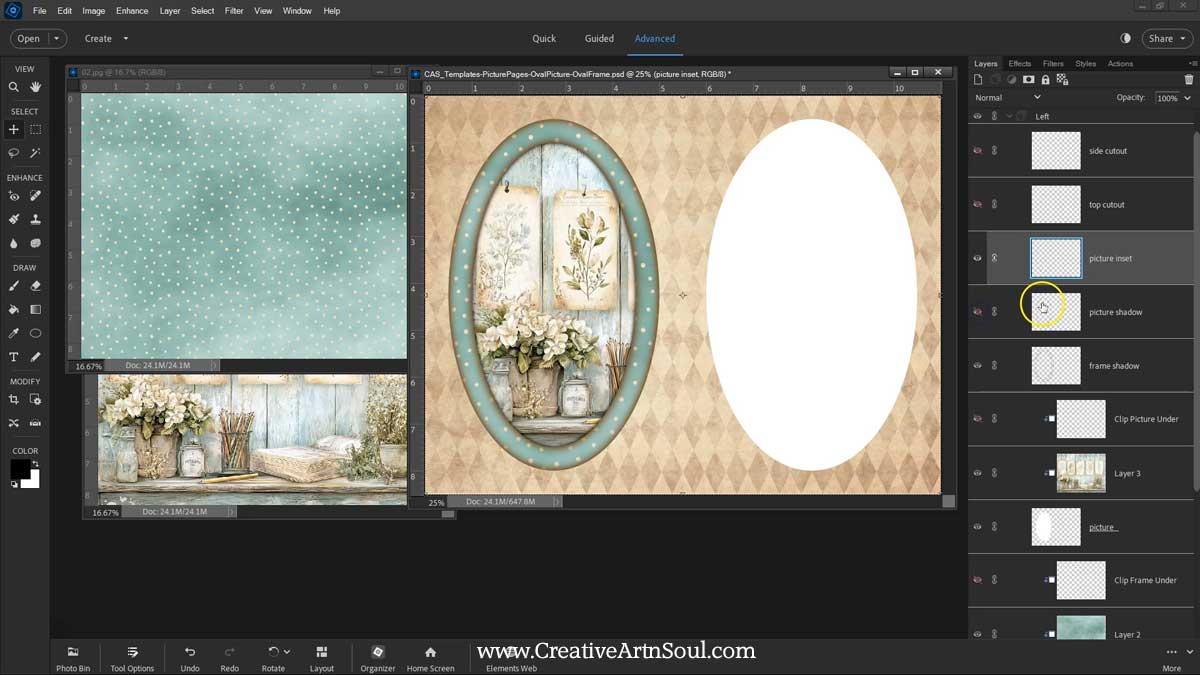
Once the layers are in position, you can add shadow effects to the frame and the picture. You can add a frame shadow which adds a 3d effect. You can add a picture shadow that adds a subtle vintage border. And you can add a picture inset that adds a defined shadow underneath the border. You can combine the layers or choose the ones that you prefer. Then do the same for the other side.
I’m using papers from the kits that are available in the Junk Journal Printables Club, however these templates work with any type of digital paper.
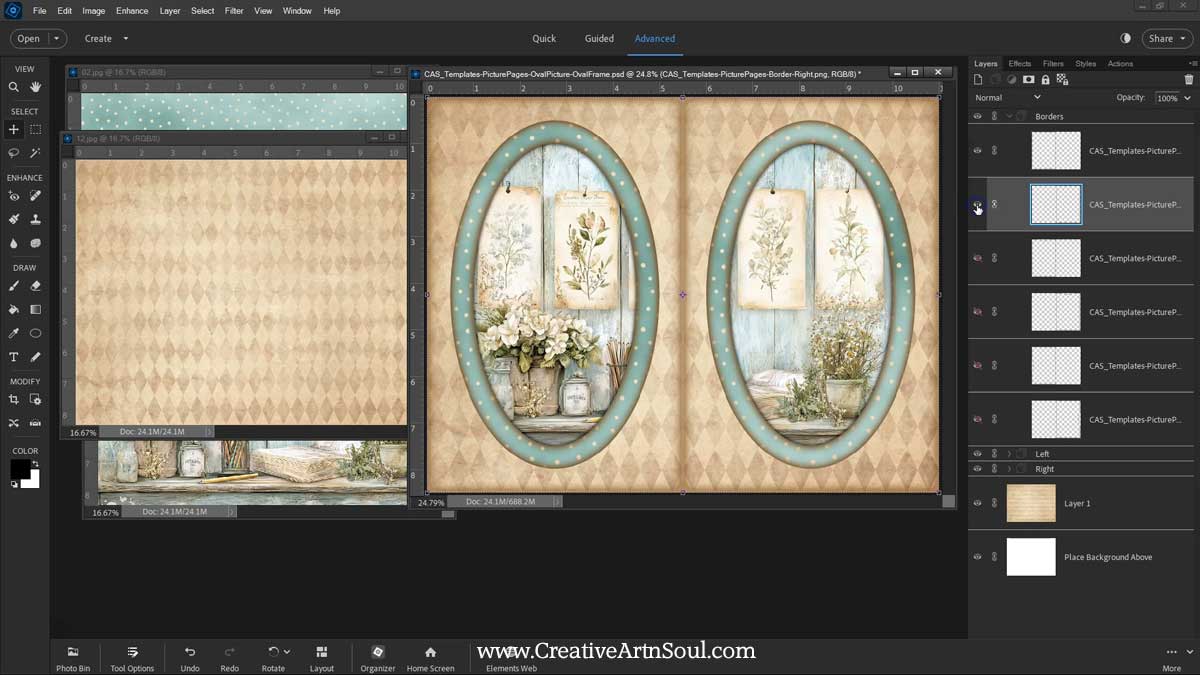
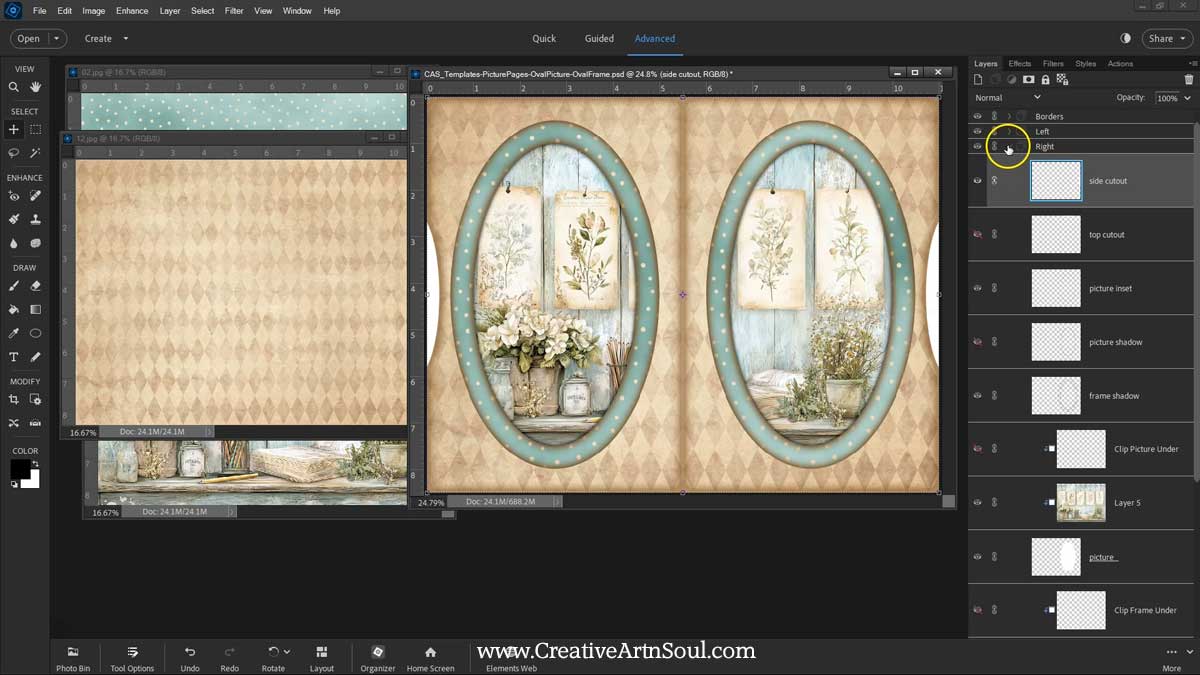
To finish the page, you can add a vintage style page border. There are two borders to choose from. Once full page border and one with cutouts that work with the top cutout templates.
There are different borders to choose from. A set of full page borders and two sets with cutouts on the side and on the top that work with the cutout section templates.
Once you’ve completed your design, you can print the page directly from your software, or save the file in jpg format for printing at a later time. You can design with all the different style psd templates in the same way.
To use the pages, print a design on the other side, trim away the white edges, fold in half and insert into your junk journals.
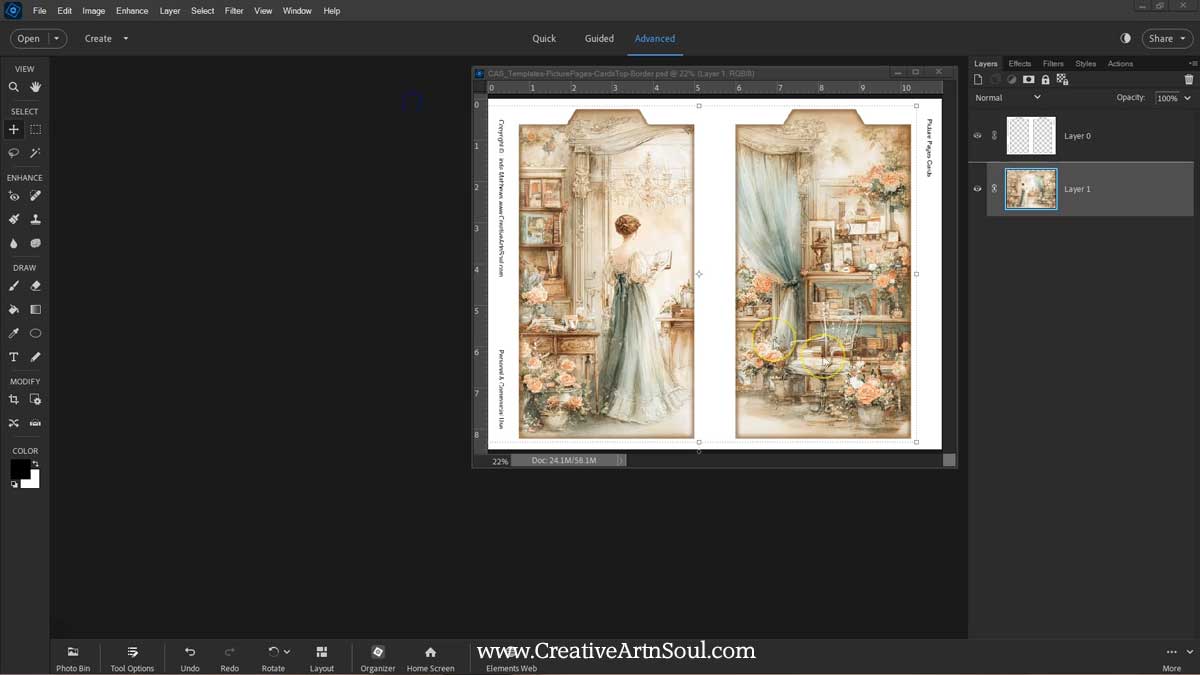
Design Junk Journal Picture Page Frames with Cards in Photoshop
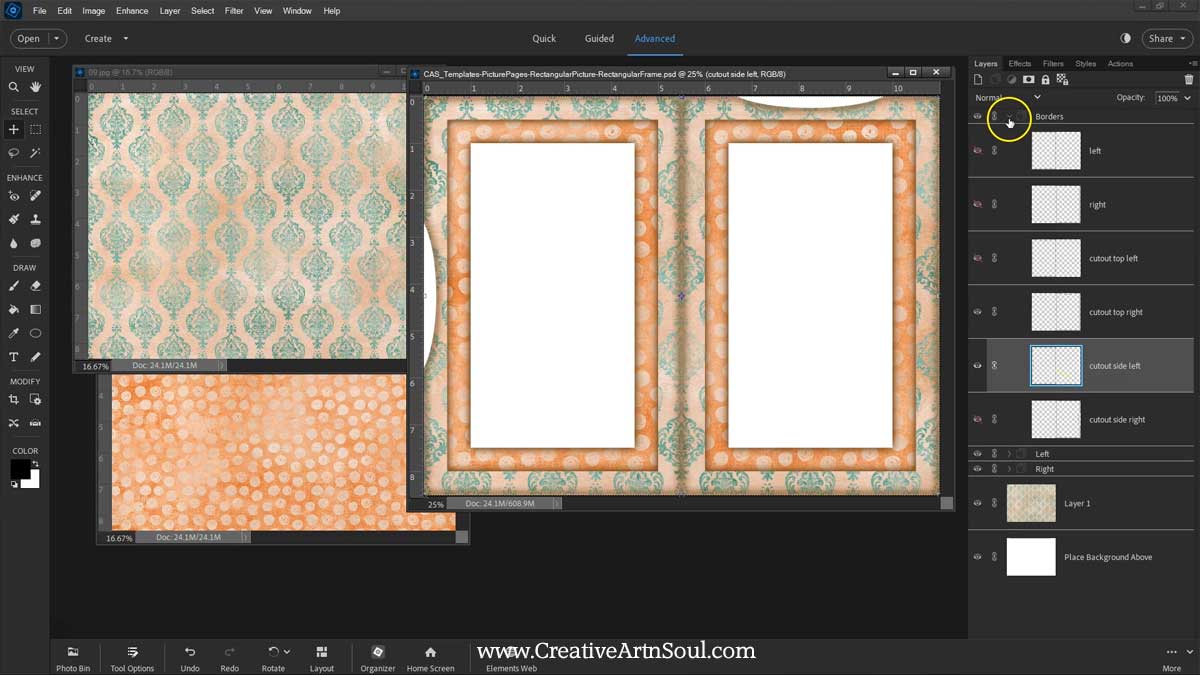
The picture pages with cutouts and cards are designed in a similar way. Add a paper to the page background and the frame, and set a frame shadow if you want one. It’s not necessary to add a picture because the picture section will be cut out after printing.
Reveal the top cutout sections by clicking the little eye icon. The cutout sections are used to make it easy to insert and remove the tabbed cards. Then add the page border with the cutouts if you want a vintage style border.
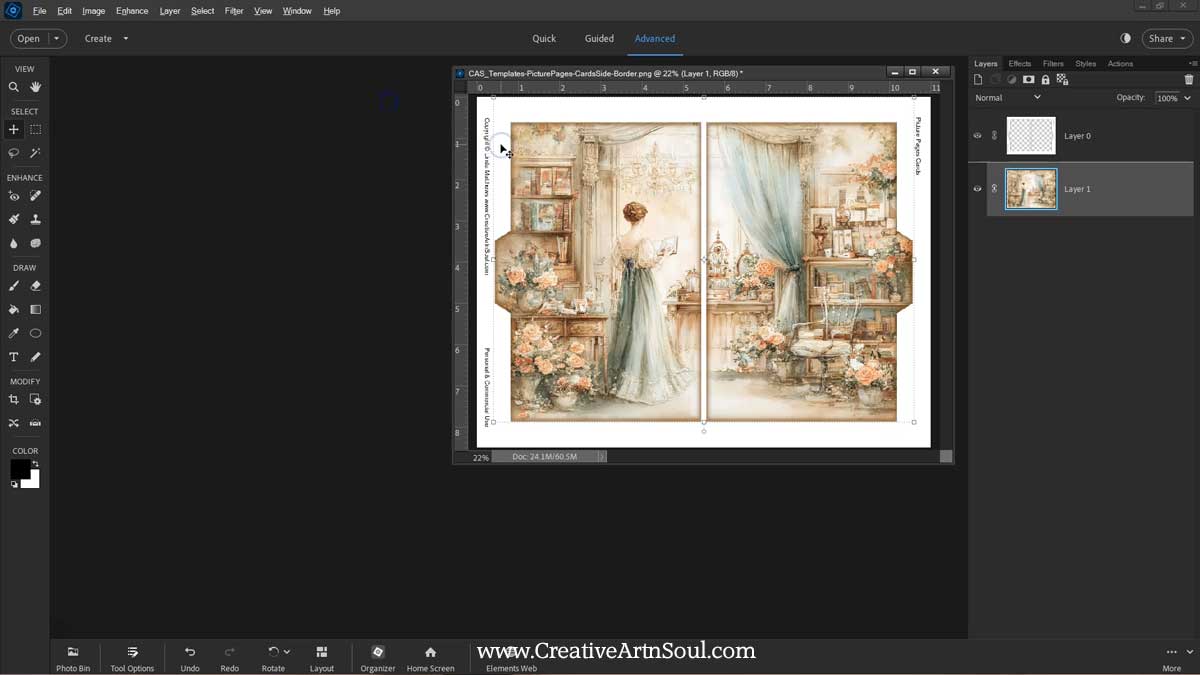
You can design the pages with or without cutout sections, or with the same cutouts on the top or at the side, or mix them up and have one on the side and one on the top. Then save and print.
Included are two card templates that can be used when designing picture pages with card inserts. One set has tabs on top for the top page opening, and the other has tabs on the side for the side page opening.
To design the cards, Add a background paper and move it to a layer underneath the template layer. You can resize and reposition the paper until you’re happy with the design. Once you’re finished, save the file and print.
Design Junk Journal Picture Pages using the Canva Templates
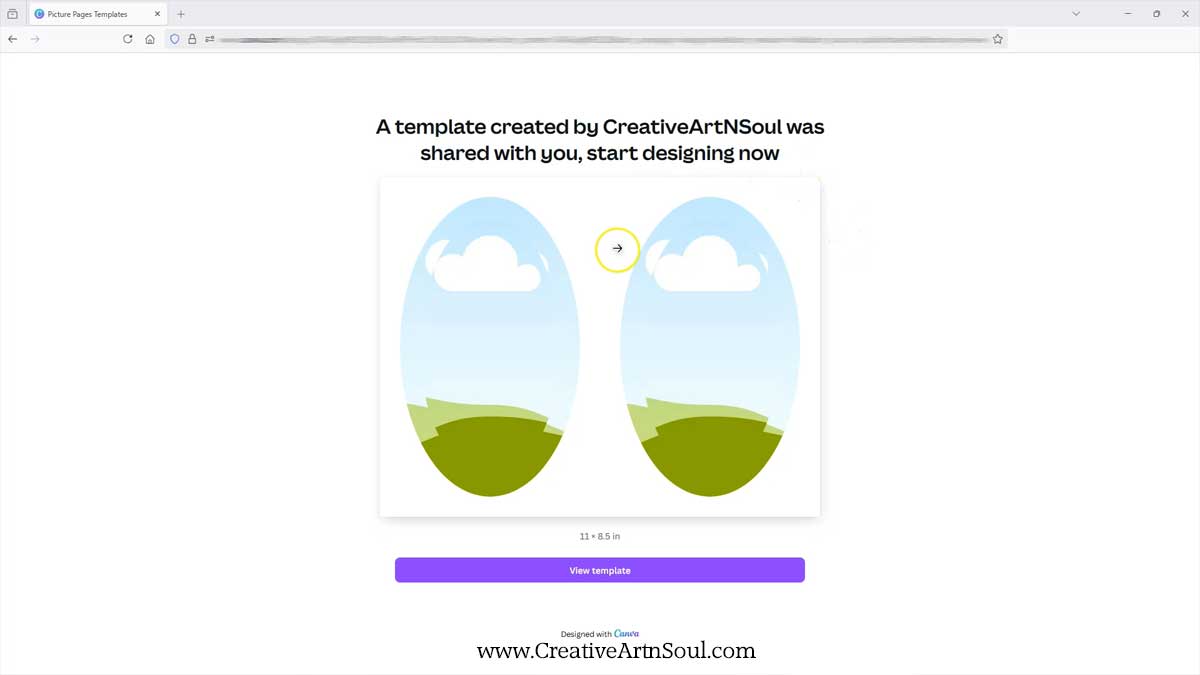
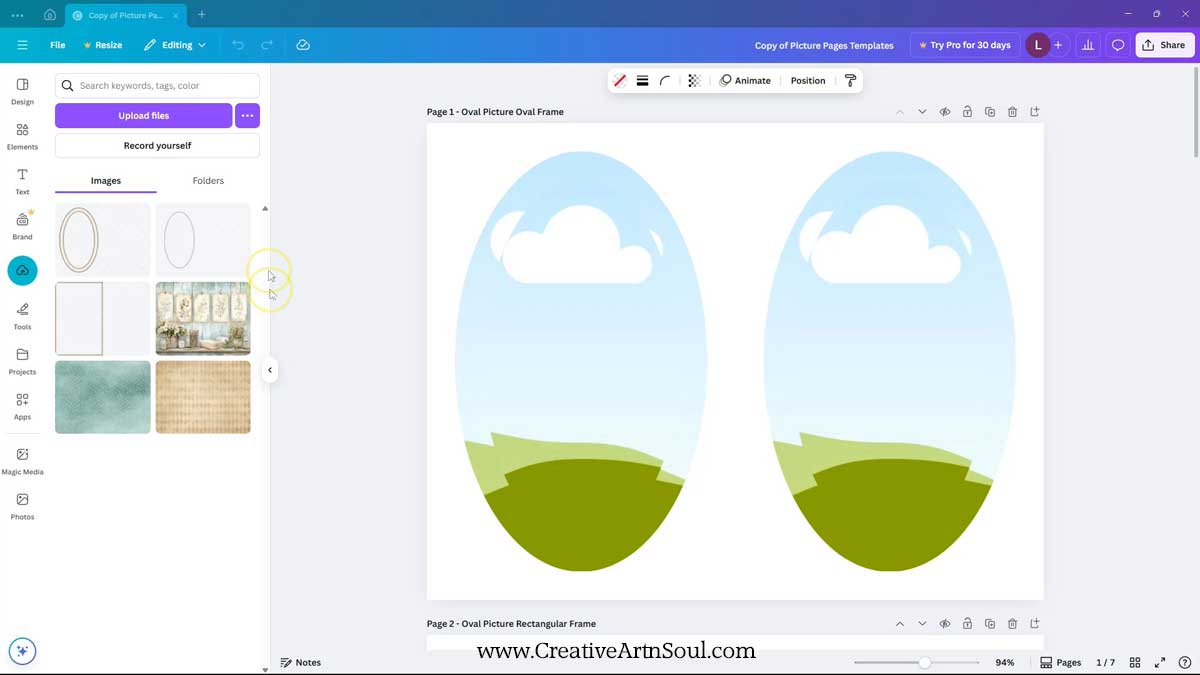
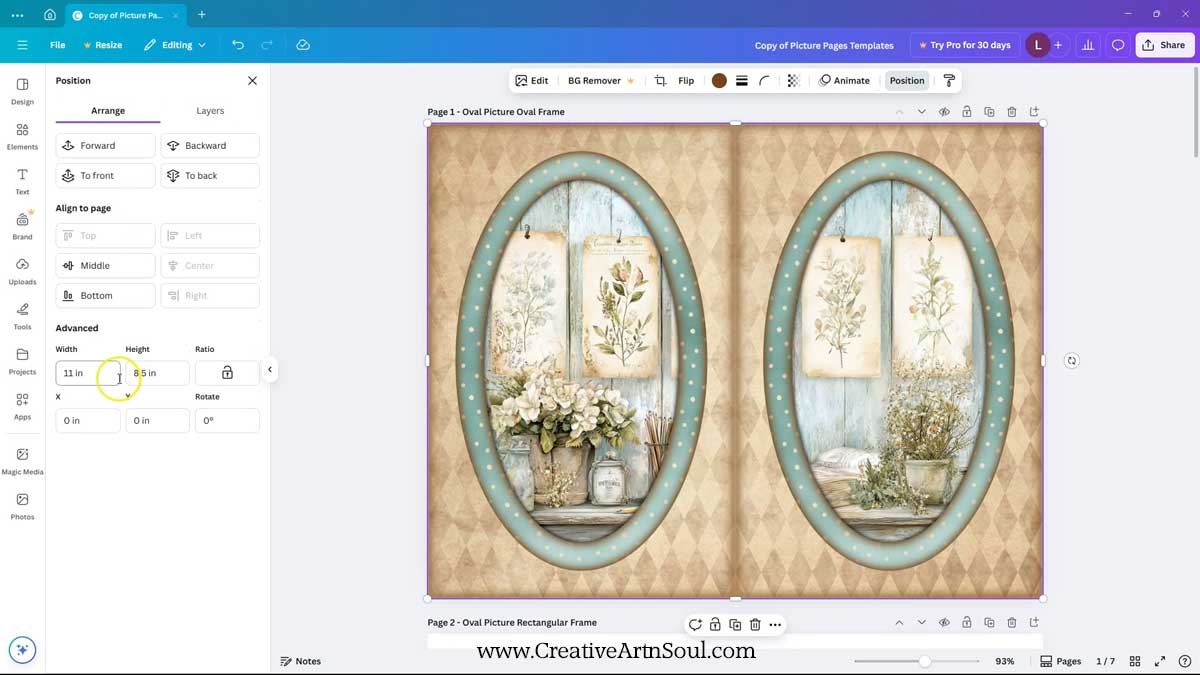
As well as designing in programs like photoshop, you can also design these picture pages in canva using the canva frame templates. To get started, log into your canva account. Then click the link to the canva template. You can find the link in the document that’s included with your download. When the browser page opens, click the “view template” button.
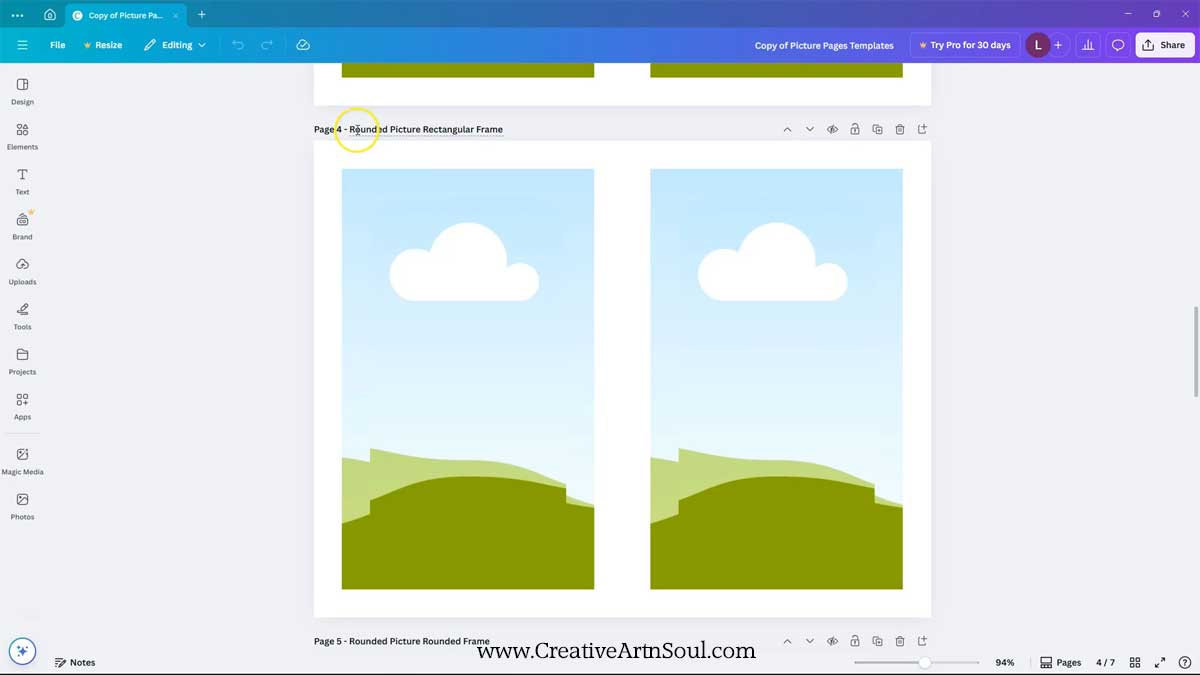
The canva templates include the page frame and the picture frame templates for each of the different frame styles. Plus the card templates. The picture frame is layered on top of the page frame, however even though they’re layered they are still very easy to use.
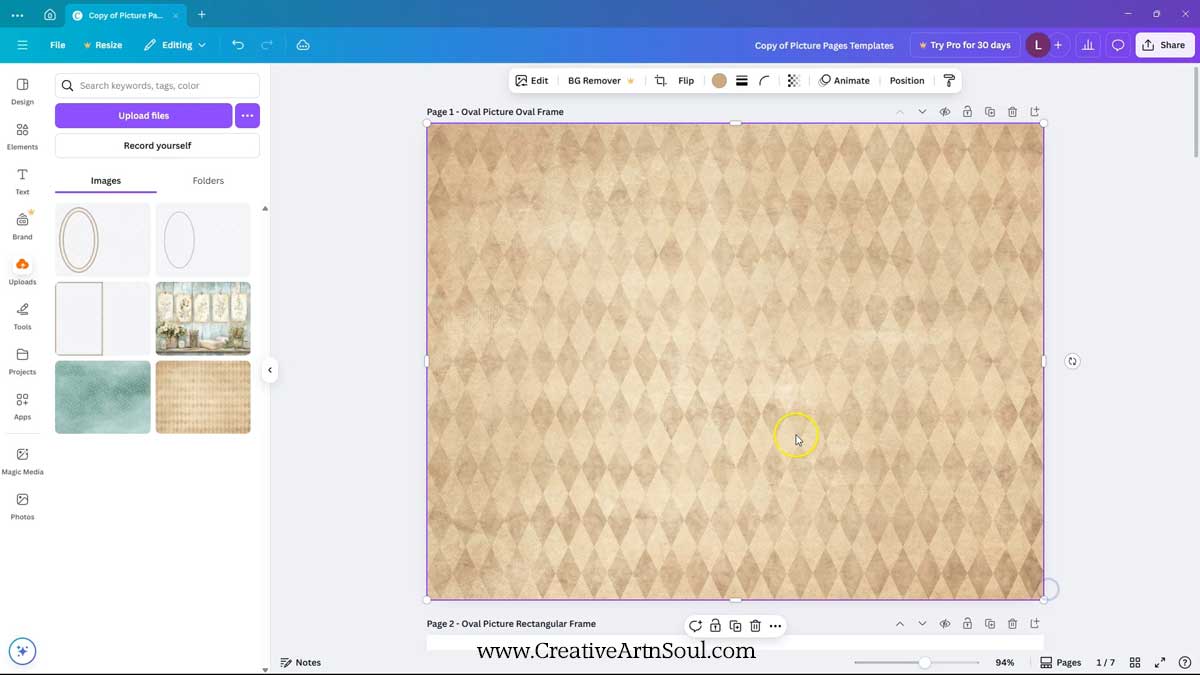
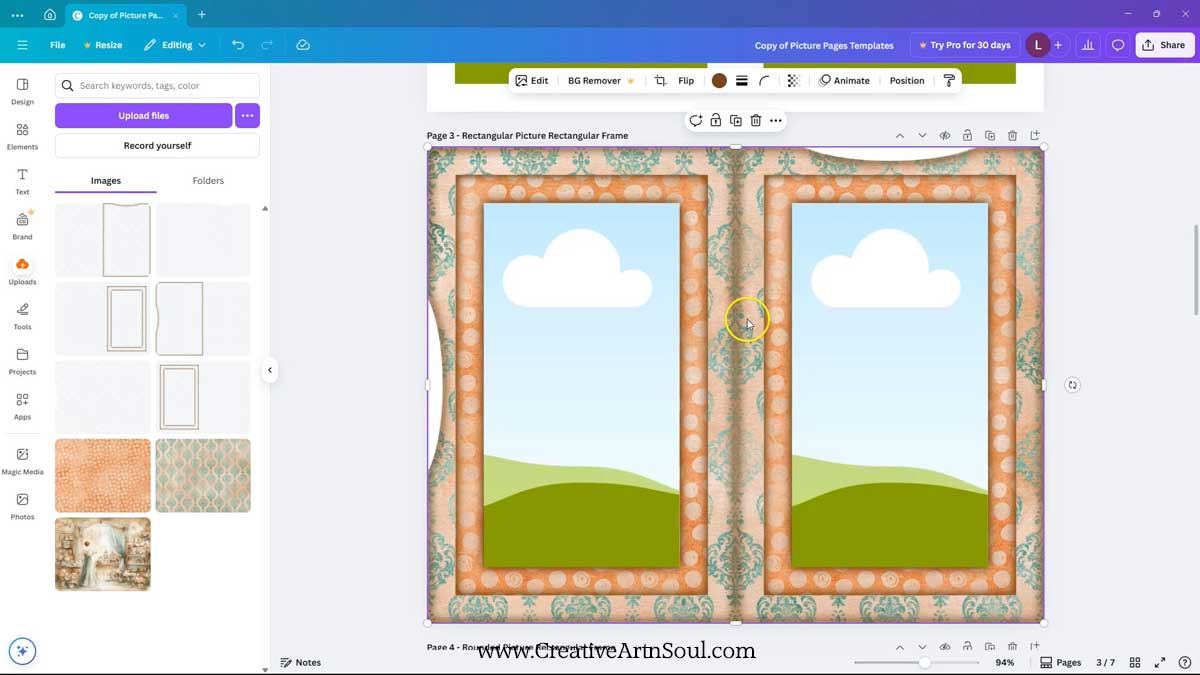
To design, first select the frame style that you want to use, then upload your additional files. You will need to upload the digital papers and any additional png templates that you want to use to create your design.
To upload, you can use the “upload files” button and select the files from your desktop. Or drag the files out of the folder and drop them onto the canva editor.
To add the files to the template, click on the thumbnail that you want to use. Carefully reposition it until it fills the document space. Be careful that it doesn’t snap into the frames. To prevent files from snapping into the frames, hold down the control or command key on your keyboard.
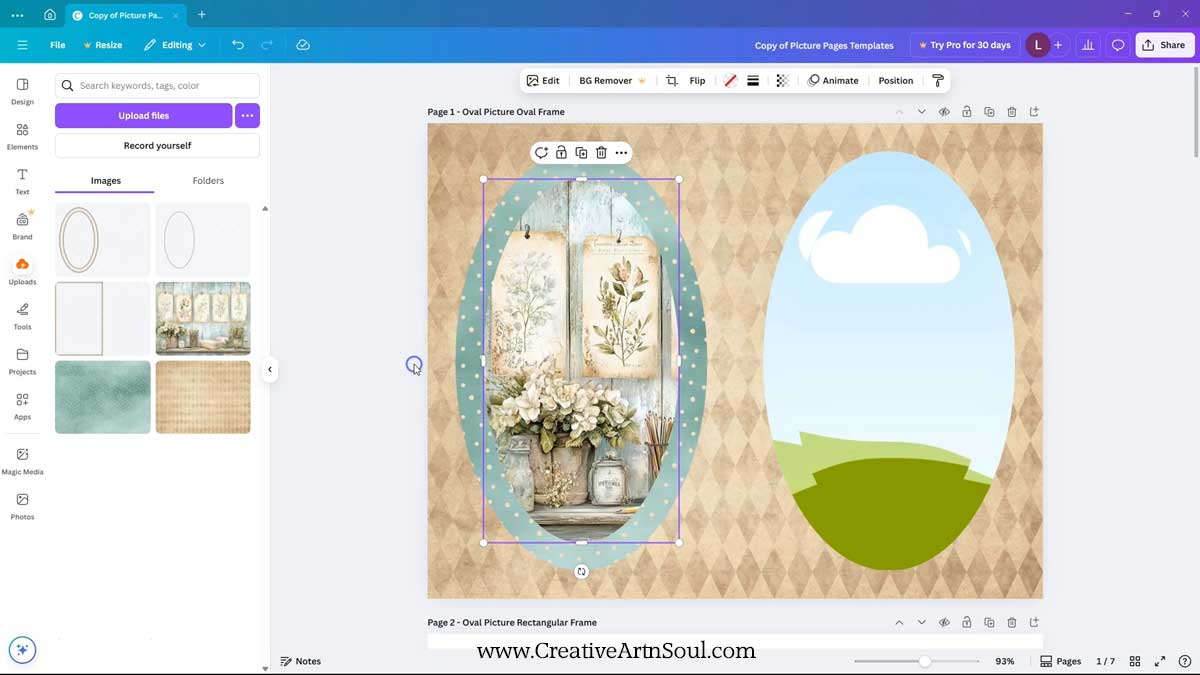
To move the background paper to a layer underneath the templates, click the “position” button on the top menu, then select the layers panel. Drag the background paper to the layer underneath the frames.

Exit the layers panel and select the frame paper and allow it to snap into the frame shape. Select the picture paper and allow it to snap into the picture shape.
To reposition the picture, double click on the shape and then you can move and reshape the paper. When you’re done, click on the background to set the position.
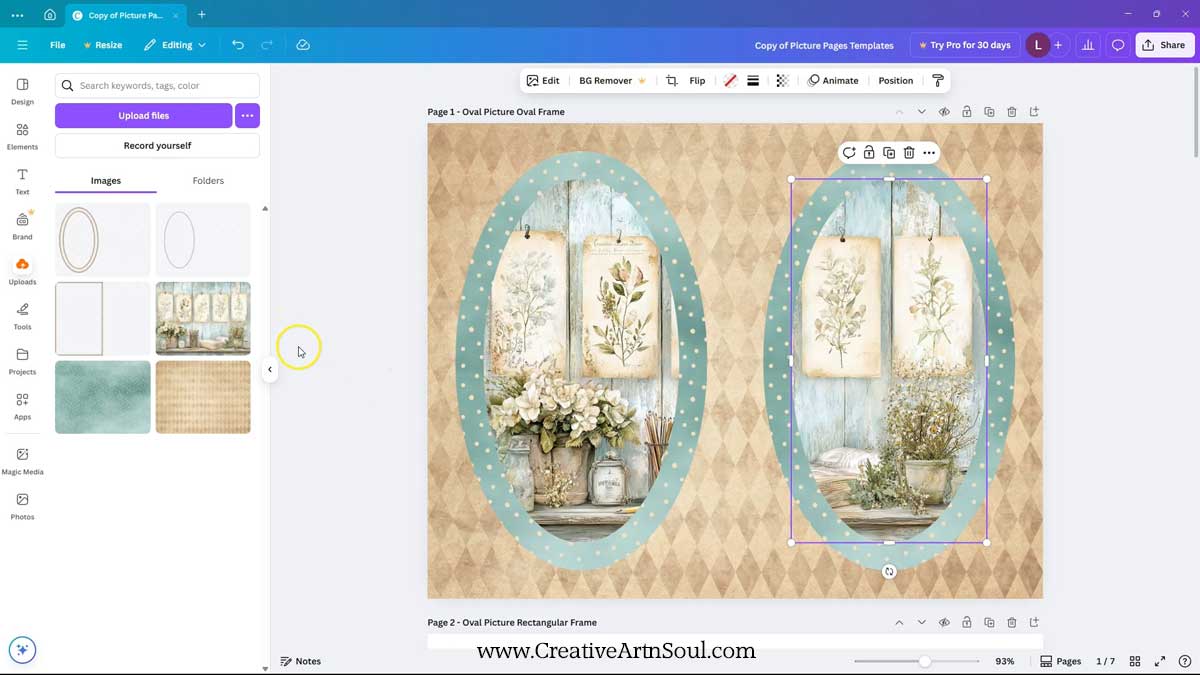
Do the same for the other side. Then add the frame and picture shadows and stretch them to fit the documents. Just be careful that they don’t snap into the shapes. You can use the control or command key on your keyboard to prevent this from happening.
To make sure the layers are positioned and resized correctly, select the “position” button on the top menu, then the “layers” panel. Select the layer that you want to check, then select the “arrange” panel. On this panel you can make sure that the templates are sized correctly at 11″ x 8.5″. Do this for each of the shadow layers.
You can complete a design for one page, or several pages at at time. The frames work in the same way for each style.
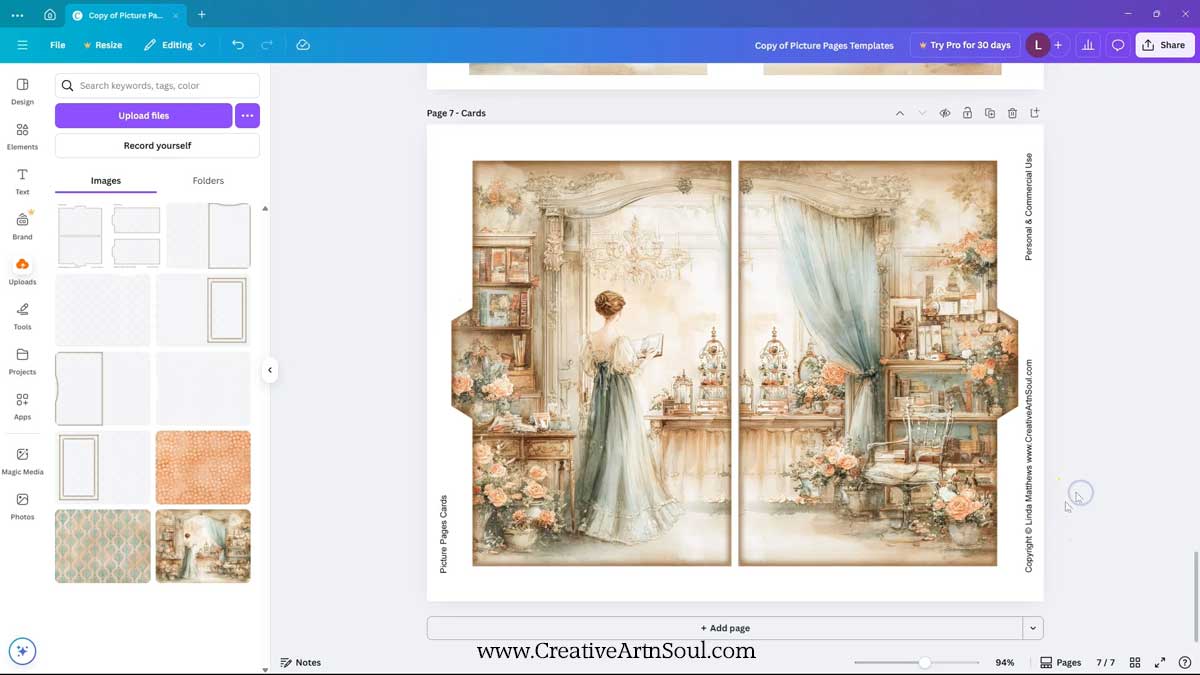
To design a picture page with cutouts and cards, first select the picture page template. Then upload the papers and png templates that you want to use. Include the top cutout section templates and the page border with cutouts if you want a vintage style border.
When designing picture pages with cutouts and cards, you only need to add a background and a frame paper, you don’t need to add a picture image on the template.
Add the picture papers to the card templates and add the card border templates if you want to use it. You will need to rotate the border template to fit the card template.
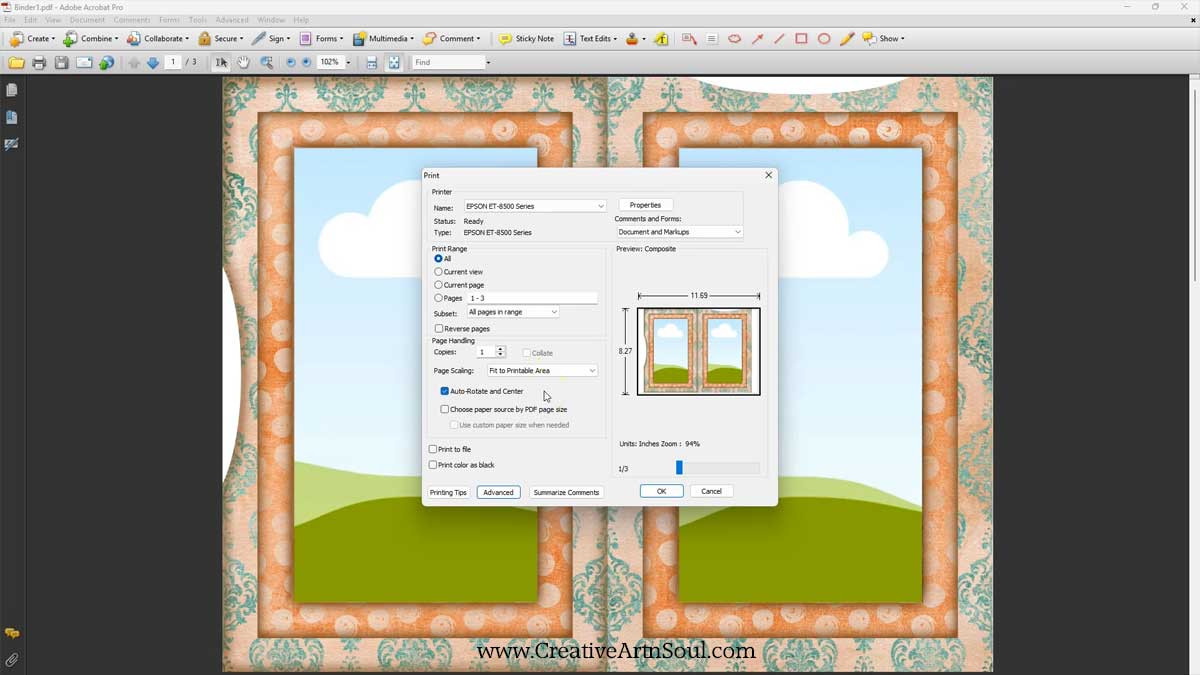
When you are done designing, save the file in pdf format for easy printing. Click the share button and then download. Select file type pdf print and make sure to check “flatten pdf”. If you’re just printing one or several pages, select the pages that you want to print then click the download button.
Canva doesn’t have the option to rotate pages that are designed in horizontal format, however when you print from the pdf file, make sure to select the “page scaling” option “fit to printable area” so that the borders don’t get cut off. And also make sure the “auto rotate and center” option is selected and this will ensure that the page will print in the correct orientation.
Assemble the Picture Pages
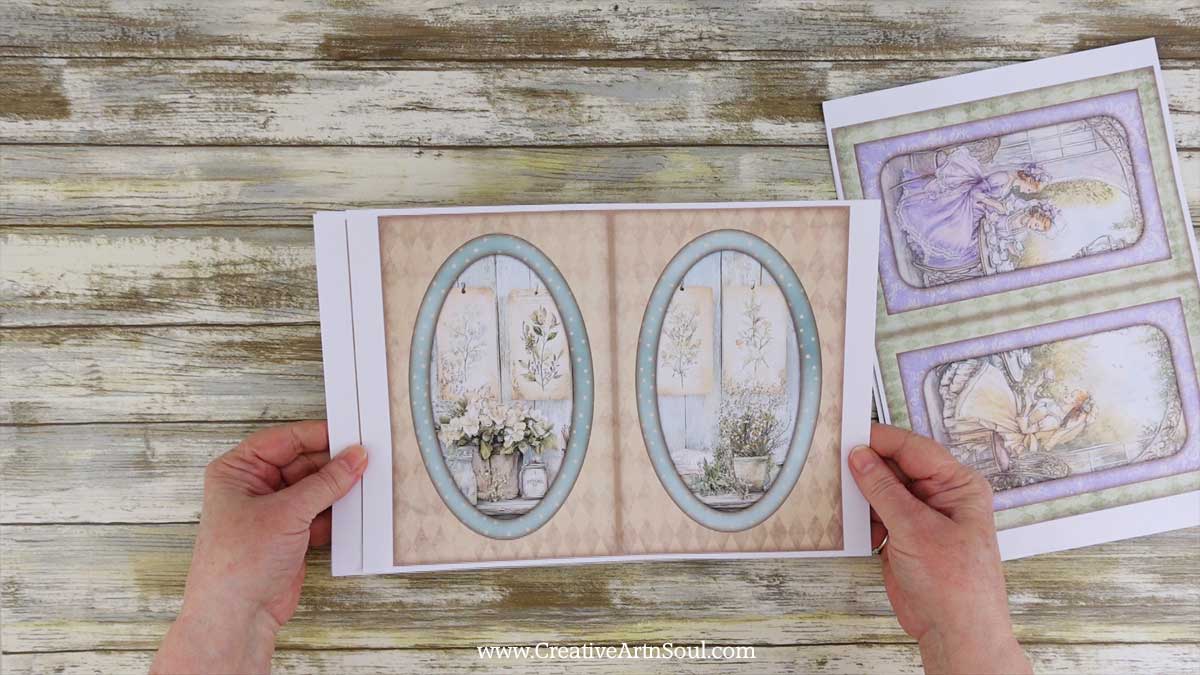
When you print out the picture pages with cutouts and cards, you need to print the cards with a backing on the other side. Print the cutout frames on one side. And print a page with a design on both sides to use as a backing page for the cutout frames.
I’ve printed the cards onto 110lb cardstock, and the pages onto a lighter weight cardstock around 90lb.
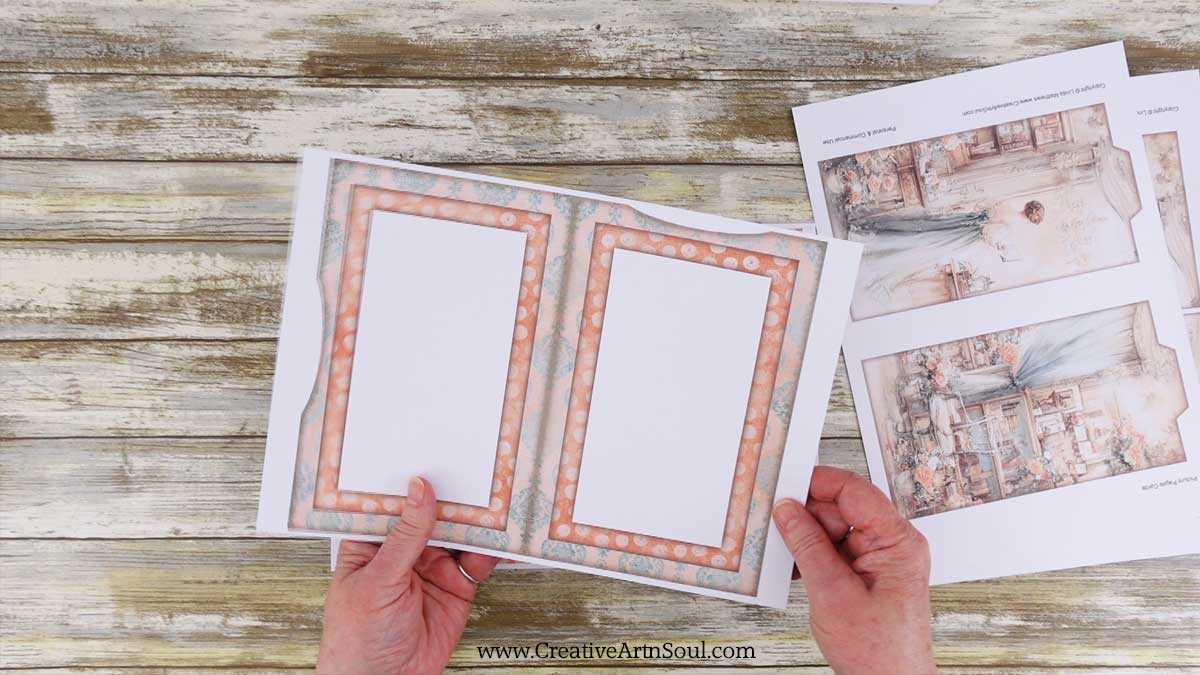
To assemble, cut out the cards. Then cut away the white edges and the center section of the frame page. The easiest way to cut out the center is to use a small craft knife with a very sharp blade or a pair of small scissors with very sharp points. Before cutting out the center sections, fold the page in half and press a crease using a bone folder.
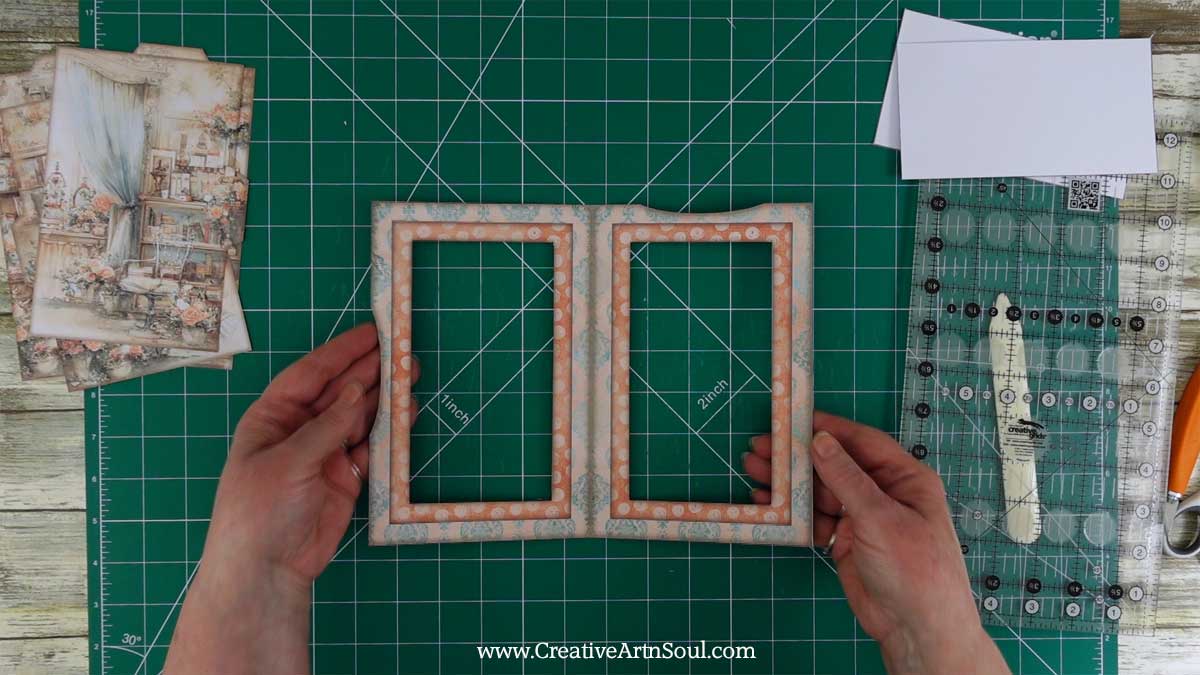
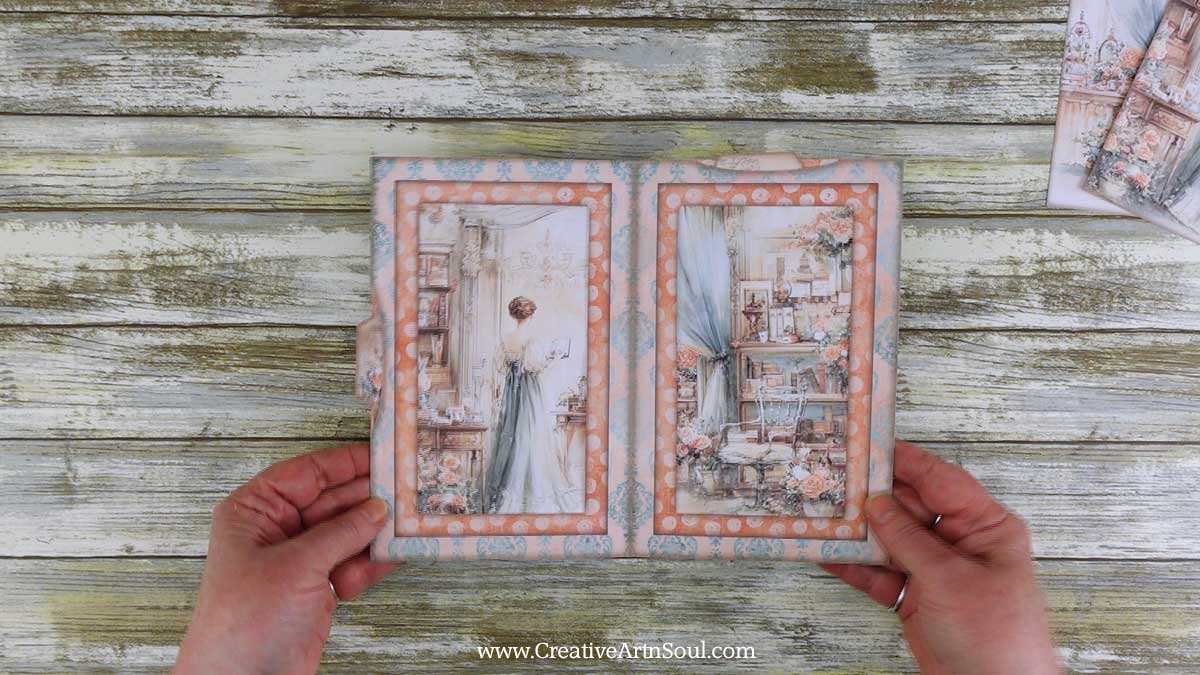
Apply double sided tape along the sides that don’t have a cutout, and along the center section. Remove the tape backing, press the frame onto the backing page, and cut away the excess from around the edges. Then insert the cards and your picture pages are ready to be inserted into your junk journal.
Save this pin to your favorite Pinterest board!