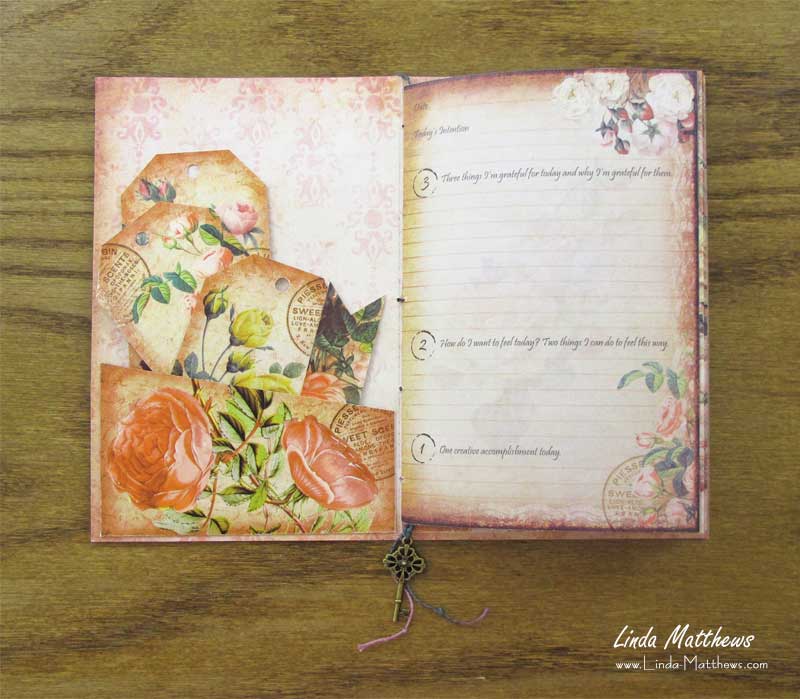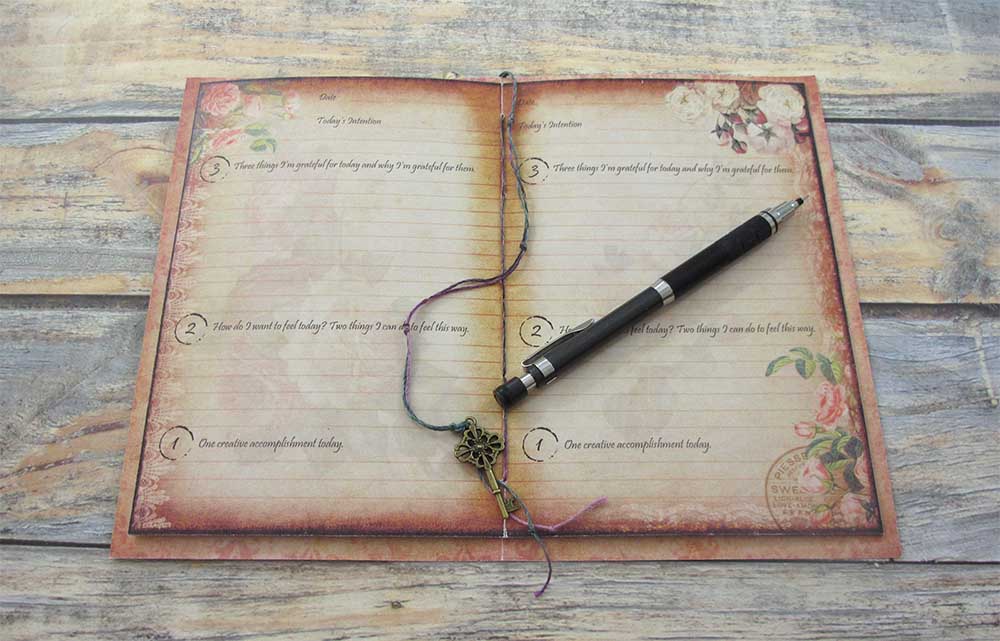
In this tutorial I’ll show you how to assemble the 3-2-1 Gratitude & Creativity Tracking Journal
It’s easy to get off track when life gets busy, and before you know it days and sometimes weeks have passed before you even notice that your good habit has fallen by the wayside. It used to happen to me also from time to time, but I’m very committed to a regular creative practice, so to help me stay on track I developed my own simple tool – the 3-2-1 Creativity Tracking Journal.
It takes only minutes a day to use – a few minutes in the morning, and even less time in the evening. This is the perfect journaling tool to keep you right on track.
How the 3-2-1 Journal Works

Morning
The first two questions (3 and 2) are completed in the morning as a way to set up your day. Doing this in the morning also acts as a reminder that that one creative thing needs to be done sometime during the day.
- First set an intention for the day, something you can use to focus on during the day such as wanting to feel good, to be more productive, or even to make time for some creativity.
- List three things you are grateful for – and why you are grateful for them. Knowing “why” you do the things you do adds a layer of thoughtfulness to the process and you’ll sometimes be surprised by what you discover.
- Make a note of how you want to feel today and list two things you can do to feel this way. Having a positive attitude and outlook is a great way to go through the day – and life!
Evening
The last question (1 thing) is completed in the evening.
- List the one creative thing you did today. Over time, you can use this as a way to track your creative activities.
Simple right?
Plus it’s amazing how much creative work you can get done when you do it on a consistent basis.
I designed the 3-2-1 Journal to keep myself motivated, and found it to be such a useful tool I’m now sharing it with you to help you stay motivated also. It takes only minutes a day to complete, but will make a world of difference to your life if you stick with it.
Supplies & Resources
- 3-2-1 Gratitude & Creativity Tracking Journal
- 110lb Cardstock
- 24lb Copy Paper
- Trim and Score Board
- Bone Folder and Paper Creasing Tool Kit
- Non-slip Quilting Ruler
- Xacto Knife
- Rotary Cutter
- Wooden Handle Awl
- Binder Clips
- Book Binding Needle Thread Kit
- Hand Embroidery Thread
- Hand Embroidery Needles
Assembling the 3-2-1 Gratitude & Creativity Tracking Journal
To get started assembling the journal, you first need the 3-2-1 Gratitude & Creativity Tracking Printable Journal Kit. If you don’t yet have one, you can find it here in my online store.
You can find a list of supplies and resources here
The printable kit includes 7 pages:
– cover
– backing page that can be printed on the back of the cover and/or elements
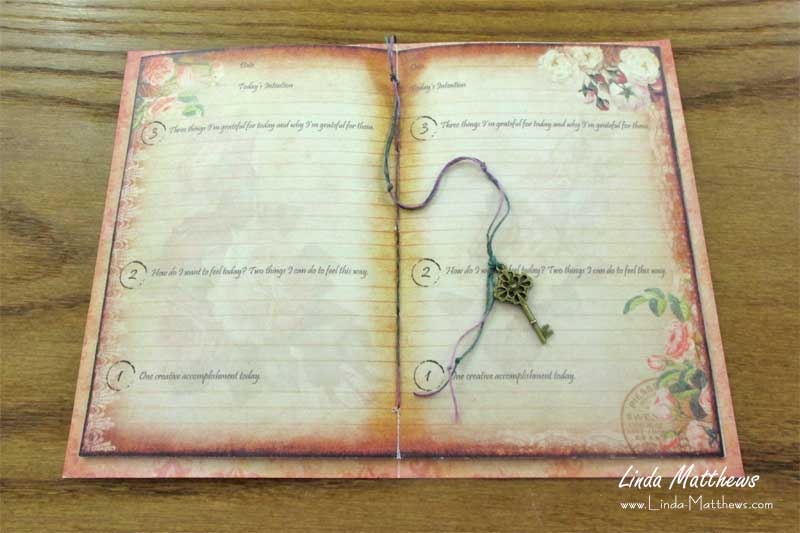
– double writing page
– writing/journal page
– full-size double writing page that can be printed on the back of pages
– full-size double plain writing page that can be printed on the back of pages, or can be used to make a notebook
– page of elements including pockets, journaling tags and a bookmark
The full-size pages that can be used to print on the back of the standard-size pages, which will ensure that the backs of the pages are fully printed.
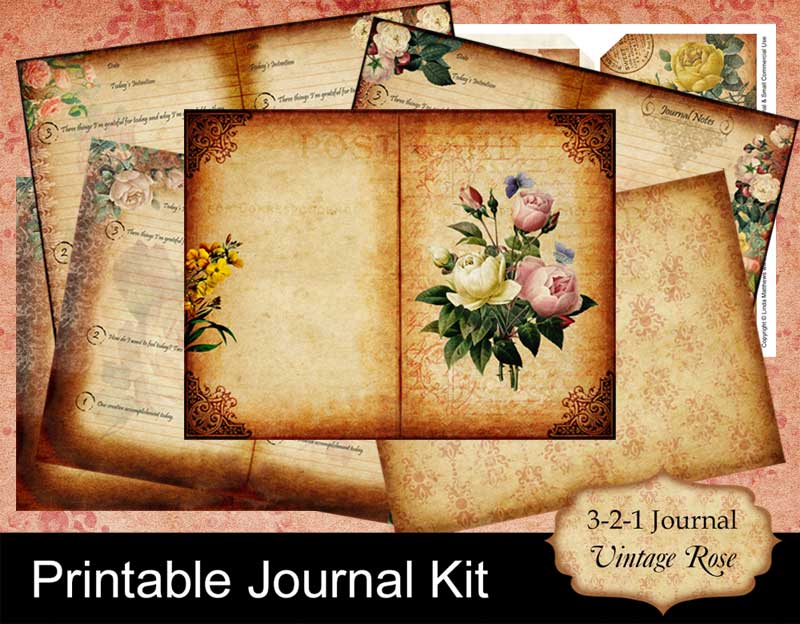
Print the cover and elements page using a heavy cardstock such as 110lb cardstock, and print the pages using paper that has a heavier weight than the standard type of day-to-day copy paper. Paper that is has a heavier weight is better for writing on, and the extra thickness will help prevent the ink from seeping through to the other side. I like to use 24lb weight paper.
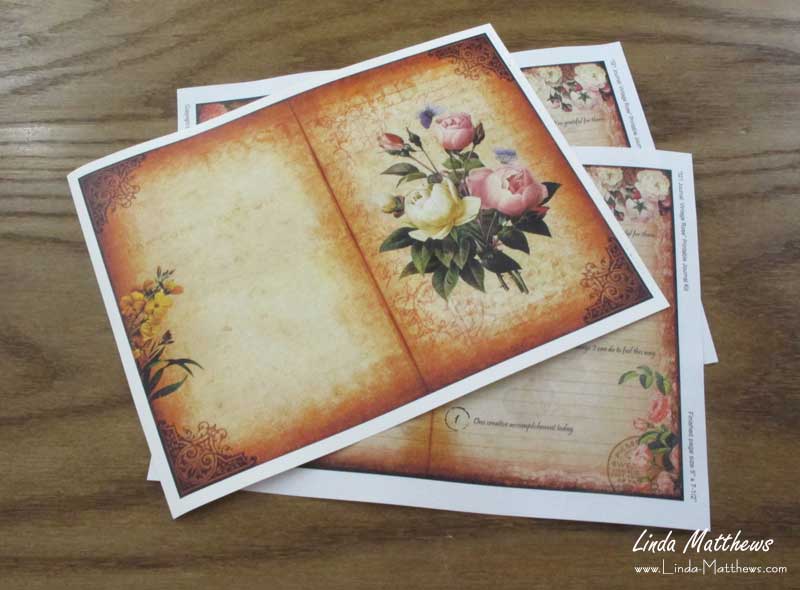
If using the double writing pages, print 8 double-sided letter-size or A4-size pages which will give you 32 single writing pages. This is more than enough pages for the month.

If you like to journal every day, use the writing/journal pages which has space for additional writing.

Trim the pages to size, then crease and fold them. I like to use a Trim and Score Board.
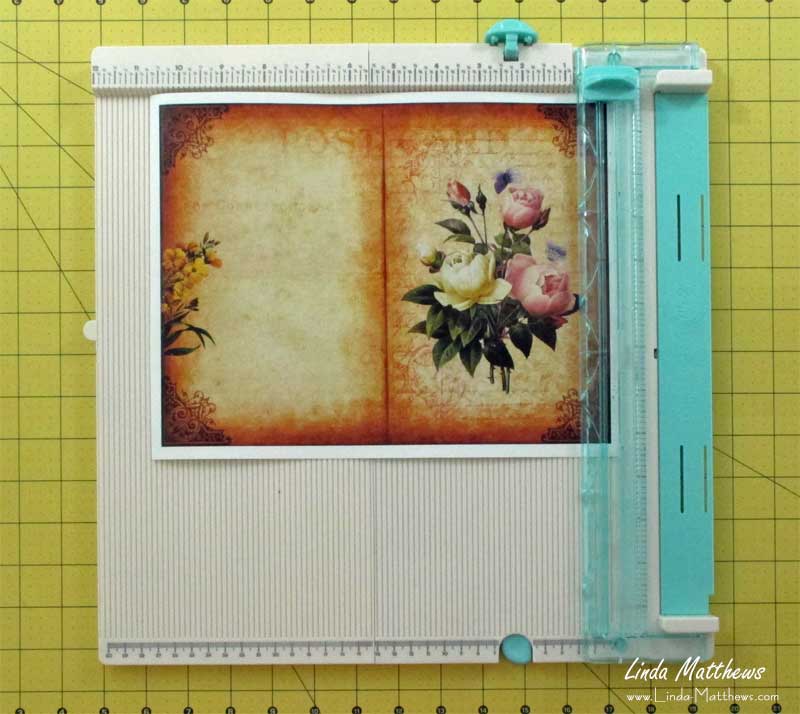
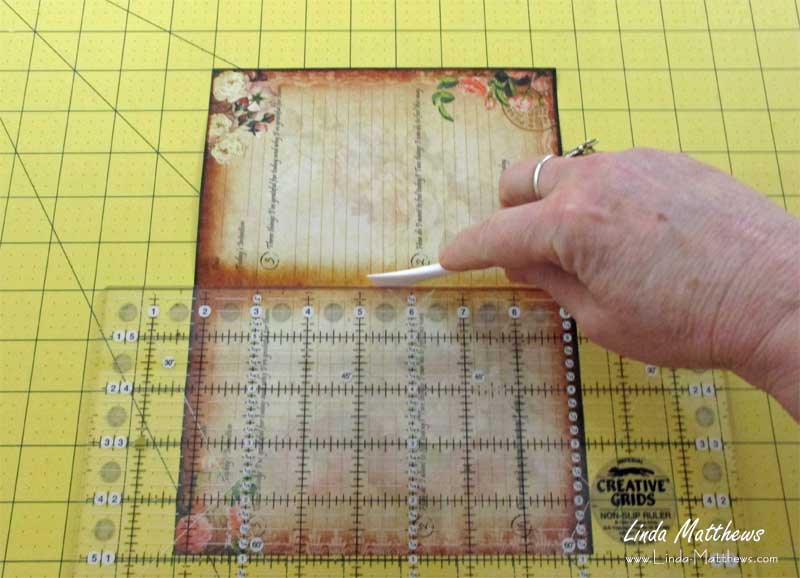
Alternatively, you can use a rotary cutter or an x-acto knife, and a clear quilting ruler to cut the pages to size.

Then use a paper creasing tool to crease and fold each of the pages in half.
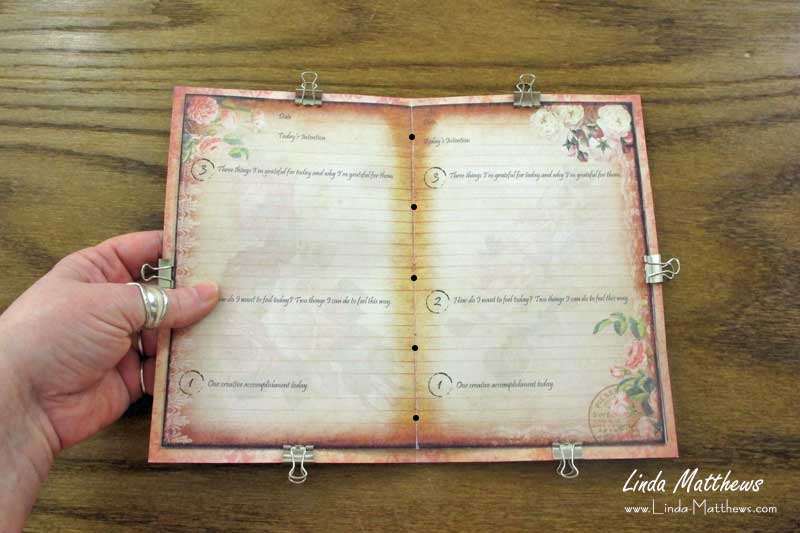
Open the pages and stack them inside the cover so that they are centered along the fold. The cover is slightly larger than the pages along the top and bottom and the right side, so that the pages fit neatly inside. Attach some binder clips to hold the pages in position, and using a pencil, mark five equidistant dots along the center fold line.
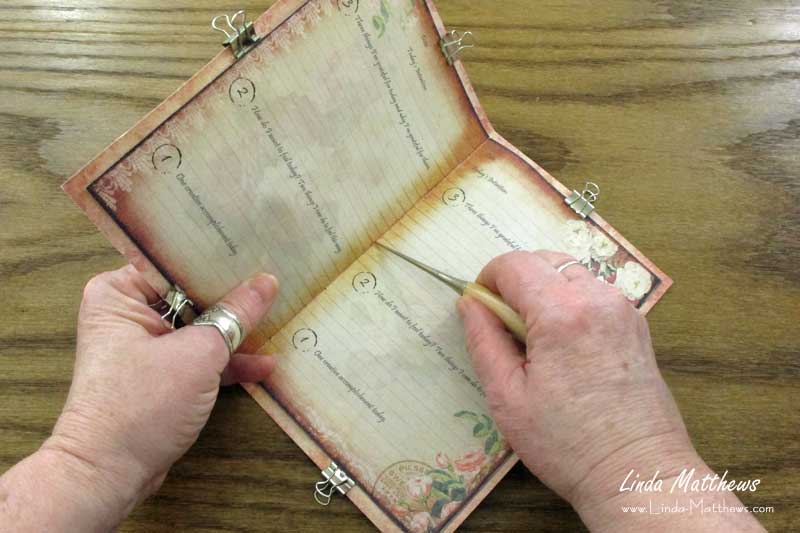
Using an awl, poke holes through the marked dots.
Cut a piece of booking binding thread or hand embroidery thread approximately 44″ long. Using a book binding needle or a large hand embroidery needle, start sewing at the top on the outside. Bring the needle through to the inside, leaving approximately 12″ of thread on the outside. Then through the next hole to the outside, and then back to the inside.

Sew back up to the top and tie off in a knot at the top on the outside of the cover.

Tie a metal charm to the end of the threads. Fold the threads over to the inside of the journal and you have a simple bookmark.
Print the page of elements and cut out the pieces. Crease the tabs on the pockets and glue to the inside of the front and back cover.
